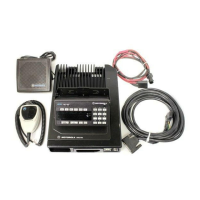
3. Getting Started
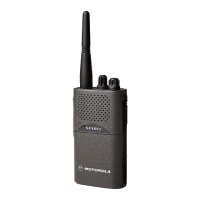
Charging the Battery
1. Insert the Battery: Align the battery with the back of the radio and press until it clicks
into place.
2. Connect the Charger: Plug the charger into an electrical outlet and connect the charging
cable to the radio.
3. Charging Indicator: A light will indicate the charging status. Allow the battery to
charge fully before first use.
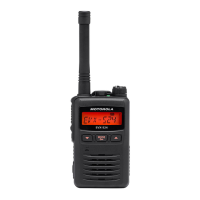
Attaching the Antenna
1. Align the Antenna: Match the threads on the antenna with the radio’s antenna connector.
2. Screw in the Antenna: Rotate the antenna clockwise until it is securely attached.
Powering On/Off
• To Power On: Rotate the Volume Control Knob clockwise until you hear a click. The
radio will emit a tone indicating it is on.
• To Power Off: Rotate the Volume Control Knob counterclockwise until it clicks off.
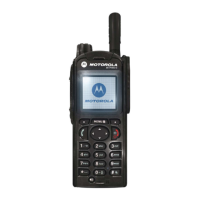
4. Basic Operation
Adjusting Volume
• Turn the Volume Control Knob clockwise to increase the volume and counterclockwise
to decrease it.
Selecting Channels
• Rotate the Channel Selector Knob to choose the desired communication channel. Each
position corresponds to a different channel.
Transmitting and Receiving
• To Transmit: Press and hold the Push-to-Talk (PTT) Button. Speak clearly into the
microphone.
• To Receive: Release the PTT Button to listen to incoming transmissions.
5. Basic Navigation
Push-to-Talk (PTT) Button

 Loading...