11
Chapter One:
How Do I Get Started with the Motorola Xoom?
to power off the Xoom; and when the Xoom is asleep but powered on,
press the buon to awaken it.
Camera lenses—
+
There are two camera lenses, one on the front and
one on the back. You oen use the front-facing camera lens to hold
video conversations, and you use the back-facing lens to take pictures
and record video.
Charger port—
+
The charger port is located on the boom of the Xoom.
Use it to connect your Xoom to a power outlet to charge it.
MicroSD card slot/SIM tray—
+
The MicroSD card slot/SIM tray is
located at the top of the device. The dummy card can be removed by
pulling up on it, and a new card can be inserted. At the time this book
was wrien, though, these features had not yet been activated.
Mini USB port—
+
This port is located at the boom of the device near the
charger port. You use it as you’d expect; you connect a USB device using
its USB cable. You can use this port to connect compatible devices.
HDMI Port—
+
The HDMI port is located at the boom of the Xoom, near
the charger port. Use this to connect your Xoom to a compatible HDMI
device, such as a television or projector.
WHAT EXACTLY IS A SIM CARD? SIM stands for Subscriber Identity
Module. A SIM card identifies your device to a cellular data provider and
includes information about your user name, phone number, and other data
as applicable. In the United States, on Verizon’s network, you don’t have to
get a SIM card for the Xoom unless you plan to travel overseas.
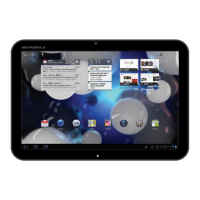
Browsing the Home Screen
The Home screen is the screen that appears when you turn on your Xoom, and
Figure 1-1 outlined the names of the (virtual or so) icons you can find there.
You can use these to navigate whatever Xoom screen you’re on, or whatever
app you’re using. The so buons you’ll use most follow:
Back—
+
Use this to return to the previous screen in an app, web page,
or book (for instance), or to return to the last Xoom screen viewed if
there’s nothing in the app to go back to.

 Loading...