6
We recommend that you to wash the
various parts in lukewarm soapy water
and dry them carefully: pusher (a), lid
(b), juicing screw (c), filters (d and e),
rotary scraper (f), bowl (g), pulp tab (j),
collecting containers (m).
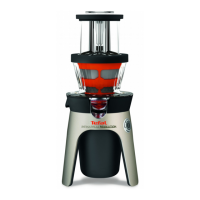
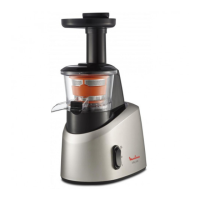
The press allows you to extract juice
from a wide variety of fruits and
vegetables as well as to prepare
purees. With its 2 filters, you can choose
how much pulp you want in your juice:
the juice filter (green) for all types of
juices and the puree filter (orange)
mainly for purees but also for a thicker
juice with more pulp.
• Check that the assembled bowl is
positioned correctly.
a Pusher
b Lid
c Juicing screw
d juice filter (green)
e puree filter (orange)
f Rotary scraper
g Bowl
h Juice outlet
i Pulp outlet
j Pulp tab
k Motor unit
l On/Off switch Reverse
m Collecting containers (x2)
n Cleaning brush
! "
!"#!
• Check that the pulp tab (j) is
positioned correctly under the bowl
(g) (Fig. 1).
- Place one of the two filters (d or e)
inside the rotary scraper (f) (Fig. 2).
- Align the black mark located above
one of the 2 filters (d or e) with the
black mark located on the edge of
the bowl (g) (Fig. 3).
- Introduce the juicing screw (c) into
the filter (Fig. 4) and check that it is
fitted correctly.
- (Fig. 5)
1. Position the black arrow at the base
of the lid opposite the black mark
located on the bowl edge.
2. Turn the lid clockwise firmly to fit it to
the bowl.
- Place the assembled bowl on the
motor base by positioning the black
arrow located at the bottom of the
bowl opposite the open padlock on
the motor unit. Turn the bowl clockwise
until the arrow at the bottom of the
bowl is aligned with the closed
padlock (Fig. 6). Check that the rear
of the lid is fitted correctly (Fig. 7).
!!" "!
#!" !!
Notice_2550814-03_Miseenpage121/12/1115:41Page6
 Loading...