8
ENGLISH
GB
• If the machine was originally equipped with a
catalyser which is now faulty, a new one must
be fitted when the silencer is replaced.
• Always seek professional help when the carbu-
rettor requires adjustment.
• Clean the air filter according to the directions.
• When, after many years of service, your ma-
chine needs to be replaced or is no longer re-
quired, we recommend that the machine is
returned to your distributor for recycling.
IMPORTANT
Equipment which is marked with an asterisk (*)
comes as standard in certain models.
Certain models do not have throttle control. The
engine’s speed is set for optimal function and min-
imal exhaust emissions.
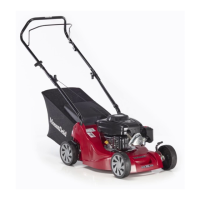
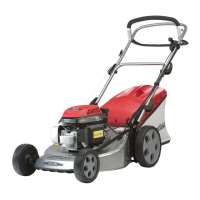
INTRODUCTION
1. Throttle control (*)
2. Clutch loop (*)
3. OPC
4. Electric start (*)
INSTALLATION
LOOSE PARTS IN THE BOX
2 brackets for the grass collector
4 screws for the brackets
1 ignition key (*)
1 battery charger (*)
1 Allen key
1 socket wrench
+ Instruction books
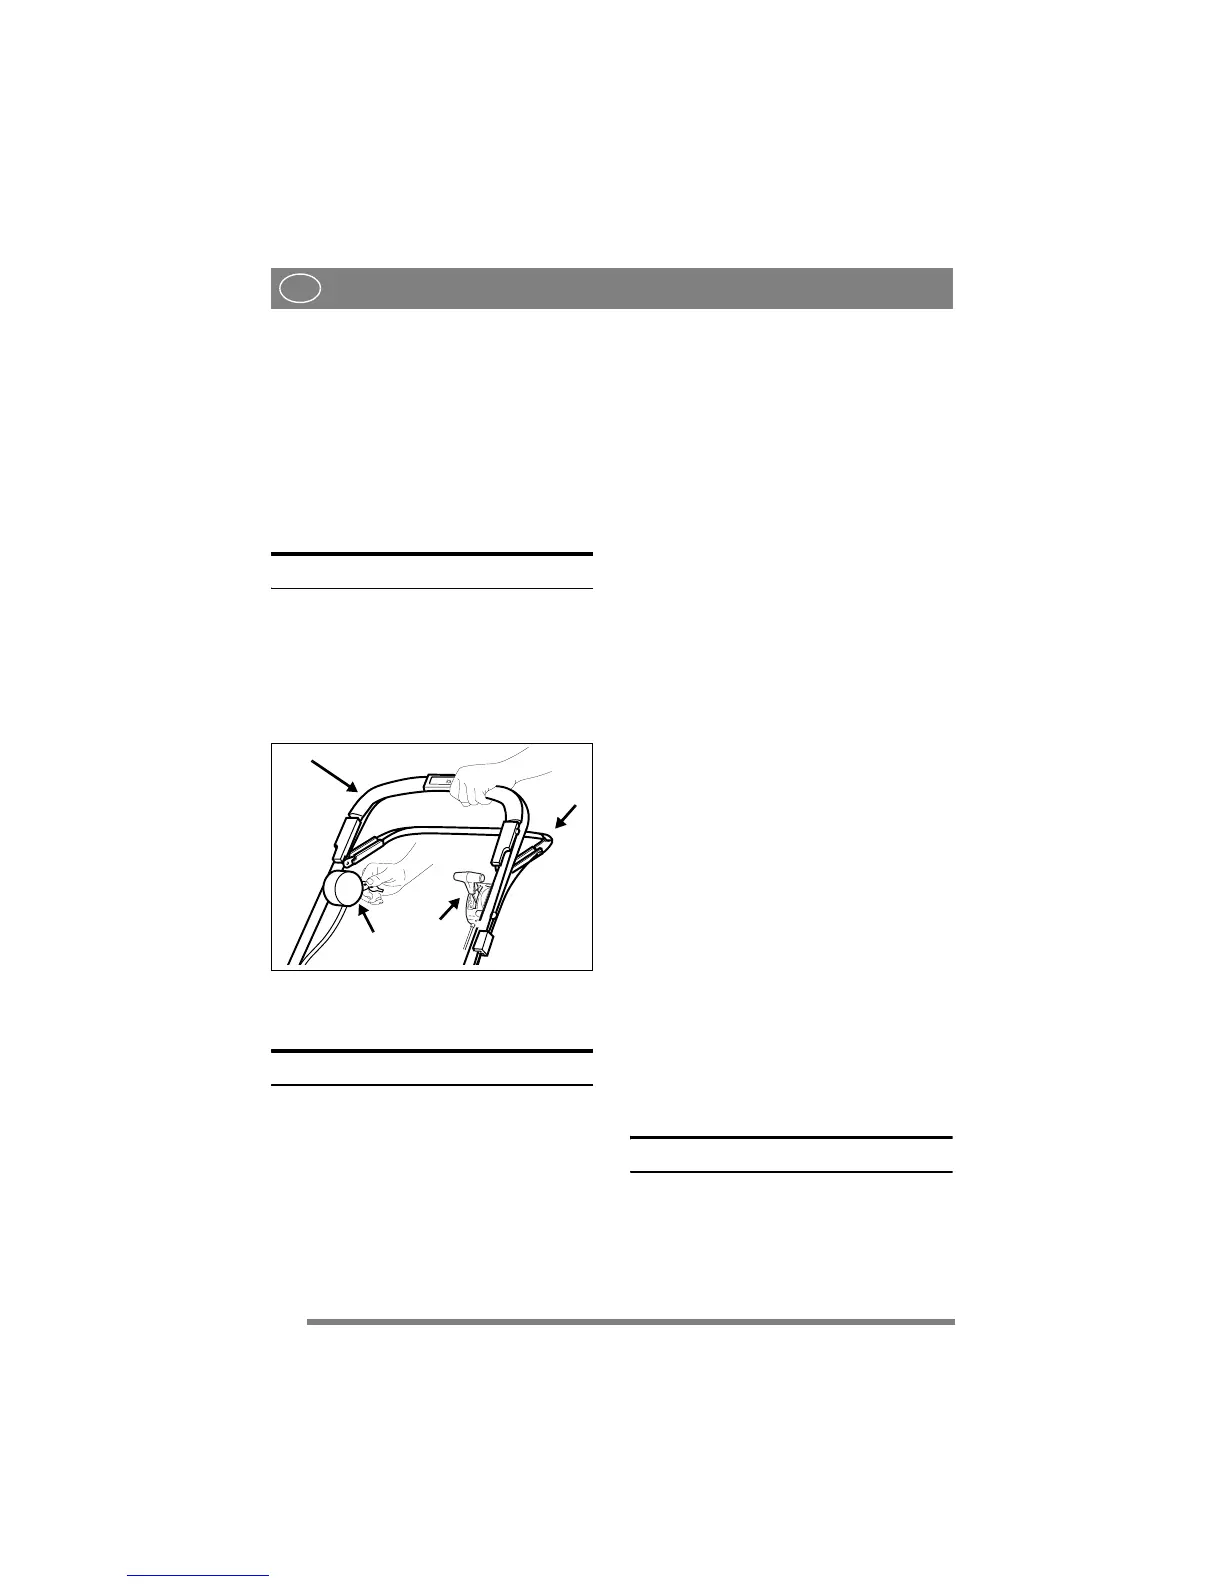
HANDLE
1. Fold up the lower part of the handle.
2. Install the upper part of the handle mounts using
screws, washers and locking wheels. A lug is
installed on the right hand side for the starter
handle (fig. 1).
3. Then tighten the locking wheels onto the lower
part of the handle. When these have been tight-
ened, the height of the handle can be adjusted by
tightening the screws B with the wrench provid-
ed. (fig. 2)
ENGINE BRAKE CABLE
Secure the engine brake cable to the engine brake
(fig. 3). Note that the cable should be installed in
the direction of the handle.
CABLE HOLDER
Secure the cables in the cable holders (fig. 5):
D: Start/Stop cable + Clutch cable (*)
E: Throttle cable (*) + Clutch cable (*)
F: Electric cable (*)
GRASS COLLECTOR
Raise the collector flap and attach the two brackets
to the grass collector with the screws provided.
The brackets are marked with L and R and should
be installed at the corresponding mark on the rear
of the mower (fig. 7).
Fabric grass collector (*): Fit the fabric bag over
the steel frame and then snap the bag onto the plas-
tic lid (fig. 6).
Plastic grass collector (*): Snap together both
halves and then the upper part (fig. 4).
Open the flap on the machine and attach the grass
collector to the brackets.
NOTE! The lawnmower can be operated without
the grass collector. The grass is then left in a line
behind the machine.
USING THE MOWER
TRI-CUT
Your new lawnmower combines three different
functions in the same machine:
STOP
1*
3
4*
2