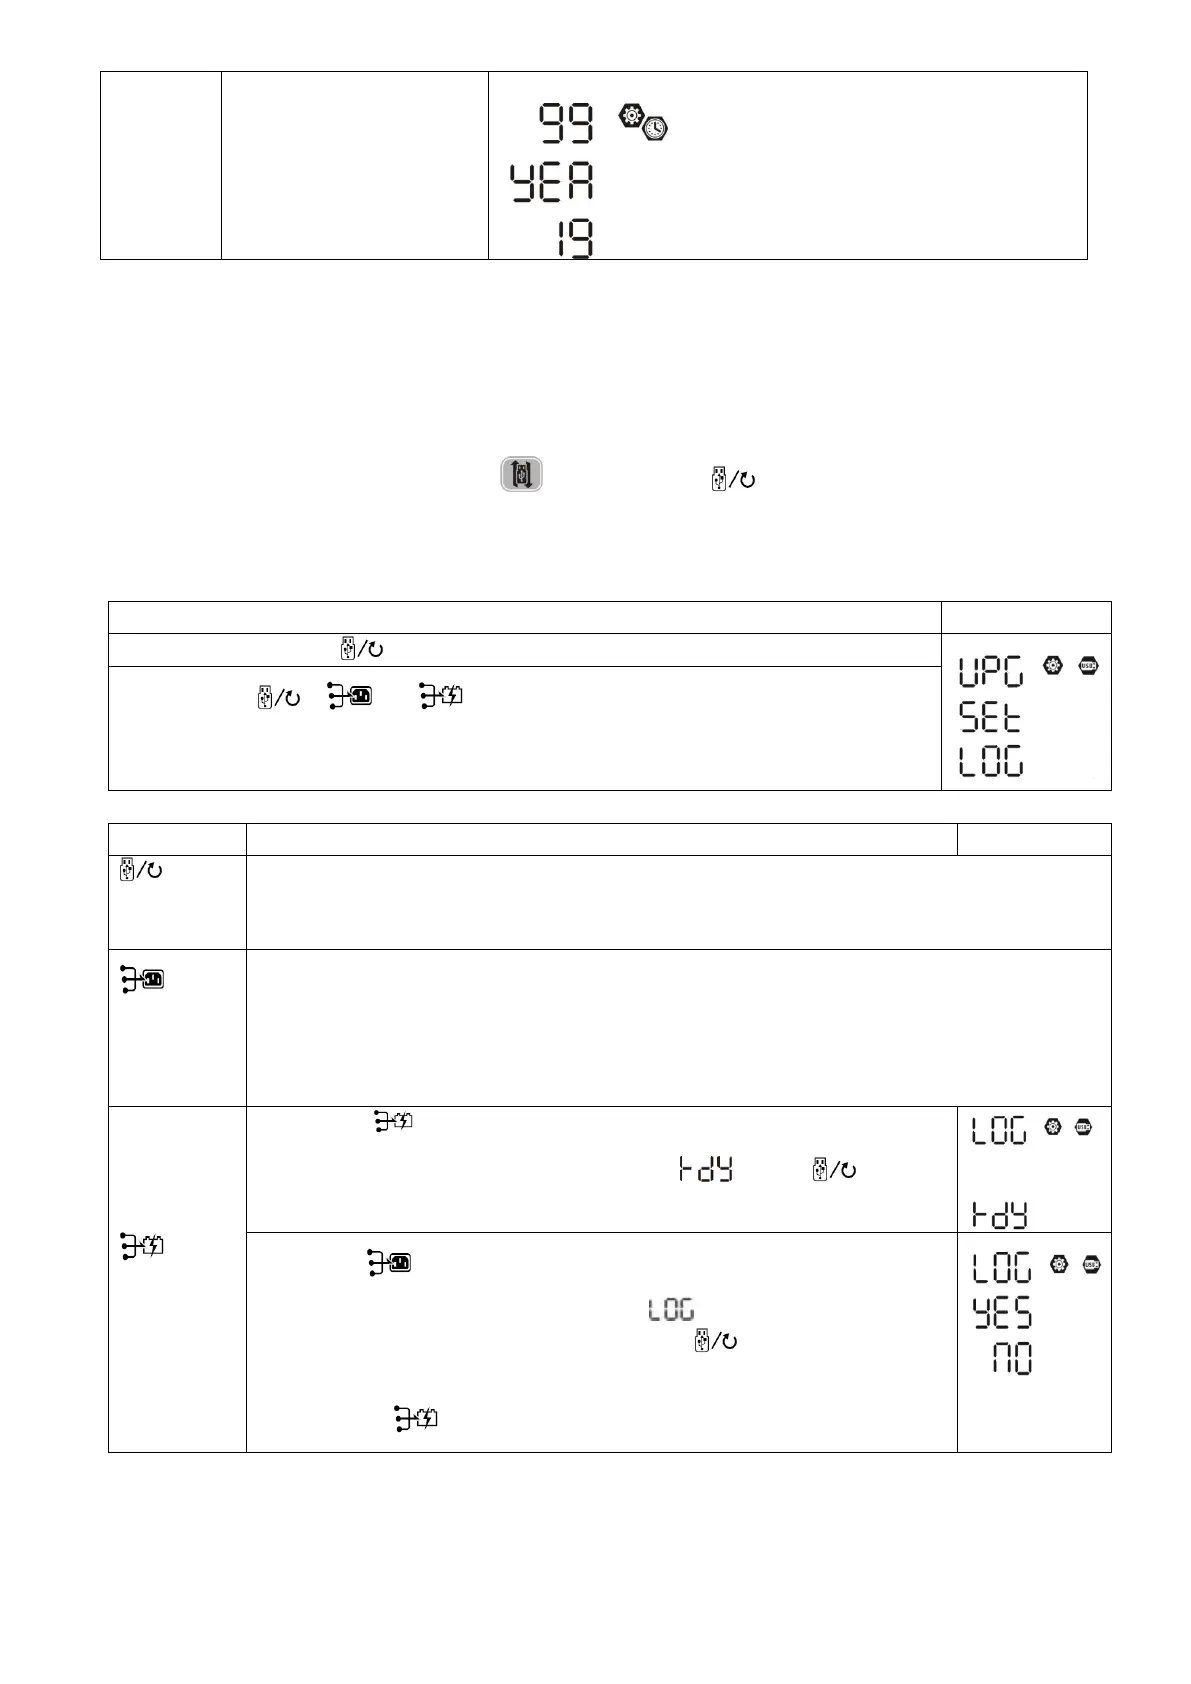
For year setting, the range is from 17 to 99.
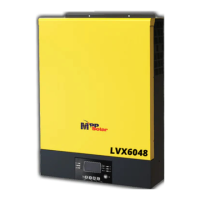
Function Setting
There are three function keys on the display panel to implement special functions such as USB OTG, Timer
setting for output source priority and timer setting for charger source priority.
1. USB Function Setting
Insert an OTG USB disk into the USB port ( ). Press and hold “ ” button for 3 seconds to enter USB
Setup Mode. These functions including inverter firmware upgrade, data log export and internal parameters re-
write from the USB disk.
Step 1: Press and hold “ ” button for 3 seconds to enter USB function setting mode.
Step 2: Press “ ”, “ ” or “ ” button to enter the selectable setting programs
(detail descriptions in Step 3)..
Step 3: Please select setting program by following the procedure.
This function is to upgrade inverter firmware. If firmware upgrade is needed, please check with
your dealer or installer for detail instructions.
:
Re-write
internal
parameters
This function is to over-write all parameter settings (TEXT file) with settings in the On-The-Go
USB disk from a previous setup or to duplicate inverter settings. Please check with your
dealer or installer for detail instructions.
By pressing “ ” button to export data log from the inverter to USB disk. If
the selected function is ready, LCD will display “ ”. Press “ ” button
to confirm the selection again.
Press “ ” button to select “Yes”, LED 1 will flash once every second
during the process. It will only display and all LEDs will be on
after this action is complete. Then, press “ ” button to return to
main screen.
Or press “ ” button to select “No” to return to main screen.
If no button is pressed for 1 minute, it will automatically return to main screen.
 Loading...