33
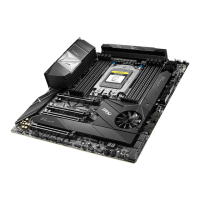
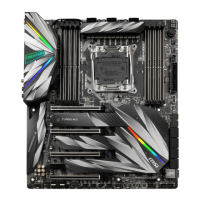
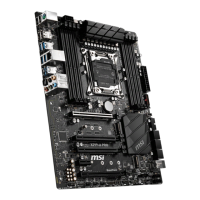
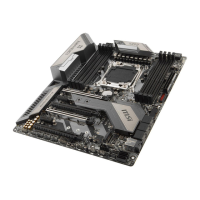
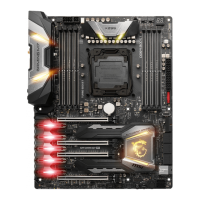
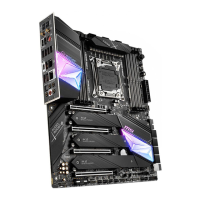
Overview of Components
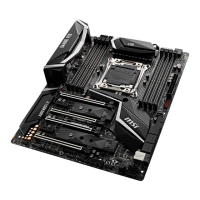
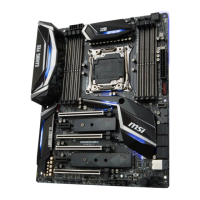
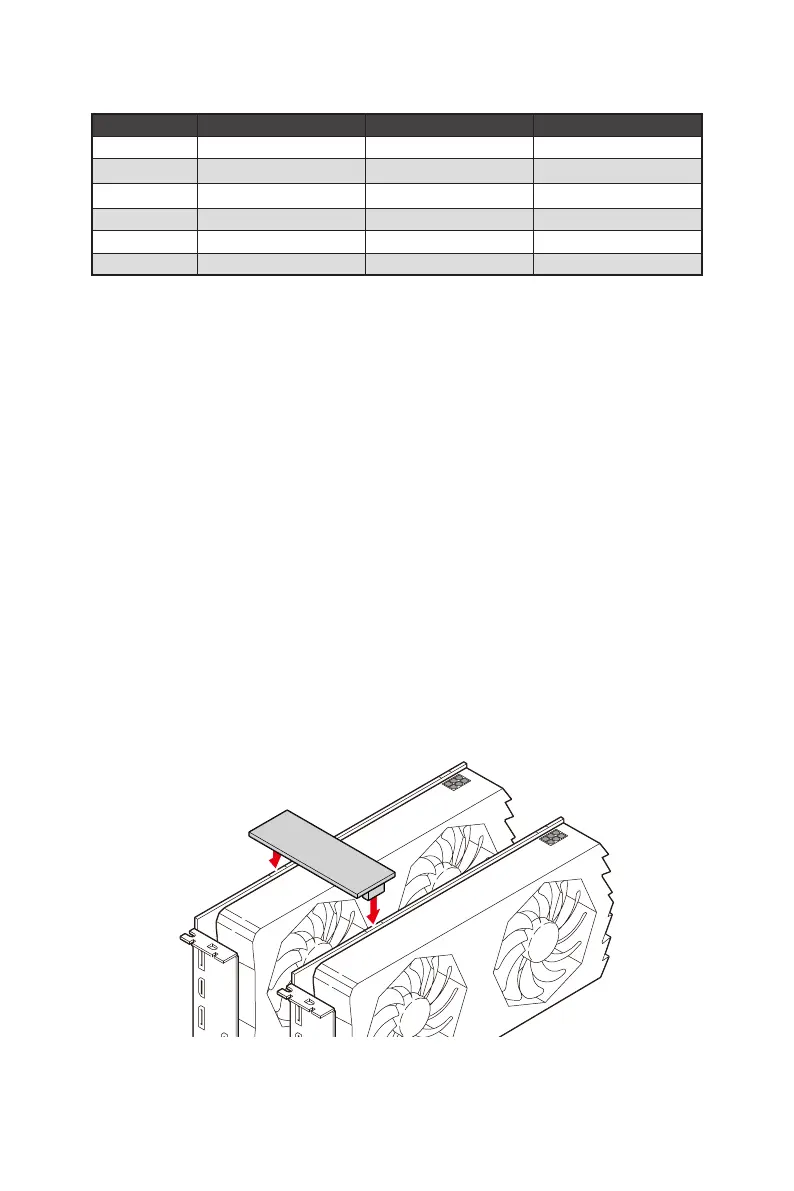
Installing SLI graphics cards
For power supply recommendations for SLI configurations, please refer to the user
guide of your graphics card to make sure you meet all the system requirements.
To install SLI graphics cards:
1. Turn off your computer and disconnect the power cord, install two graphics cards
into the PCI_E1 and PCI_E3 slots.
2. Connect the two cards together using the SLI Bridge Connector.
3. Connect all PCIe power connectors of the graphics cards.
for 28-lane CPU
Graphics Card 2-Way 2-Way* 3-Way*
PCI_E1 @ 3.0 x8 @ 3.0 x16 @ 3.0 x8
PCI_E2 @ 3.0 x8 Empty @ 3.0 x8
PCI_E3 Empty @ 3.0 x8 @ 3.0 x8
PCI_E4
M2_2 3.0 x4 3.0 x4 3.0 x4
M2_3
⚠
Important
∙
The PCI_E4 slot and M2_3 slot are unavailable with 28-lane CPU.
∙
If you install a large and heavy graphics card, you need to use a tool such as MSI
Gaming Series Graphics Card Bolster to support its weight to prevent deformation of
the slot.
∙
For a single PCIe x16 expansion card installation with optimum performance, using
the PCI_E1 slot is recommended.
∙
When adding or removing expansion cards, always turn off the power supply and
unplug the power supply power cable from the power outlet. Read the expansion
card’s documentation to check for any necessary additional hardware or software
changes.