EasyManua.ls Logo

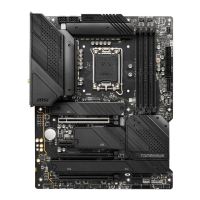
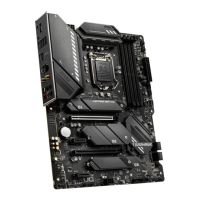
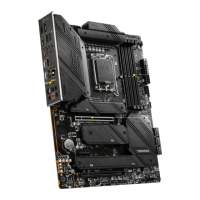
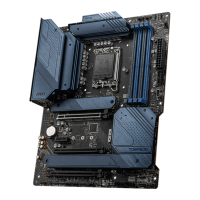
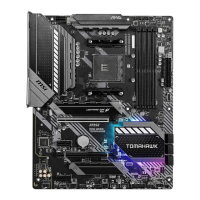
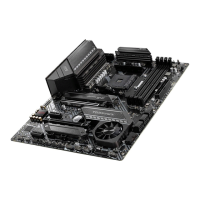
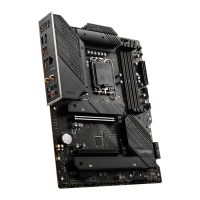
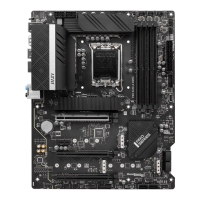
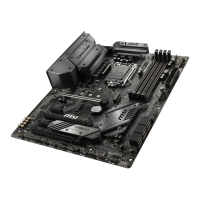
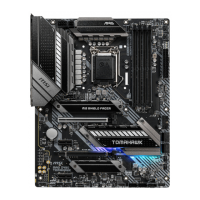
MSI MAG Z390 TOMAHAWK User Manual

MSI MAG Z390 TOMAHAWK
80 pages
To Next Page IconTo Next Page
Page #1 background imageLoading...
Page #1 background image
1
Quick Start
DDR4 Memory
Graphics Card
SATA Hard Disk Drive
SATA DVD Drive
Phillips Screwdriver
Chassis
Power Supply Unit
A Package of Screws
Thermal Paste
Quick Start
Thank you for purchasing the MSI
®
MAG Z390 TOMAHAWK motherboard. This Quick
Start section provides demonstration diagrams about how to install your computer.
Some of the installations also provide video demonstrations. Please link to the URL to
watch it with the web browser on your phone or tablet. You may have even link to the
URL by scanning the QR code.
Preparing Tools and Components
Intel
®
LGA 1151 CPU
CPU Fan

Table of Contents

Question and Answer IconNeed help?

Do you have a question about the MSI MAG Z390 TOMAHAWK and is the answer not in the manual?

MSI MAG Z390 TOMAHAWK Specifications

General IconGeneral
Processor socketLGA 1151 (Socket H4)
Processor manufacturerIntel
Compatible processor seriesIntel Celeron, Intel Core i3, Intel Core i5, Intel Core i7, Intel Core i9, Intel Pentium
Maximum number of SMP processors1
Audio chipRealtek ALC892
Component forPC
Motherboard chipsetIntel Z390
PC health monitoringCPU, FAN, Temperature
Audio output channels7.1 channels
Motherboard form factorATX
Number of mounting holes9
Windows operating systems supportedWindows 10 Education x64, Windows 10 Enterprise x64, Windows 10 Home x64, Windows 10 Pro x64
Memory channelsDual-channel
Memory slots typeDIMM
Unbuffered memoryYes
Number of memory slots4
Supported memory typesDDR4-SDRAM
Maximum internal memory64 GB
Supported memory clock speeds2133, 2400, 2666, 2800, 3000, 3200, 3300, 3333, 3400, 3466, 3600, 3733, 3866, 4000, 4133, 4200, 4266, 4300, 4400 MHz
PCI Express x1 (Gen 3.x) slots2
PCI Express x16 (Gen 3.x) slots3
Maximum resolution4096 x 2304 pixels
Parallel processing technology support2-Way CrossFireX
Number of SATA II connectors0
Number of SATA III connectors6
RAID levels0, 1, 5, 10
Supported storage drive interfacesM.2, SATA III
Wi-FiNo
LAN controllerIntel I211-AT, Intel I219V
Ethernet interface typeGigabit Ethernet
USB 2.0 ports quantityUSB 2.0 ports have a data transmission speed of 480 Mbps, and are backwards compatible with USB 1.1 ports. You can connect all kinds of peripheral devices to them.
Cables includedSATA
BIOS typeUEFI AMI
ACPI version6.1
BIOS memory size128 Mbit
System Management BIOS (SMBIOS) version2.8
Weight and Dimensions IconWeight and Dimensions
Depth304 mm
Width243 mm

Summary

Quick Start

Preparing Tools and Components

Lists essential tools and components needed for computer assembly.

Installing a Processor

Installing DDR4 Memory

Connecting the Front Panel Header

Installing the Motherboard

Installing SATA Drives

Installing a Graphics Card

Connecting Peripheral Devices

Connecting the Power Connectors

Power On

Installing OS, Drivers & Utilities

Installing Windows 10

Step-by-step guide for installing the Windows 10 operating system.

Installing Drivers

Details how to install essential hardware drivers from the provided disc or website.

Installing Utilities

Explains the process of installing additional system utilities for enhanced functionality.

MYSTIC LIGHT

Device LED Effect Control Screen

Explains the interface for customizing LED effects like color, speed, and brightness.

BIOS Setup

Entering BIOS Setup

Describes the methods to access the BIOS menu during system startup.

Specifications

Package Contents

Block Diagram

Rear I/O Panel

LAN Port LED Status Table

Details the status and speed indicators for the LAN ports.

Audio Ports Configuration

Explains how audio ports are mapped to different audio channels.

Realtek Audio Console

Overview of Components

CPU Socket

DIMM Slots

PCIe Expansion Slots

M.2 Slots

Installing M.2 Module

Step-by-step instructions for installing an M.2 storage device.

Using M.2 Shield Frozr

Instructions for installing and using the M.2 Shield Frozr for heat dissipation.

SATA Connectors

Power Connectors

Front Panel Connectors

Front Audio Connector

Describes the header for connecting front panel audio jacks.

USB Connectors

USB 3.1 Gen1 Connectors

Explains the pinout for USB 3.1 Gen1 internal headers.

USB 2.0 Connectors

Explains the pinout for USB 2.0 internal headers.

Fan Connectors

Switching Fan Mode and Adjusting Fan Speed

Guides on changing fan control modes (PWM/DC) and adjusting speeds via BIOS.

Pin Definition of Fan Connectors

Provides pinout details for PWM and DC fan connectors.

Serial Port Connector

Chassis Intrusion Connector and Usage

Details the chassis intrusion connector and its detection/warning features.

TPM Module Connector

Clear CMOS (Reset BIOS) Jumper

Explains the location and function of the jumper used to reset BIOS settings.

Resetting BIOS to Default Values

Step-by-step guide to clear CMOS and restore default BIOS settings.

RGB LED Connectors

Onboard LEDs

EZ Debug LED

Explains the diagnostic LEDs for CPU, DRAM, VGA, and Boot status.

DIMM LEDs

Indicates the LEDs that show the status of installed memory modules.

BIOS Setup Guide

Entering BIOS Setup

Describes the methods to access the BIOS menu during system startup.

Resetting BIOS

Explains how to restore BIOS settings to their default values.

Updating BIOS

Provides instructions for updating the motherboard's BIOS firmware.

EZ Mode

Overview of the simplified BIOS interface for basic system information and settings.

Advanced Mode

Details the comprehensive BIOS interface for advanced system configuration.

SETTINGS Menu

Guides users through the 'SETTINGS' section of the BIOS for system configuration.

OC (Overclocking)

Covers settings for CPU and memory overclocking, including explore modes and ratio adjustments.

M-FLASH Utility

Instructions for updating the BIOS using the M-FLASH utility via a USB drive.

OC PROFILE Management

Details how to save, load, and manage overclocking profiles.

HARDWARE MONITOR

Explains how to monitor system temperatures, voltages, and fan speeds.

RAID Configuration Guide

Enabling Intel Rapid Storage Technology

Steps to enable the RAID functionality in the BIOS and operating system.

Creating RAID Volume

Step-by-step process for creating a new RAID volume with selected disks.

Removing a RAID Volume

Instructions on how to delete existing RAID volumes, with a warning about data loss.

Resetting Disks to Non-RAID

Guide to remove RAID structures and revert disks to their original non-RAID state.

Rebuilding RAID Array

Procedure to rebuild a degraded RAID array after a drive failure or disconnection.

Installing RAID Drivers

Details on installing RAID drivers during OS installation and the RAID software.

Intel Optane Memory Configuration

System Requirements

Lists the necessary hardware and software prerequisites for Intel Optane memory.

Installing the Intel Optane Memory

Step-by-step guide to install Intel Optane memory modules and enable them.

Removing the Intel Optane Memory

Instructions on how to disable and remove Intel Optane memory to avoid OS damage.
Troubleshooting Common Issues

Regulatory Notices

Environmental Policies and Recycling

Hazardous Substance Information

Related product manuals