En-7
Englsh
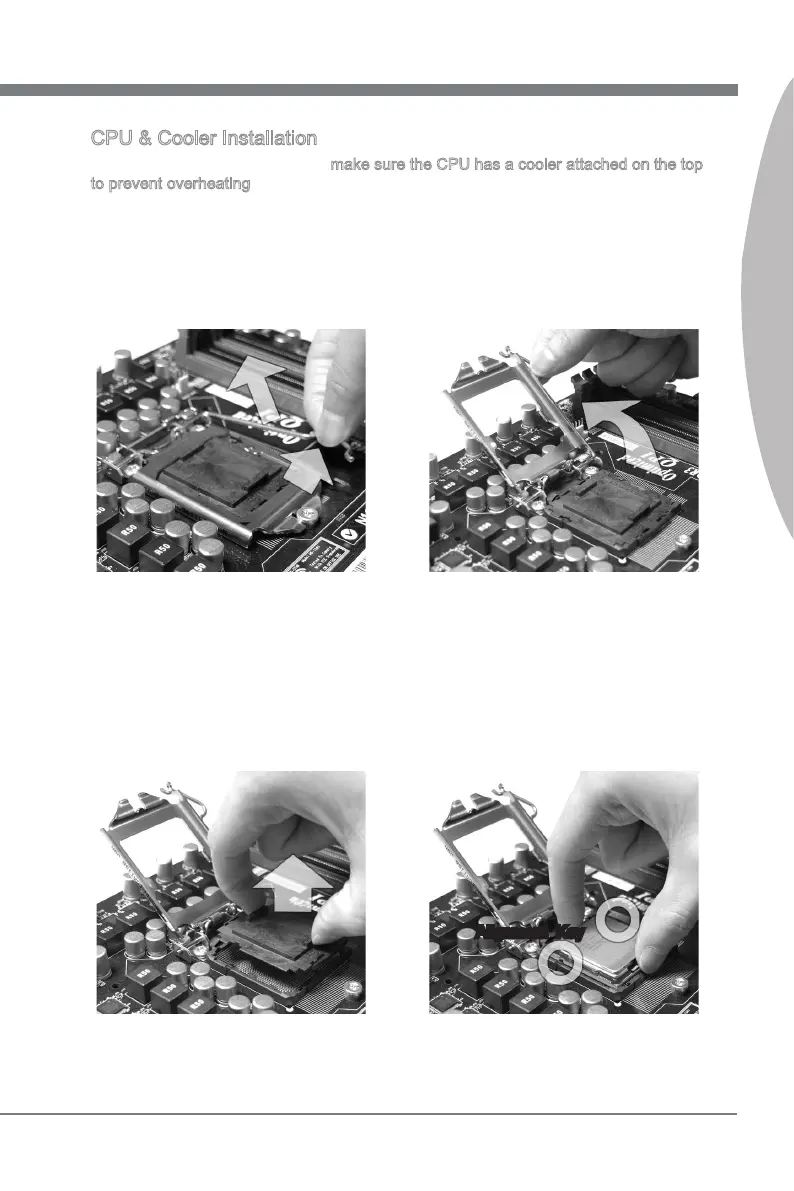
CPU & Cooler Installaton
When you are nstallng the CPU, make sure the CPU has a cooler attached on the top
to prevent overheatng. Meanwhle, do not forget to apply some thermal paste on CPU
before nstallng the heat snk/cooler fan for better heat dsperson.
Follow the steps below to nstall the CPU & cooler correctly. Wrong nstallaton wll
cause the damage of your CPU & manboard.
Open the load level.
1.
Lft the load lever up to fully open
poston
2.
The CPU socket has a plastc cap on
t to protect the contact from damage.
Before you nstall CPU, always cover
t to protect the socket pn. Romove
the cap (as the arrow shows).
3. After conrmng the CPU drecton for
correct matng, put down the CPU n
the socket housng frame. Be sure to
grasp on the edge of the CPU base.
Note that the algnment keys are
matched.
4.
Algnment Key
 Loading...