33
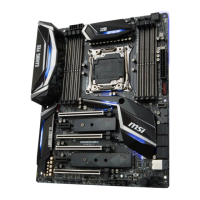
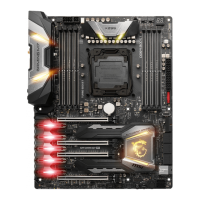
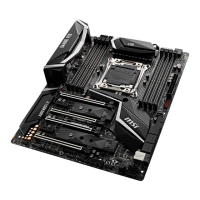
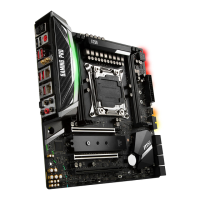
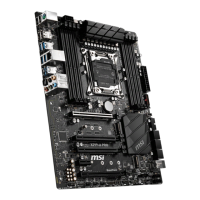
Overview of Components
M2_1~2: M.2 Slots (Key M)
⚽
Video Demonstration
Watch the video to learn how to Install M.2
module.
http://youtu.be/JCTFABytrYA
JFP1, JFP2: Front Panel Connectors
These connectors connect to the switches and LEDs on the front panel.
1
2 10
9
+
+
+-
--
-
+
Power LED
HDD LED Reset Switch
Reserved
Power Switch
JFP1
1 HDD LED + 2 Power LED +
3 HDD LED - 4 Power LED -
5 Reset Switch 6 Power Switch
7 Reset Switch 8 Power Switch
9 Reserved 10 No Pin
1
JFP2
+
+
-
-
Speaker
Buzzer
1 Speaker - 2 Buzzer +
3 Buzzer - 4 Speaker +
1. Move the position of the standoffs according to your
M.2 SSDs length if need.
2. Insert your M.2 SSD into the M.2 slot at a 30-degree
angle.
3. Secure the M.2 SSD in place with the supplied M.2
8.5H screw.
30º30º
3
2
1
Supplied
M.2 screw
Standoff