5. After successful pairing, the following real-time monitoring picture appears:
6. Press the button to switch between four display modes:
7. Press the button to enter cyclic mode display. Five cyclic intervals are available: 5s, 10s, 15s,
20s, and 30s and can be set under “System”.
Time stamp
four pics
one big,
three small pics
one pics
one big,
three small pics
4. Operation
06 07
4. Operation
ENGLISH ENGLISH
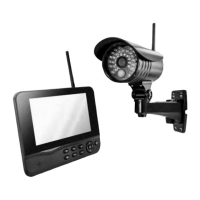
1. Connect the camera to the power supply. The power Indicator on the back is turned on.
2. Connect the receiver to the power supply.
3. Press the power switch on the receiver for 2s. or press the power switch on the remote
control (direct the remote control toward the receiver). The power indicator is turned on and the
power-on picture appears.
4. Pair the cameras and receiver respectively (at most four cameras can be connected at the same
time). Pairing is completed by default before delivery. If pairing is not completed, complete pairing
according to “Pairing” on page 18.
2013/11/15/09:30
2013/11/15/09:30
2013/11/15/09:30 2013/11/15/09:30
Picture display area Picture display area
Picture display areaPicture display area
Meanings of icons on the real-time monitoring picture:
Mobile hard disk inserted successfully Current camera
SD card inserted successfully Recording status
No open router Signal intensity
Network connection failure Camera name
Network connection successful Mute