1.6 Accessories
1.7 Pinch Rollers
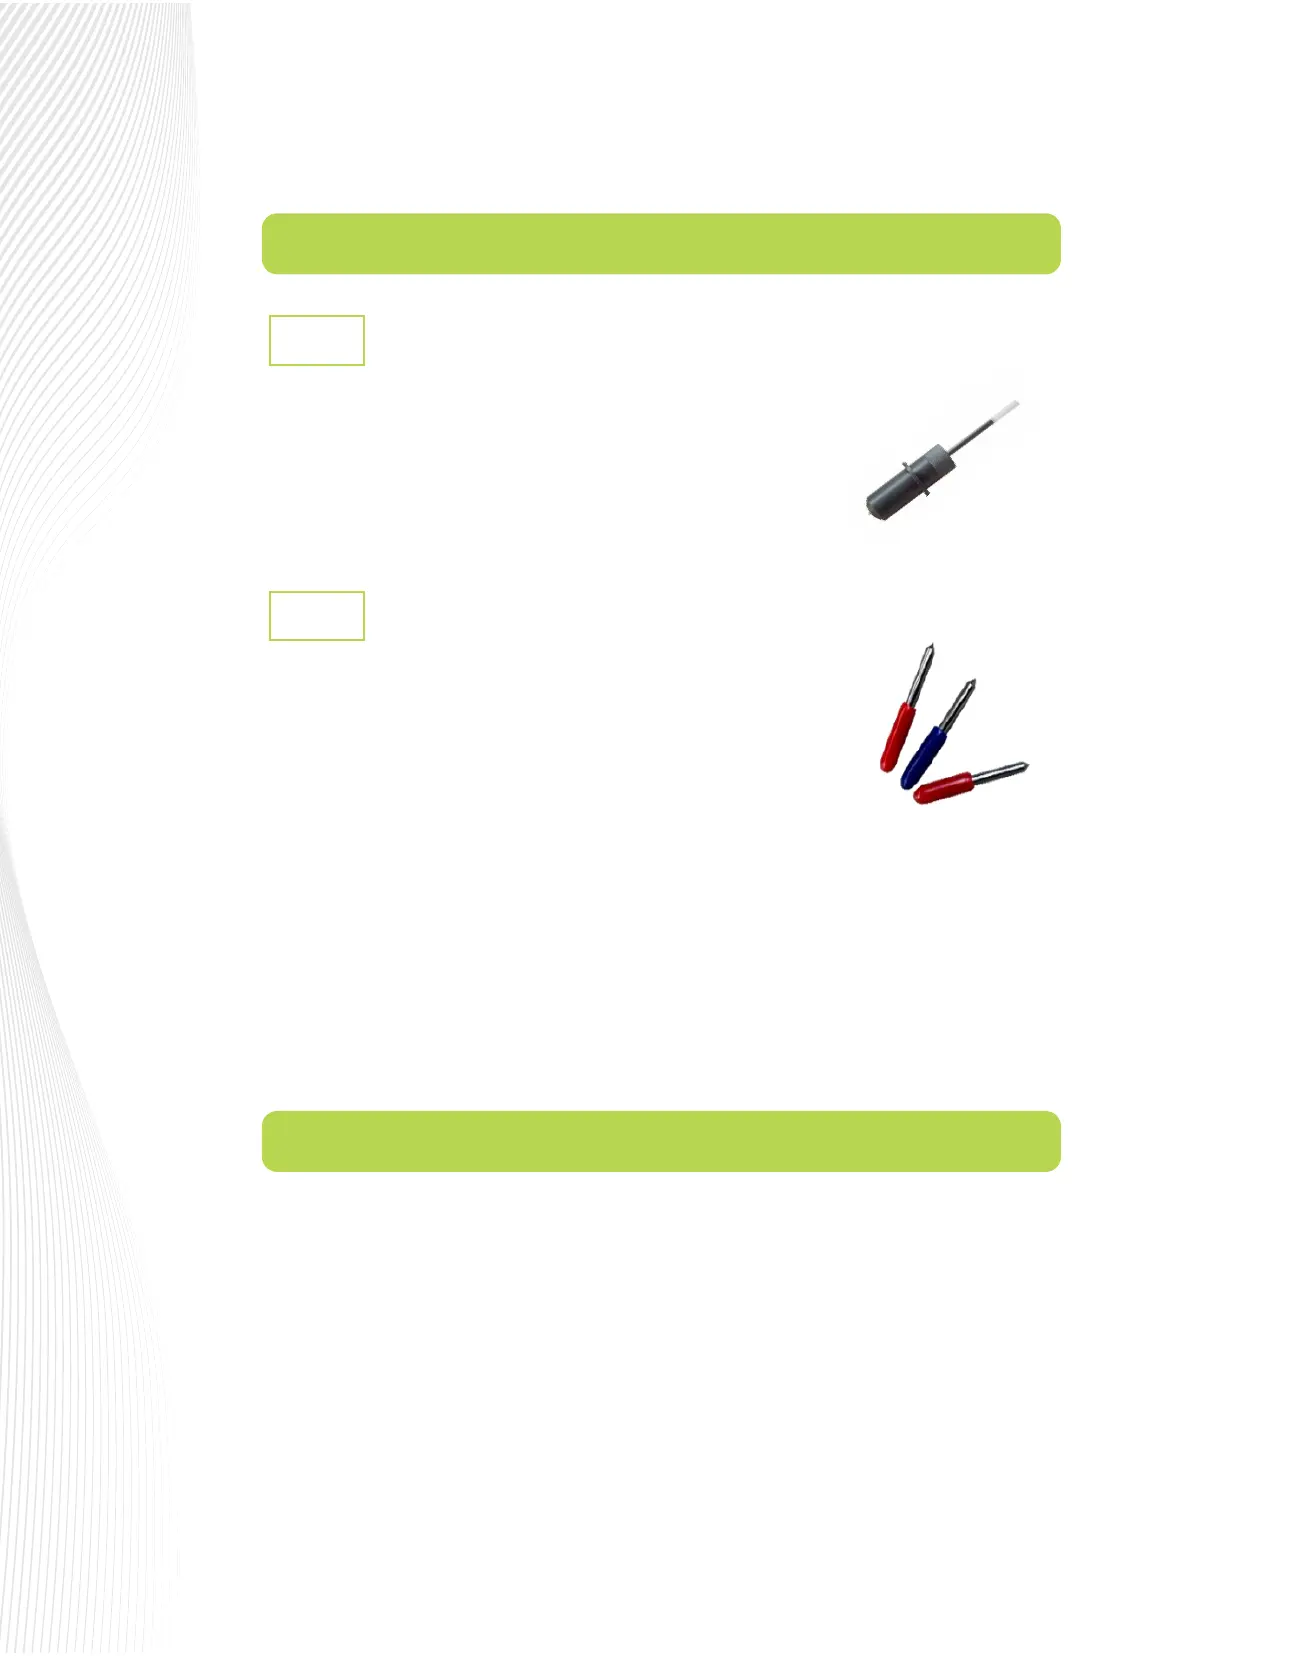
The test pen is used in calibrating the Muse’s camera (Section 3.01),
calibrating the Scale (Section 2.07), and is also recommended for test
drawing while you are learning where shapes will cut based on various
software settings. Note that a small piece of wax needs to be removed from
the pen’s nib before use. You may also wish to cut o the very top of the pen
rell so that it more easily ts into your Muse:
Your Muse is designed for cutting rolls and sheets of adhesive-backed lms such as vinyl, stencil mask and
sandblast etching lms. It can also use the included cutting mat for non-backed materials such as paper,
cardstock, magnet sheets and Mylar.
Press down the lever on the back of your M15 or M24 to raise the pinch rollers. On the M60 model, there are
individual levers on each pinch wheel which are lifted instead.
Insert the media into the space between the pinch roller and grit roller and pull out the media far enough to
ensure that it is loaded straight. The edges of the vinyl should be parallel to the left and the right frame of the
cutting platen. (A ‘platen’ is the lower plate that supports the vinyl as it passes through the cutter.)
The 30° yellow capped blade (not shown) is well-suited for window
tint and fabric. It is included with the M60.
The 45° red capped blade is well-suited for cutting thinner materials such as heat transfer vinyl and
wall/auto/decal vinyl. Two of these are included with the Muse.
The 60° blue capped blade has a longer cutting edge and is well-suited for cutting thicker materials like
sandblast stencil, ock, craft foam, magnet sheets, light chipboard, rhinestone template materials, etc. It
is included with the M15 and the M24.
Installing the blades into the blade holder is covered in Section 2.01. Blade Oset is covered in Section
2.02.2.
1.
2.
3.
Test Pen
1.6.1
Muse Blades
1.6.2
There are two kinds of blades that came with your Muse (note that which two
kinds dier depending on the model you purchased).
 Loading...