1.8 Control Panel
When you rst power on the Muse, the following Main Screen
or Home Screen will be displayed after several seconds:
The functions of the buttons on this Main Screen are:
SET: Opens the SETTING menu with access to other functions,
such as CAMERA, WI-FI, ARRAY, ADVANCED SETTINGS, etc.
See Section 1.8.1.
RECUT: Recuts the last job which is stored in the Muse’s memory. Note that while the Muse is cutting, this
button will read PAUSE. Pressing it will pause the cutting process in case any changes need to be made.
Pressing again will resume the cut.
UDISK: Opens the UDISK window allowing access to les on a USB thumb drive plugged into the Muse’s USB
Flash Drive port. Files must be saved in .PLT format to appear in the menu (See Sections 1.10.6 – 1.10.8 for
details).
STOP: One-touch emergency stop button stops the cutter and cancels the cut.
SPD/FOR: This button opens the SPEED/FORCE screen where you can optionally set the cutting speeds and
force of the cutter, as well as access the stored presets (See Sections 2.2-2.5).
TEST: Press the TEST button to cut a small square. This is recommended to ensure a clean cut is achieved with
the current settings before proceeding with a cut job.
Slide the pinch roller assemblies left and right so that the pinch rollers are centered over the grit roller.
The positions of the exposed grit rollers in the platen are marked by white arrows above the platen.
You may raise the cover above the tool carriage to see the arrows more clearly. Be sure to close it
before cutting.
Once the pinch rollers are in position, lower them to keep
your media in place. When using the cutting mat, you
need at least two wheels near the outside edges of the
mat, thus center the mat inside the cutter (versus having it
all the way to one side).
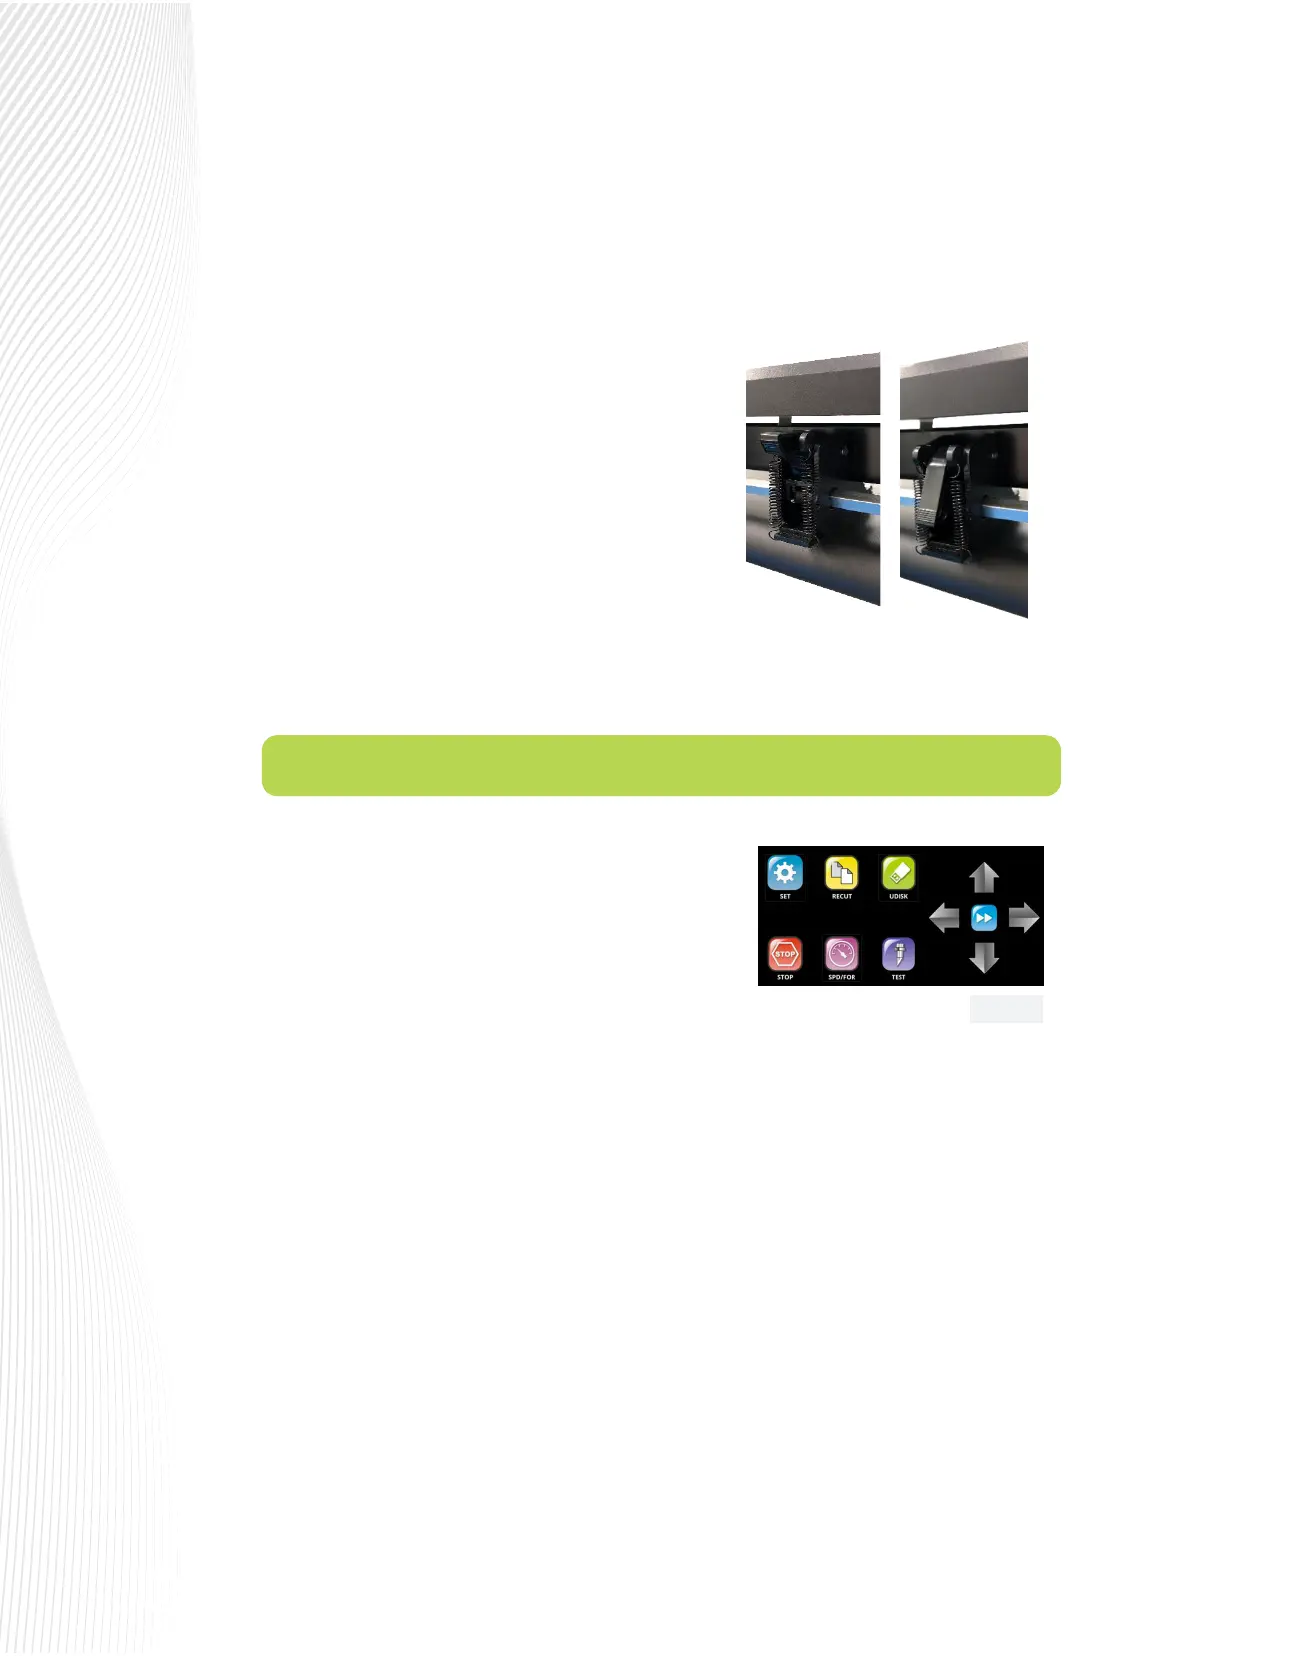
Each pinch roller on the M15 and M24 has a little lever on
the back side. These levers adjust the amount of pressure
applied to the media. Increasing the pressure can help
with slicker or thinner media such as heat transfer lm. It
may be advisable to reduce the pressure to accommodate
thicker materials like glass etch stencil. For normal use, like heat
transfer vinyl and sign vinyl, keep the levers in the higher position:
Fig. 1.8.1
 Loading...