Do you have a question about the Myenergi zappi and is the answer not in the manual?
Procedure for WiFi setup using WPS on your router and device.
Manual procedure for connecting device to WiFi via its access point.
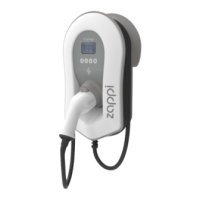
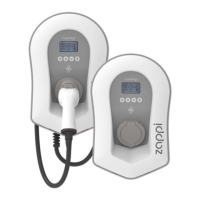
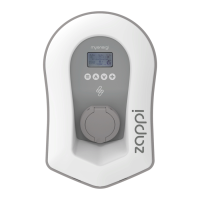
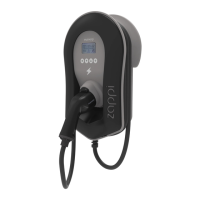
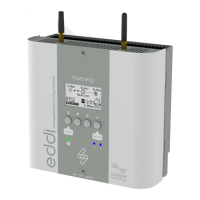
The provided document outlines the operation manual for the vHub & WiFi Module, integrated into myenergi zappi and eddi devices. This module enables connectivity to a local network (LAN) and provides built-in Hub functionality (vHub), eliminating the need for a separate hub to link myenergi devices to the internet or use the myenergi app.
The vHub & WiFi Module serves as a central connectivity component for myenergi zappi and eddi devices. Its primary function is to allow these devices to connect to a home's local network, either via a wired Ethernet connection or wirelessly through WiFi. Once connected, the vHub functionality enables internet access for the myenergi devices, facilitating communication with the myenergi app and other online services. This integration streamlines the setup process and reduces the number of separate devices required for a fully functional myenergi ecosystem. The module is designed to be user-friendly, offering both quick setup options like WPS for WiFi and a more detailed manual configuration process. It also includes features for securing the WiFi connection with a custom password, ensuring network integrity and preventing unauthorized access to device settings.
The vHub & WiFi Module offers flexible usage options, catering to different home network configurations.
Wired Ethernet Connection: For users who prefer a stable, wired connection, the module includes an RJ45 Ethernet port. To utilize this, an Ethernet cable is simply plugged into the port inside the zappi or eddi device and connected to the home router. It is crucial that the Ethernet cable is connected before powering on the device. When an Ethernet cable is detected, the WiFi setting is automatically disabled, ensuring a seamless transition to the wired connection. This method provides a reliable and often faster connection, ideal for environments where wireless interference might be an issue.
Wireless WiFi Connection: For wireless connectivity, the module supports WiFi, offering two primary setup methods:
WPS (Wi-Fi Protected Setup): This is a quick and convenient method for routers that support WPS. Users simply press the WPS button on their home router, then navigate to the 'WiFi Config...' menu on their zappi device and select 'WPS' to set it to 'ON'. The device will then automatically connect to the router. The zappi screen will display "In Progress" during the connection attempt and "Connected" once successful, which may take up to two minutes.
Manual WiFi Configuration: If WPS is not available or preferred, users can manually configure the WiFi connection. This involves:
vHub Functionality: The vHub functionality is integrated into the zappi/eddi devices with the WiFi module. To enable this, the zappi device must first be set as the "master" device. This is done by navigating to 'Other Settings' > 'Advanced...' > 'Linked Devices' and ensuring 'Set Master V' is 'on'. Subsequently, within the 'Linked Devices' menu, selecting 'vHub' and pressing '+' will enable the vHub. Once enabled, the vHub will automatically be added to the linked devices list, displaying the same serial number as the zappi device. This allows the zappi/eddi to act as the central hub for other myenergi devices, facilitating their connection to the internet and the myenergi app without additional hardware.
The manual primarily focuses on initial setup and connectivity, with maintenance aspects being more about ensuring correct configuration rather than physical upkeep.
Configuration Checks:
Troubleshooting and Support: The manual includes a section for technical support, advising users to contact the support team by scanning a QR code if they experience any issues during or after setup. This indicates that complex maintenance or troubleshooting beyond basic configuration checks should be handled by professional support. The emphasis is on direct contact for the quickest solution, suggesting that the device is designed for minimal user-level maintenance once correctly configured.
| Warranty | 3 years |
|---|---|
| Solar Compatibility | Yes |
| Protection Rating | IP65 |
| Connector Type | Type 2 |
| Compatibility | All EVs with Type 2 connector |
| Connectivity | Wi-Fi, Ethernet |
| Smart Features | App control, Eco modes |
| Dynamic Load Balancing | Yes |