10
2 - Machine Operation
13 2
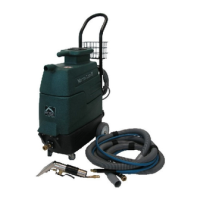
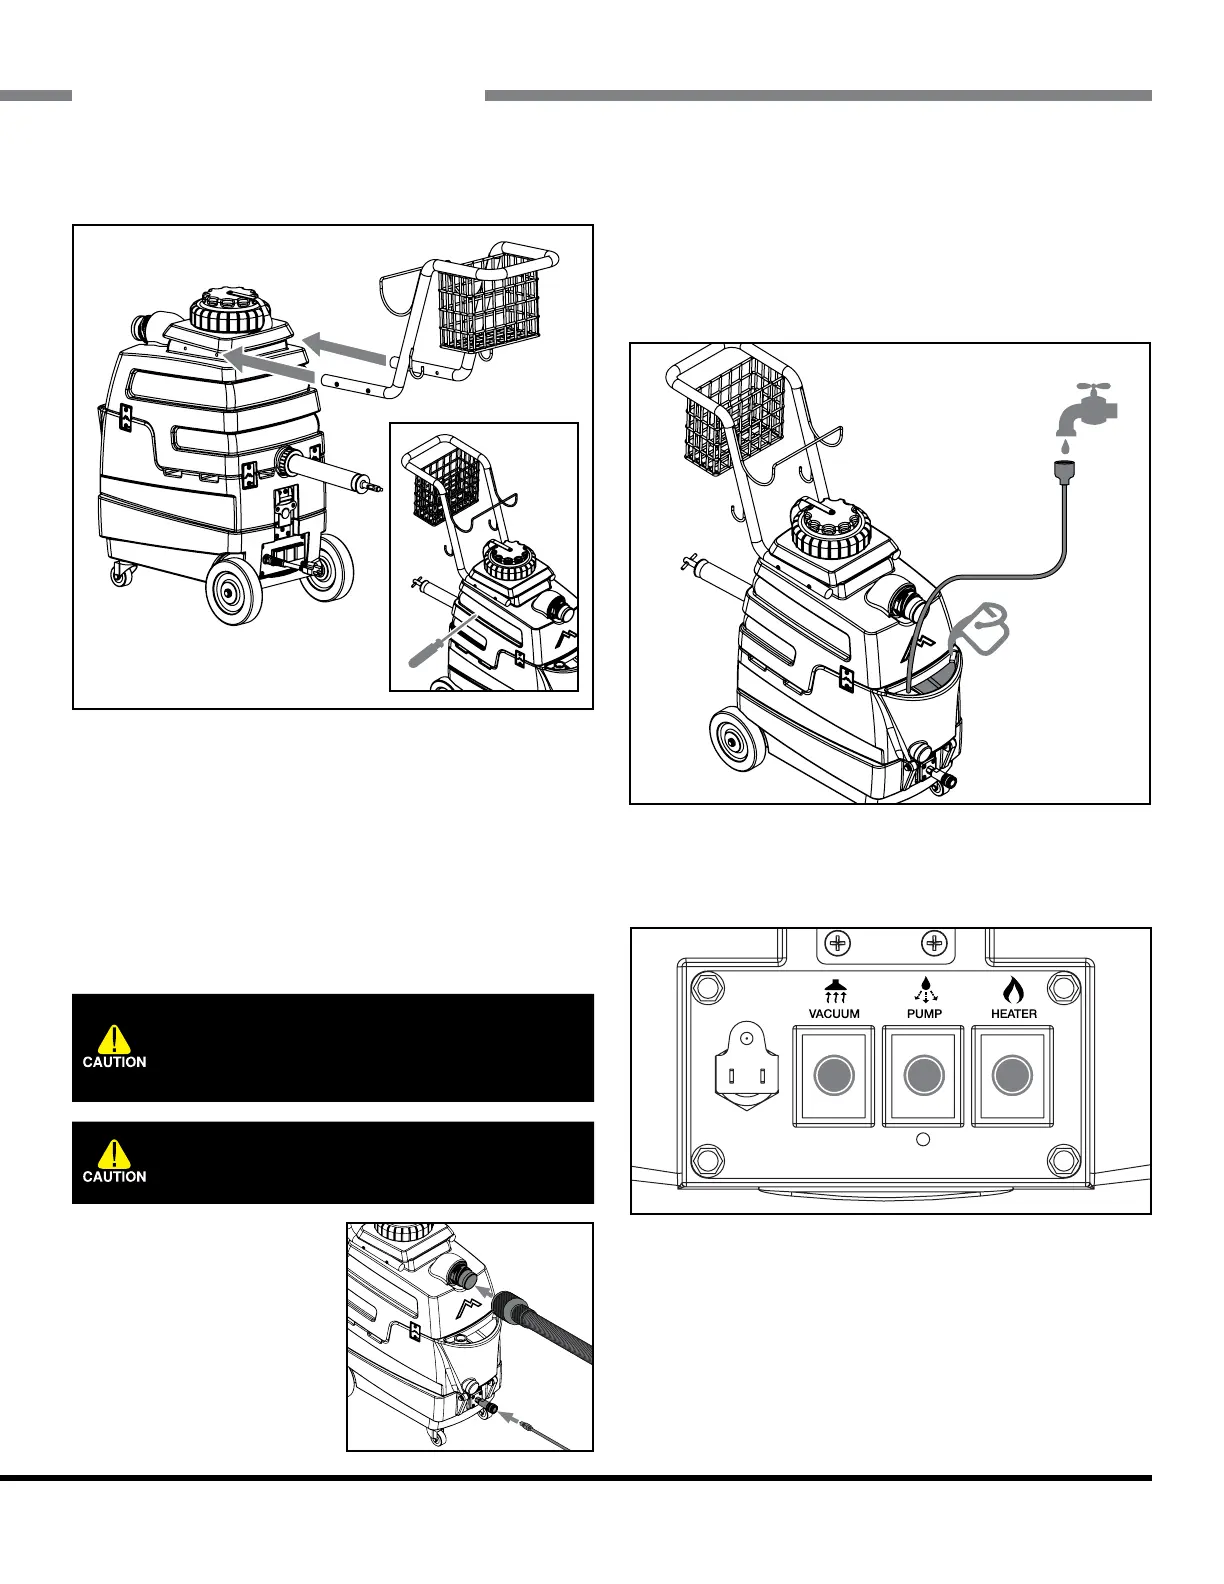
2.1 - Installing the Handle
Slide the handle into position and line up the holes with
the threaded inserts on the machine. Thread screws into
the front two holes by hand rst, and then the back two.
Tighten all the screws in an X pattern with a screwdriver. ♦
2.1 - Powering the Mytee Lite™
To power the machine, plug the power cord into a
grounded 20 amp outlet. ♦
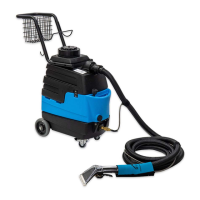
2.2 - Connecting Hoses & Cleaning Tools
Vacuum & Solution Hoses
Connect the vacuum hose
to the Cu-Lynx hose con-
nection on the vacuum tank.
Twist clockwise to lock into
place.
Connect the solution hose
to the brass quick connect
tting on the base of the machine. To connect, pull back
the ange on the female tting from the hose and slide
onto the male tting on the machine. Release to lock
ttings together. ♦
2.3 - Filling the Solution Tank
The solution tank can be lled up via the faucet ll hose
or from a bucket via the opening. ♦
2.4 - Operating the Mytee Lite™
Switching On The Unit
In order to avoid vapor locking the unit, use the following
procedure to switch on the components:
1. Turn pump switch on.
2. Pull the lever on the cleaning tool to release air in the
line. Hold lever until a steady ow of water comes out of
the wand.
Do not operate machine with a spray nozzle
orice smaller than #2. This can damage the
pump switch.
Do not pull on hoses in order to move the
unit. Use only the appropriate handles.
 Loading...