Step 1
• Cut the cable to the desired length. Take
care to ensure the ends are cut square.
Step 2
• Insert the cable between the stripper blades of the
crimping tool so that it touches the metal stop.
• Squeeze the handles and pull the tool
to remove the cables outer sheath and
expose the insulated inner conductors.
• Ensure the insulation on the inner
conductors is not damaged.
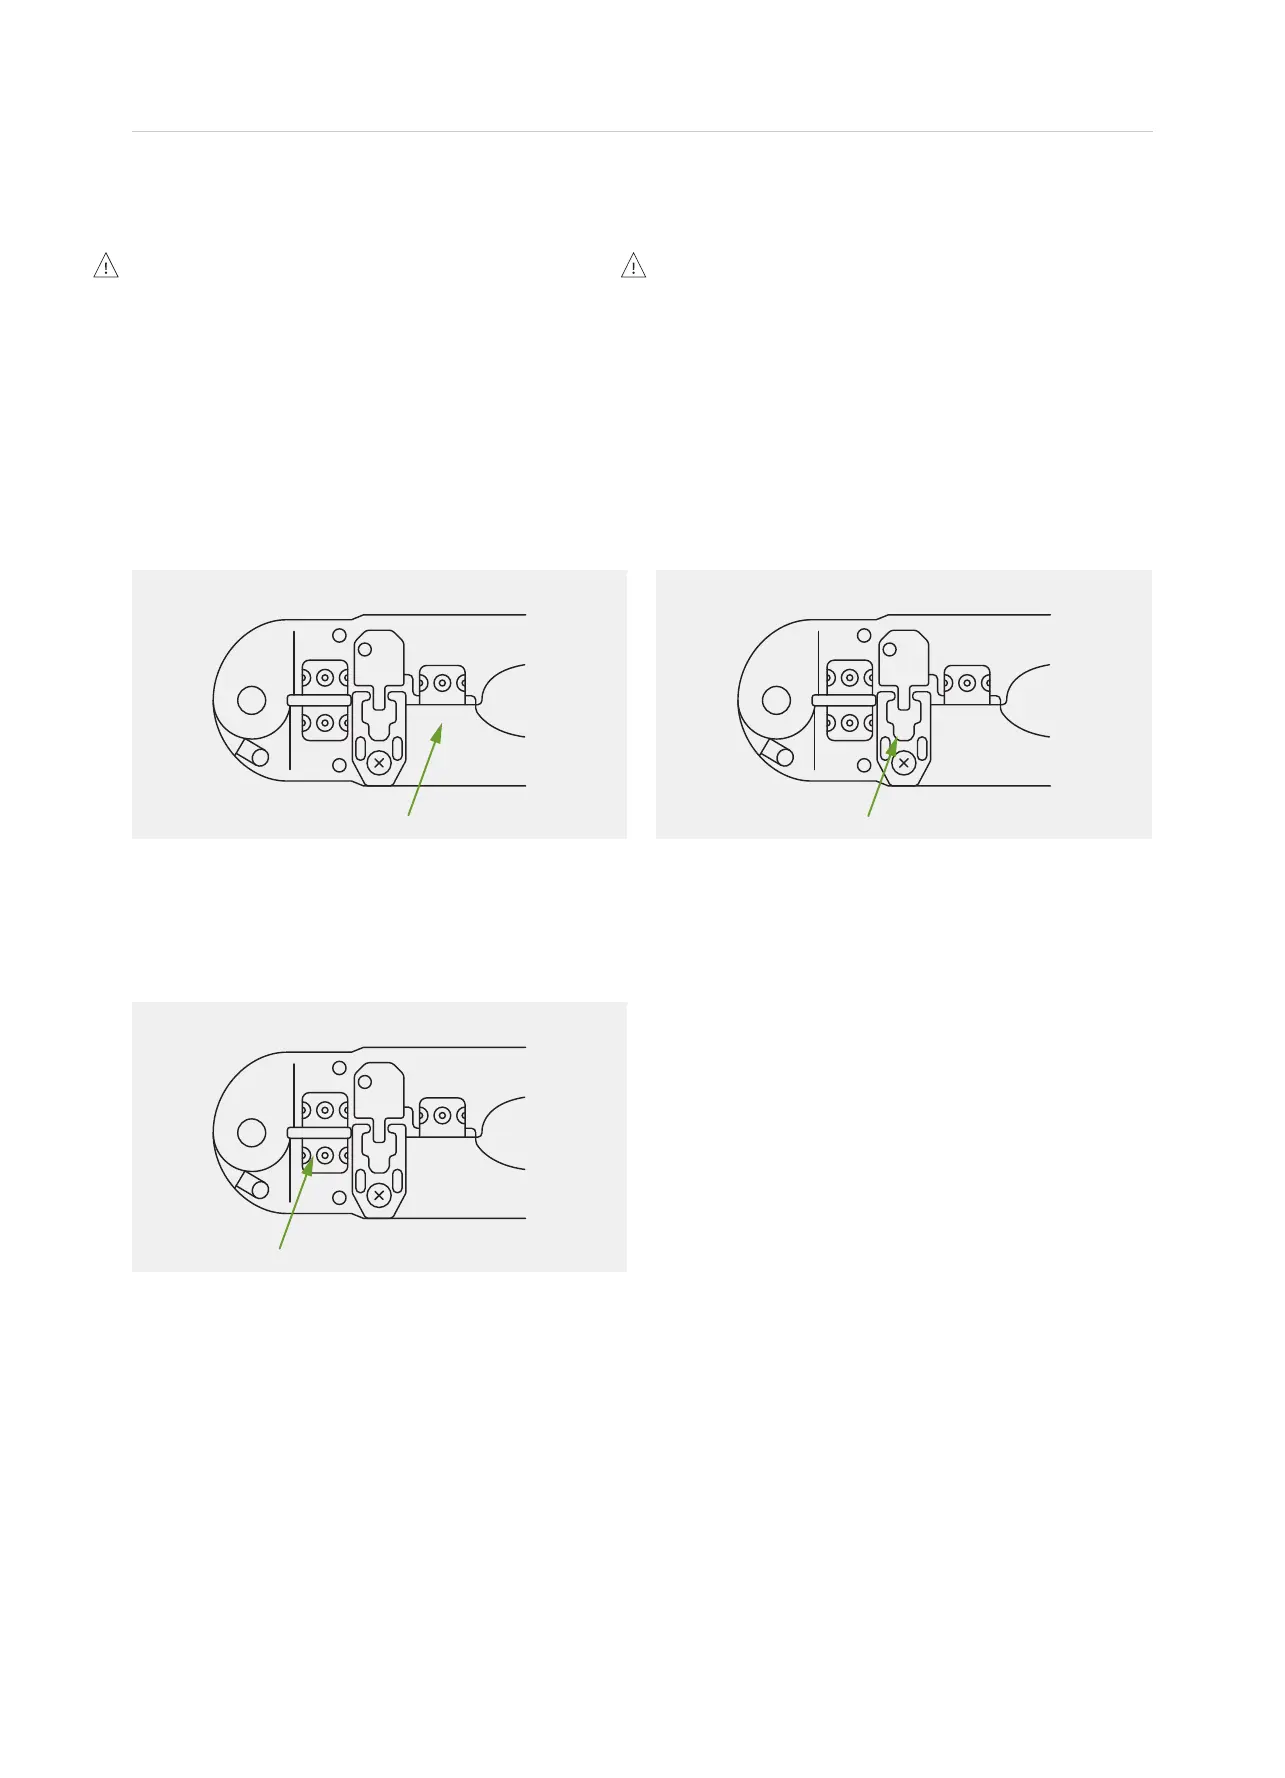
Step 3
• Insert a plug into the plug holder of the
crimping tool. It will click into place.
• Insert the prepared cable end into the plug, taking
care to ensure the coloured inner conductors
are in the same order and position each time.
• Squeeze the handles rmly to set the
contacts and secure the cable.
05 Crimping Instructions
Never insert uncrimped plugs into
the sockets.
Doing so may cause damage to the socket
contacts. Crimped plugs should insert easily into
sockets until the locking tab clicks into place.
Plugs that have been incorrectly crimped may
be difcult to insert and may cause damage
to the socket contacts if forced into place.
Cable connections are polarity conscious.
It is essential that every cable termination for
each installation is performed with the coloured
inner conductors in the same order and position
in the plug. Any two cable ends should appear
identical if held side by side (provided they are of
the same cable type – i.e. shielded or unshielded).
6 | MyZone 2 Installation Manual