Chapter 5 Installation
35
If the hexagon socket head cap screw is not tightened with the specified torque, the reduction gear
does not deliver the designed performance. In addition, it could cause injury and damage to the
customer’s device and the reduction gear.
If there is foreign matter adhering to the mounting surface, the mounting surface of the reduction
gear may be deformed, which could cause deterioration of performance, such as abnormal noise
and torque irregularity and durability.
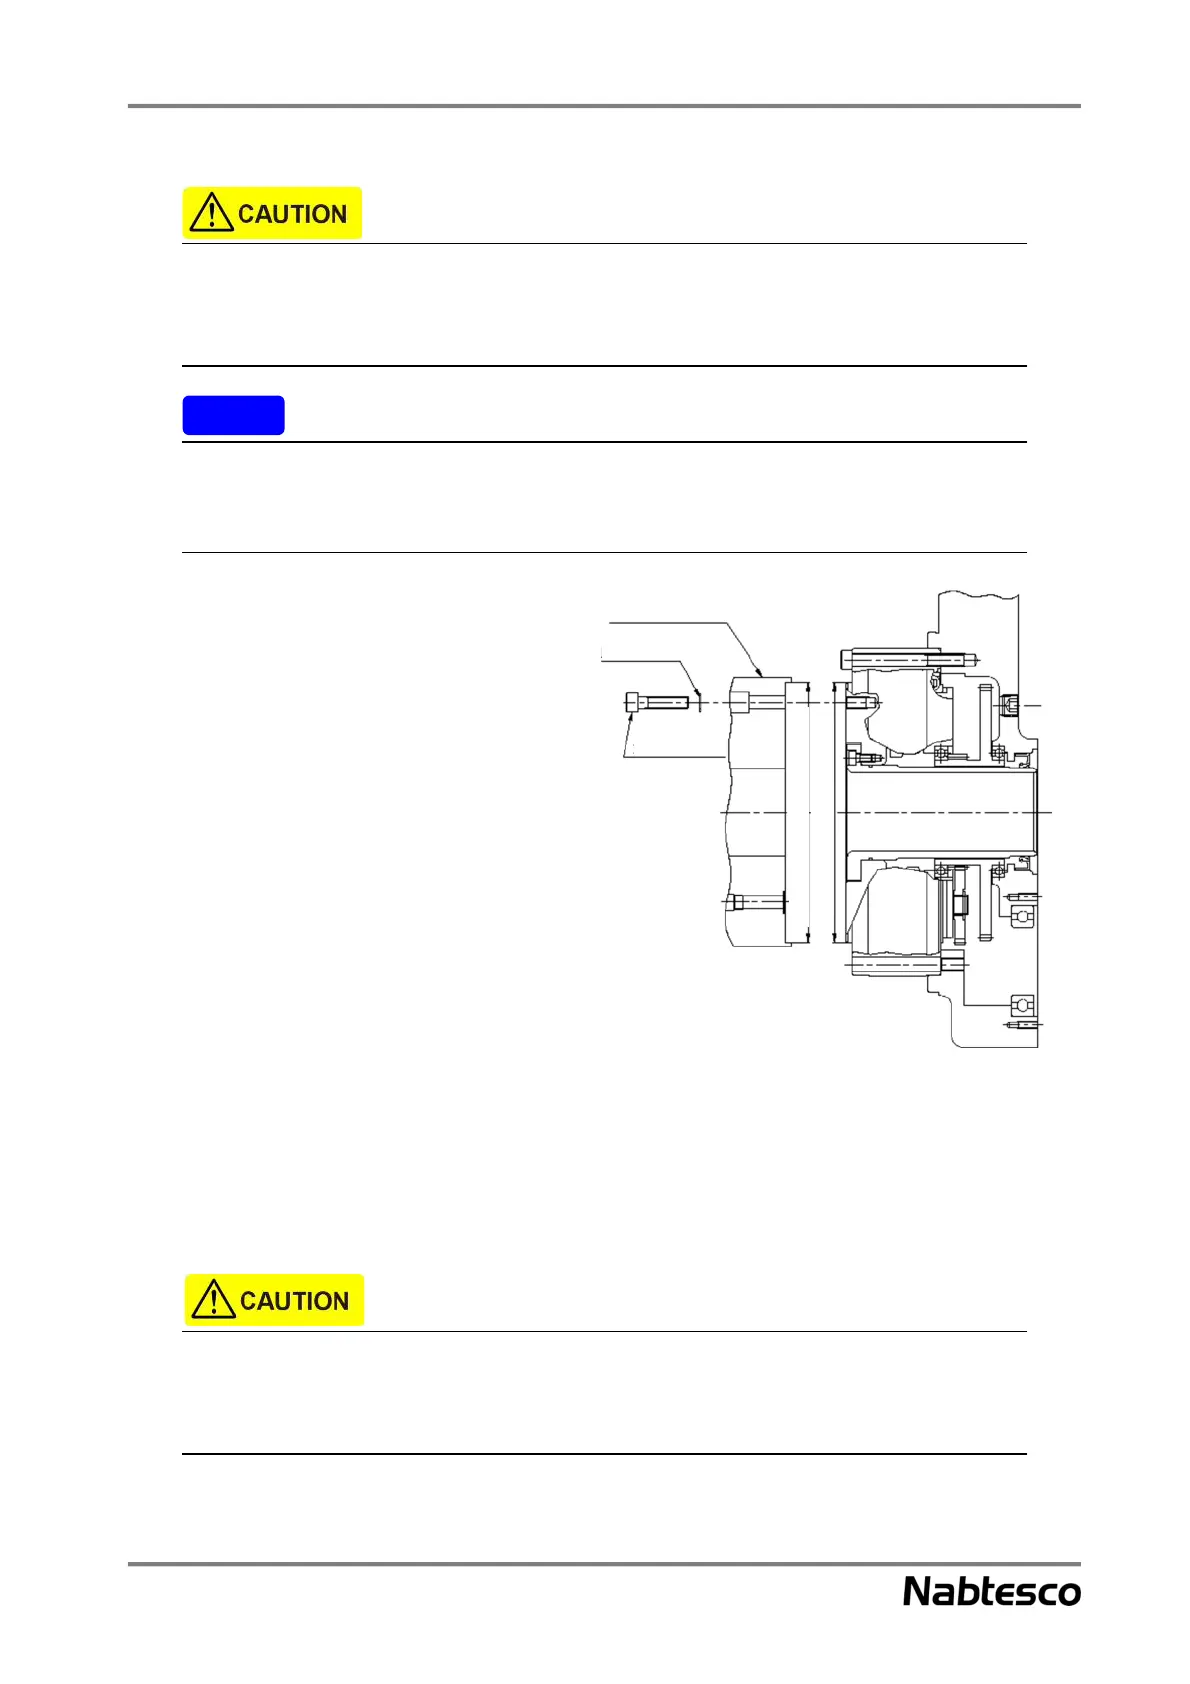
• Align the mounting holes of the
Step 6
shaft installation component with
the positions of the tapped holes of
the reduction gear (shaft section),
and then attach the shaft
installation component to the
reduction gear.
• Confirm that the centering shaft of
the reduction gear (shaft section) is
correctly fitted into the centering
hole of the shaft installation
component.
• Check that there is no foreign
matter adhering to the mounting
surface.
• Using the hexagon socket head cap
screw and serrated lock washer for the hexagon socket head cap screw, fix the shaft installation
component to the reduction gear.
• Be sure to tighten the hexagon socket head cap screw with the specified tightening torque.
(Reference: “4.2.3. Reduction gear mounting bolts”, “4.2.4. Serrated lock washer for hexagon
socket head cap screw”, and “5.1. Bolt tightening torque”)
If the hexagon socket head cap screw is not tightened with the specified torque, the reduction gear
does not deliver the designed performance. In addition, it could cause injury and damage to the
customer’s device and the reduction gear.
Note
Fig. 5-18
component
lock washer
socket head
Mating section of reduction gear


 To Next Page