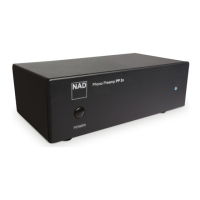
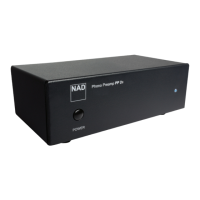
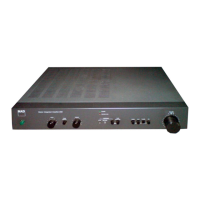
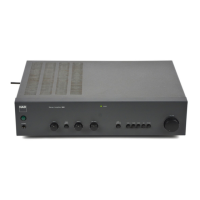
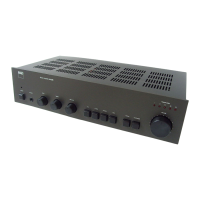
• Low noise, wide band MC/MM phono stage
• Connect your turntable to most ampliers and receivers
• External 23.5V DC power supply
• Gold plated input sockets
• LED power indicator
• High quality components
SETUP
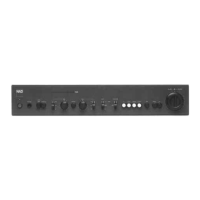
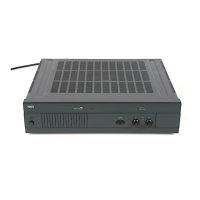
A CONNECT TURNTABLE TO PP 2e
1 Ensure all ancillary equipment is turned o and the NAD PP 2e not yet
connected to its dedicated power Supply.
2 Connect the leads from the turntable to the appropriate input sockets
on the back of the NAD PP 2e - MC for moving coil, MM for moving
magnet cartridge. Make sure you connect the Right channel to the
Right input; the Left channel to the Left input. Normally, red connector
denotes the Right Channel; white denotes the Left channel.
3 Once the turntable leads are connected, set the MC/MM switch on the
back of the NAD PP 2e to the correct input setting.
B CONNECT PP 2e TO AN AMPLIFIER OR RECEIVER
1 Connect suitable RCA leads from the NAD PP 2e to the amplier or
receiver. Always use a so-called “Line-Level” input such as CD, AUX or
DISC. Never connect the lead from the NAD PP 2e to an input marked
PHONO or turntable.
2 Again, make sure to connect the red plug to the Right channel, and the
white plug to the Left channel of the amplier or receiver.
3 If the lead from your turntable is equipped with a separate earth (GND)
lead, connect this directly to a ground connection on the NAD PP 2e.
Use the thumb screw terminal “GND” which provides the grounding.
C CONNECT THE POWER SUPPLY TO THE PP 2e
1 Connect the dedicated Plug-in Power Supply to the NAD PP 2e
(marked23.5V).
2 Insert the Plug-in Power Supply to a live mains socket; the blue LED on
the NAD PP 2e’s front panel will light up. Installation is now complete.
As the power consumption of the NAD PP 2e is negligible, it can always be
left switched on. It is recommended however that you disconnect the Plug-
in Power Supply from the mains if you are not going to use the NAD PP 2e
for a prolonged period of time (such as a holiday).
D OPERATION
1 With setup completed and the NAD PP 2e plugged in to a live mains
socket, power up the turntable and the amplier or receiver the NAD
PP2e was connected.
2 Ensure that the amplier or receiver is set to the source or input where
the NAD PP 2e is connected and start playback of a vinyl record in the
turntable.
3 Adjust the volume level of the amplier or receiver accordingly.
®
PHONO PREAMPLIFIER PP 2e
User Guide