Page 58
7-7 Replacing the Front Acrylic
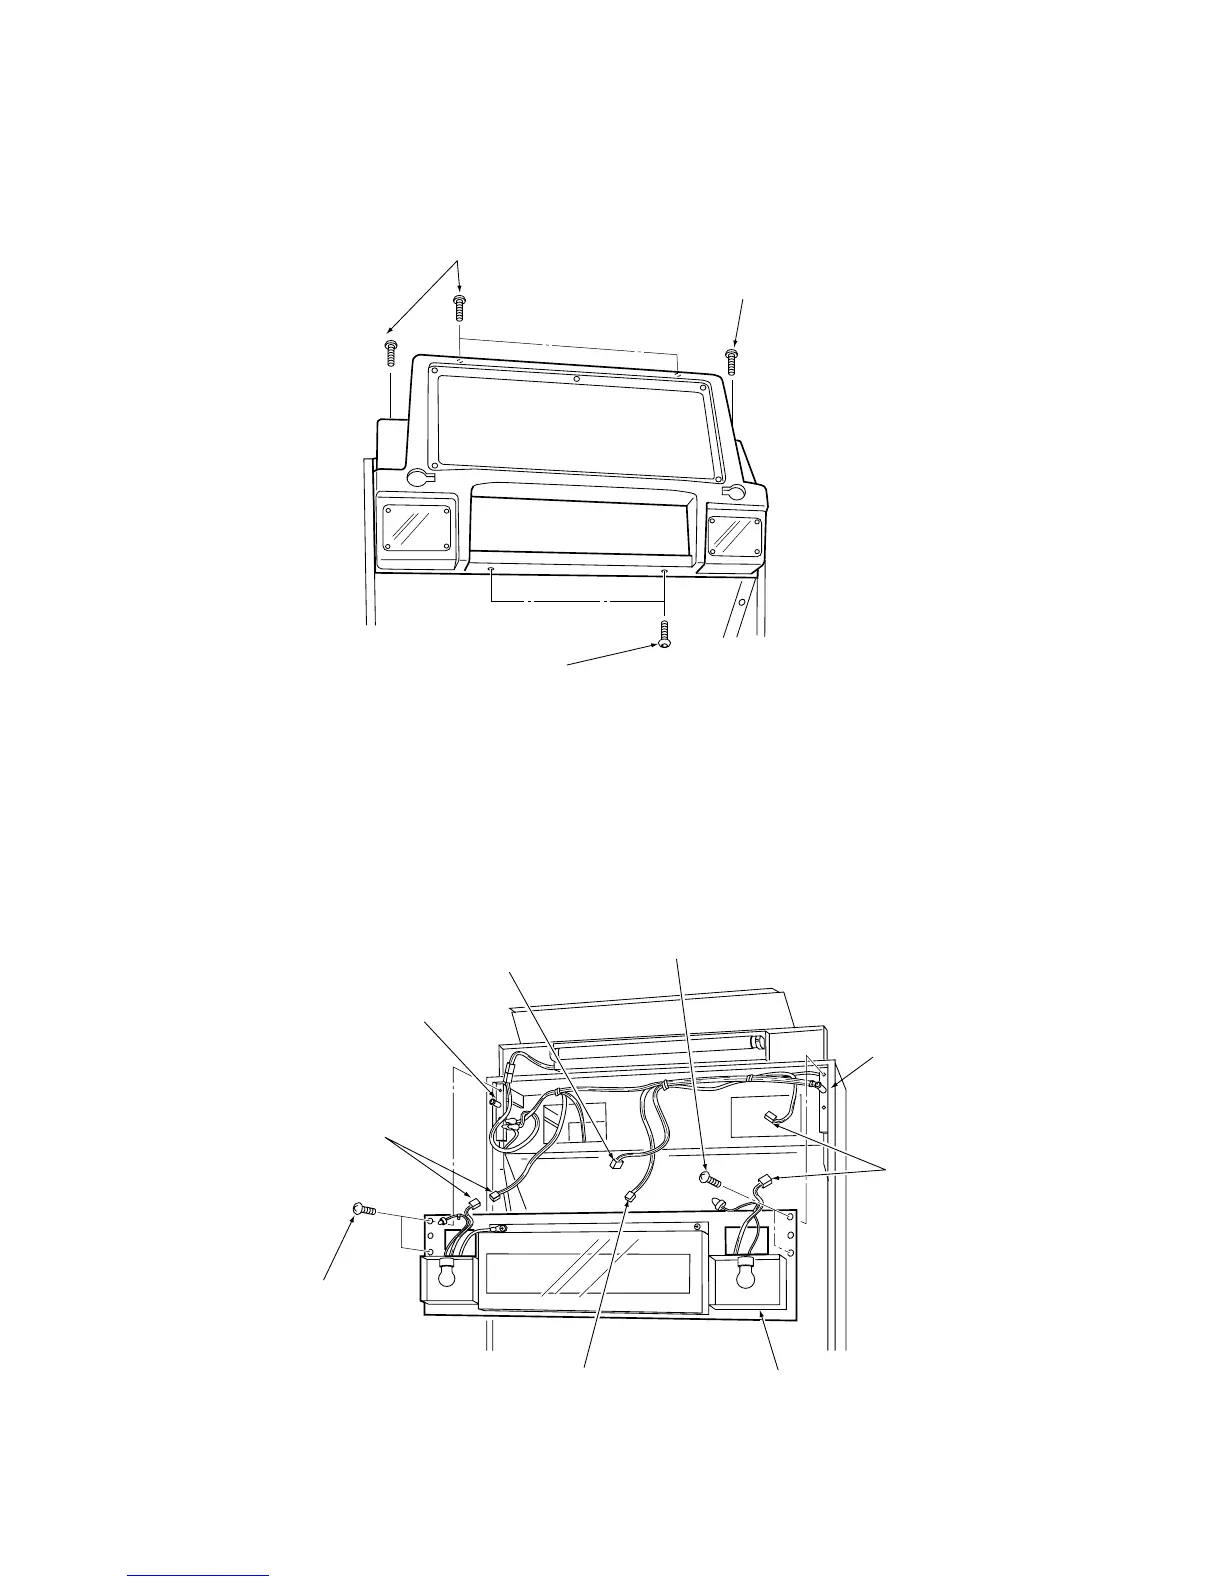
1. Remove 6off security screw (M5x12) and remove the Header Front Cover.
2. Disconnect the two connectors: CN11 and CN12.
3. Remove 4off Pozi head screws (M5x25) and pull the Header Panel forward a
little to unfasten it from the hooks, and disconnect the connectors: CN45 and
CN46. Remove the Header Panel.
Note: Take care not to strain the wires when unhooking the panel and before
disconnecting the connectors: CN45 and CN46.
Pozi head screw
(M5x25)
Connector
CN46
Hook
Connectors
CN12
Header Panel
Connector
CN45
Hook
Connectors
CN11
Pozi head screw
(M5x25)
Security screw
(M5x12)
Security screw
(M5x12)
Security screw
(M5x12)
 Loading...