Do you have a question about the NanoCam Plus NCP-DVRHD2 and is the answer not in the manual?
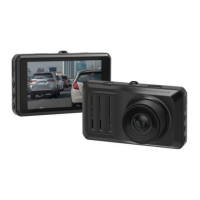
Highlights of the NanoCam Plus Car DVR, including video resolution and recording capabilities.
List of all items included in the product packaging.
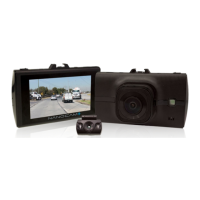
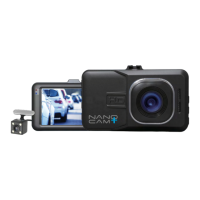
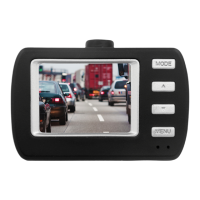
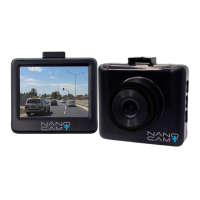
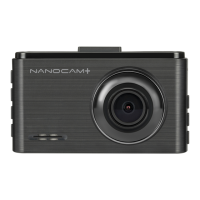
Diagram and labels for the physical components of the Car DVR.
Instructions on how to properly insert and remove the Micro SD card.
Steps for mounting the dash cam and connecting the rear camera.
Guide for cleaning the window and attaching the rear camera securely.
Instructions on how to adjust the camera's vertical and horizontal viewing angles.
Steps for connecting the Car DVR to the vehicle's power supply using the included charger.
How to manually and automatically power the dash cam on, off, and reset it.
Guide on transferring and playing recorded video files to a personal computer.
Steps for formatting the SD card and setting the device's date and time.
Instructions on recording video, locked recording, and selecting video modes.
Accessing and configuring various settings for the dash cam.
Adjusts video and photo quality settings, affecting file size and detail.
Sets the duration of video clips before a new one is created.
Enables recording to start/stop based on detected motion in front of the camera.
Monitors for impacts when the vehicle is parked and records a clip if detected.
Defines the sensitivity required to trigger emergency recording upon impact.
Controls the audio output volume for the dash cam's speaker.
Optimizes footage color balance for different lighting conditions.
Adjusts the color contrast of the dash cam's photos and videos.
Manually controls the light sensitivity settings for video recording.
Determines if the DVR automatically starts recording when the vehicle is turned on.
Sets a timer for the screen to turn off after the car DVR has started recording.
Allows muting the microphone or enabling audio recording.
Sets the internal clock for date stamping footage.
Selects the preferred language for the device menus.
Enables stamping the current date onto the recorded footage.
Sets the duration the DVR will record after the vehicle is parked.
Sets the time zone for accurate timestamping of recordings.
Formats the Micro SD card, erasing all data and preparing it for use.
Resets the Car DVR's settings back to their original factory defaults.
| Video Resolution | 1920x1080 |
|---|---|
| Display | LCD |
| Loop Recording | Yes |
| G-Sensor | Yes |
| Memory Card Type | MicroSD |
| Storage | Up to 32GB |
| Viewing Angle | 120 degrees |
| Night Vision | Yes |
| Resolution | 1080p |