62 | Connect to Lowrance Displays
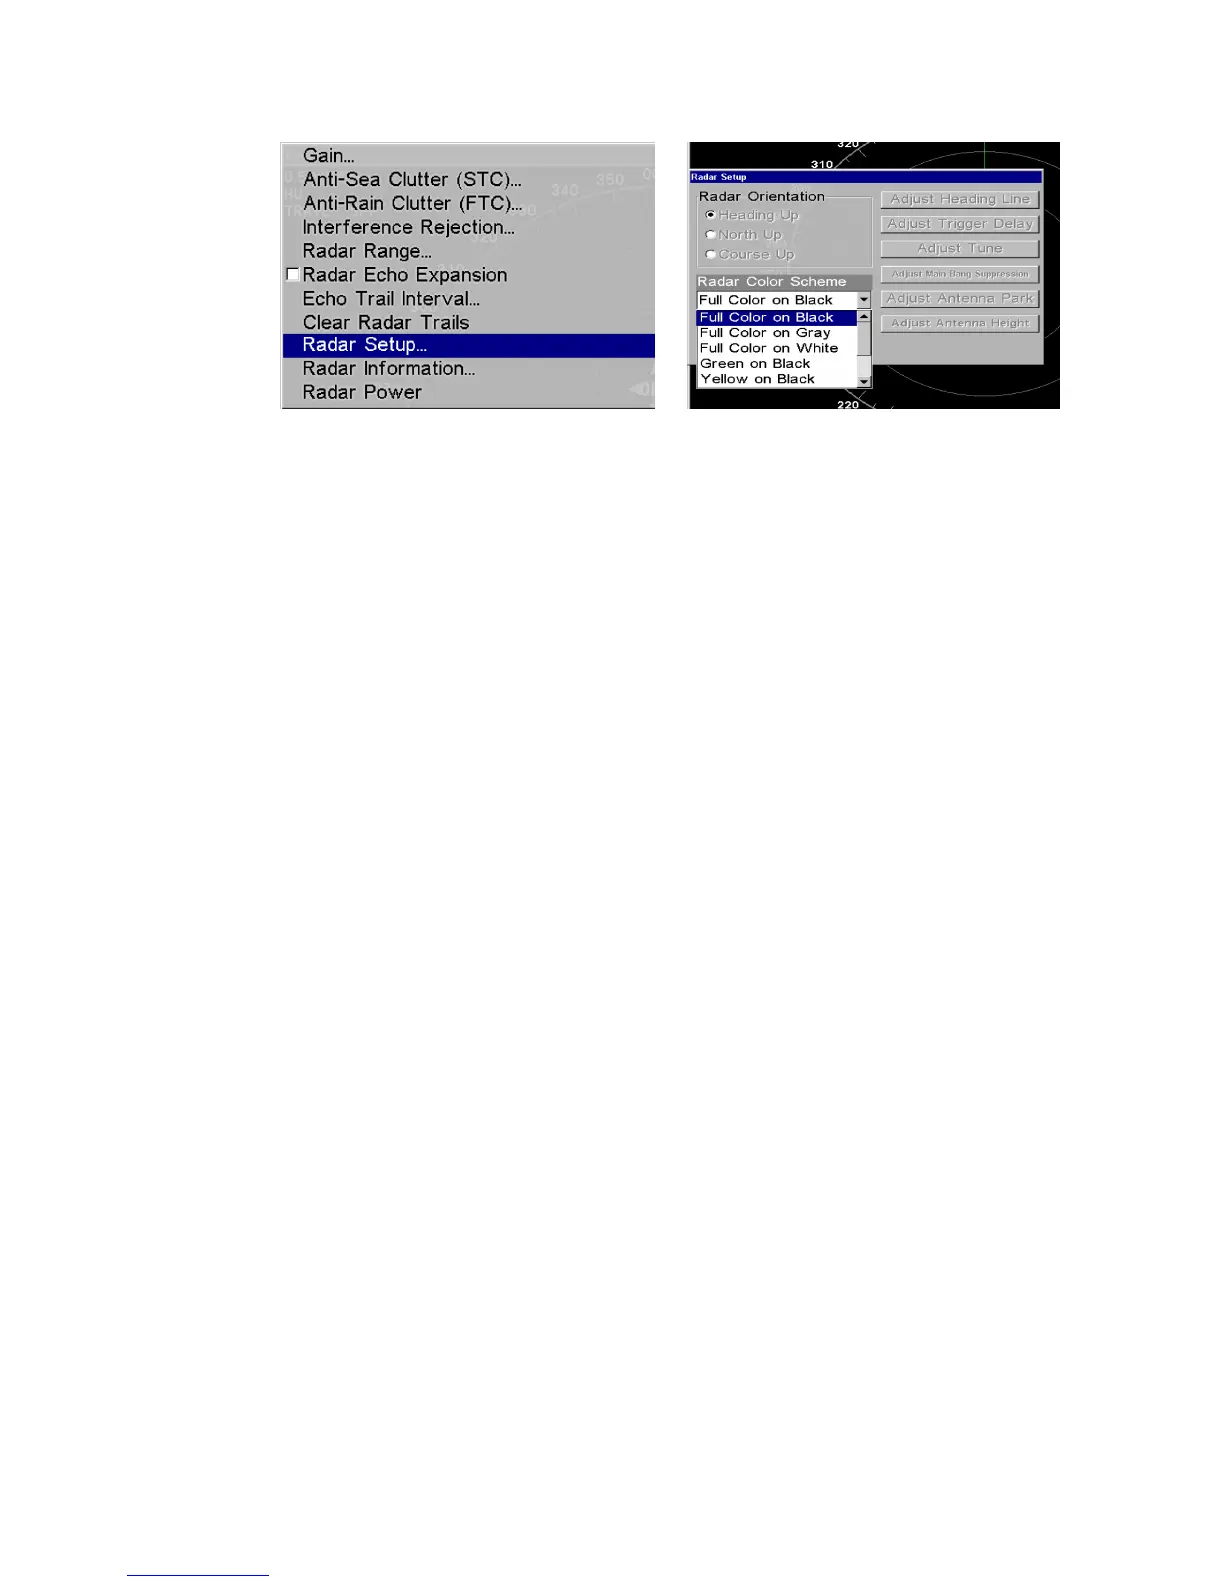
Radar Setup selected from Radar menu (left). Radar Setup menu with Full Color on Black highlighted
(right).
• To set the radar to Heading Up, highlight
Heading Up
and press Ent.
• To display the radar images in full color, press to select
Radar Color Scheme
and press
Ent.
• Use to highlight one of the three full color options and press Ent. Press Exit to
return to the main page display.
Radar Setup
The two setup features to be modified are Adjust Trigger Delay and Adjust Heading Line.
This will be set up in that order, but before making any adjustments, make sure the display is
set to a range of 0.125 nautical miles and that Gain, Anti-Sea Clutter (STC), Anti-Rain Clutter
(FTC) and Trigger Delay all have been set to zero percent.
Trigger Delay Preparation
Range
• To reset range to 0.125 nm, make sure you are on the Radar Only page and press Menu.
• Use to select
Radar Range
and press Ent, which will call up the Radar Range list.
Press to select 0.125 nm and press Ent. You also can set the range to 0.125 nm from
the radar screen by using the zin and zout keys.
Gain
• To set Gain to zero, press Menu, select
Gain
and press Ent.
• Press until the Gain is set to zero percent. Press
Exit
. (Notice the corresponding value
in the upper right-hand corner of the screen.)
Note: When adjusting Gain back to a useable level, increase the level until you see a light
peppering on the display. Also remember, you will have to adjust gain every time you change
ranges.
Anti-Sea Clutter
• To set Anti-Sea Clutter to zero, press Menu, select
Anti-Sea Clutter (STC)
and press Ent.
• Press until the Anti-Sea Clutter is set to zero percent. Press Exit. (Notice the
corresponding value in the upper right-hand corner of the screen.)
Anti-Rain Clutter
• To set Anti-Rain Clutter to zero, press Menu, select
Anti-Rain Clutter (FTC)
and press
Ent.
• Press until the Anti-Rain Clutter is set to zero percent. Press Exit. (Notice the
corresponding value in the upper right-hand corner of the screen.)
 Loading...