Chapter 8: Initial Terminal Imaging
Introduction
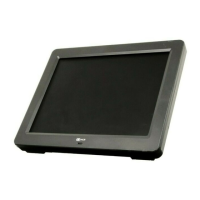
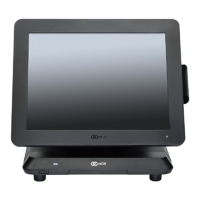
Factory default HDD/SSD images for the NCR 7613 are distributed on bootable auto-
imaging USB Flash Drive media. The following procedures describe how to
apply/restore an image on the terminal.
Warning: Using this procedure will replace any previously stored OS images
created using the Disk Image Backup and Recovery Tool.
Note: A USB Keyboard is required to perform this operation.
Note: For more information, refer to the NCR Imaging Suite User Guide.
Imaging Procedure
1. Connect the auto-imaging USB flash drive to the target terminal that you wish to
image.
2. Connect a USB keyboard to the terminal.
3. Power on the terminal and boot from the USB Flash Drive.
Note: This can be done by pressing [F8] during the boot and choosing the USB
option), or by entering BIOS Setup and modifying the boot order.
4. The system boots in the Windows PE OS environment and starts a script that
requests confirmation to completely re-image the terminal.
5. When imaging is complete, remove the USB drive and keyboard.
 Loading...