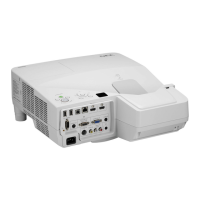
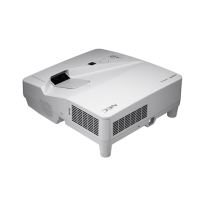
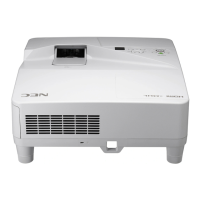
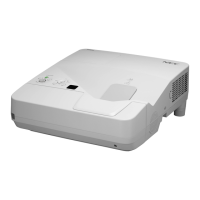
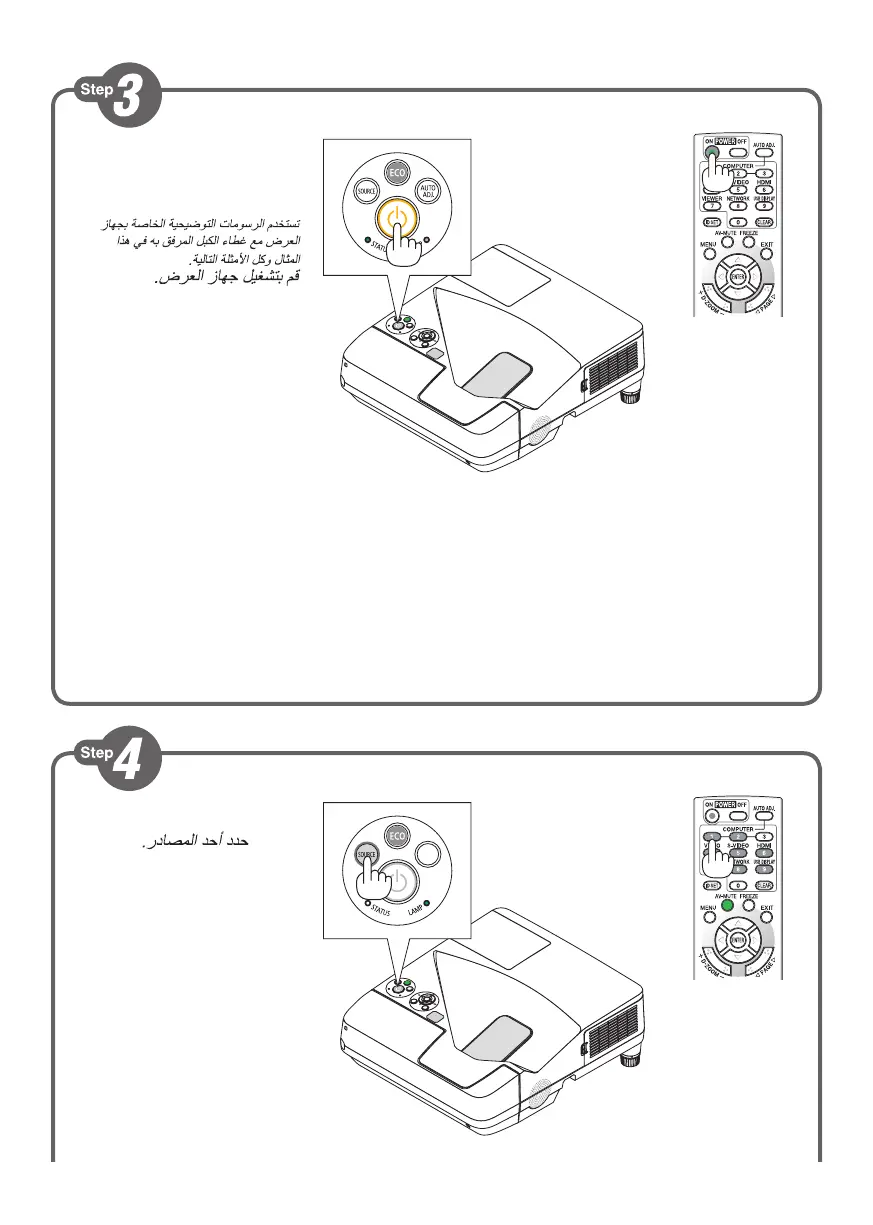
Drawings of the projector with the cable
cover attached to it are used in this and
all subsequent examples.
Turn on the projector.
V tomto a všech následujících příkladech jsou použity
kresby projektoru s připojeným krytem kabelu.
Zapněte projektor.
I dette og alle følgende eksempler er
projektoren vist med kabelafdækningen
monteret.
Tænd projektoren.
Σε αυτό το παράδειγμα και σε όσα ακολουθούν,
χρησιμοποιούνται σχέδια της συσκευής προβολής με το
κάλυμμα καλωδίων συνδεδεμένο σε αυτήν.
Θέστε σε λειτουργία τον
προβολέα.
Tämän esimerkin ja muiden esimerkkien
piirroksissa näkyy projektori, johon on
asennettu kaapelikotelo.
Kytke projektoriin virta.
Ennél és az elkövetkezendő összes példa esetében az
ábrákon a kábelfedél a projektorhoz csatlakozik.
Kapcsolja be a projektort.
Illustraties van de projector met de
kabelbehuizing eraan bevestigd worden
gebruikt in dit voorbeeld en alle volgende
voorbeelden.
Schakel de projector in.
Tegninger av projektoren med
kabeldekselet festet på enheten brukes i
dette og alle påfølgende eksempler.
Slå projektoren på.
W tym i kolejnych przykładach stosowane są rysunki
projektora z zamocowaną osłoną kabli.
Włącz projektor.
Bu ve takip eden tüm örneklerde projektörün kablo
kapağı takılı haldeki çizimi kullanılmıştır.
Projektörü açın.
Select a source.
Vyberte zdroj.
Vælg en kilde.
Επιλέξτε μία πηγή.
Valitse lähde.
Válasszon ki egy forrást.
Selecteer een bron.
Velg en signalkilde.
Wybierz źródło sygnału.
Bir kaynak seçin.
 Loading...