Page 9 of 12
Step 3: Evaluate cable connection procedure/ connect cables
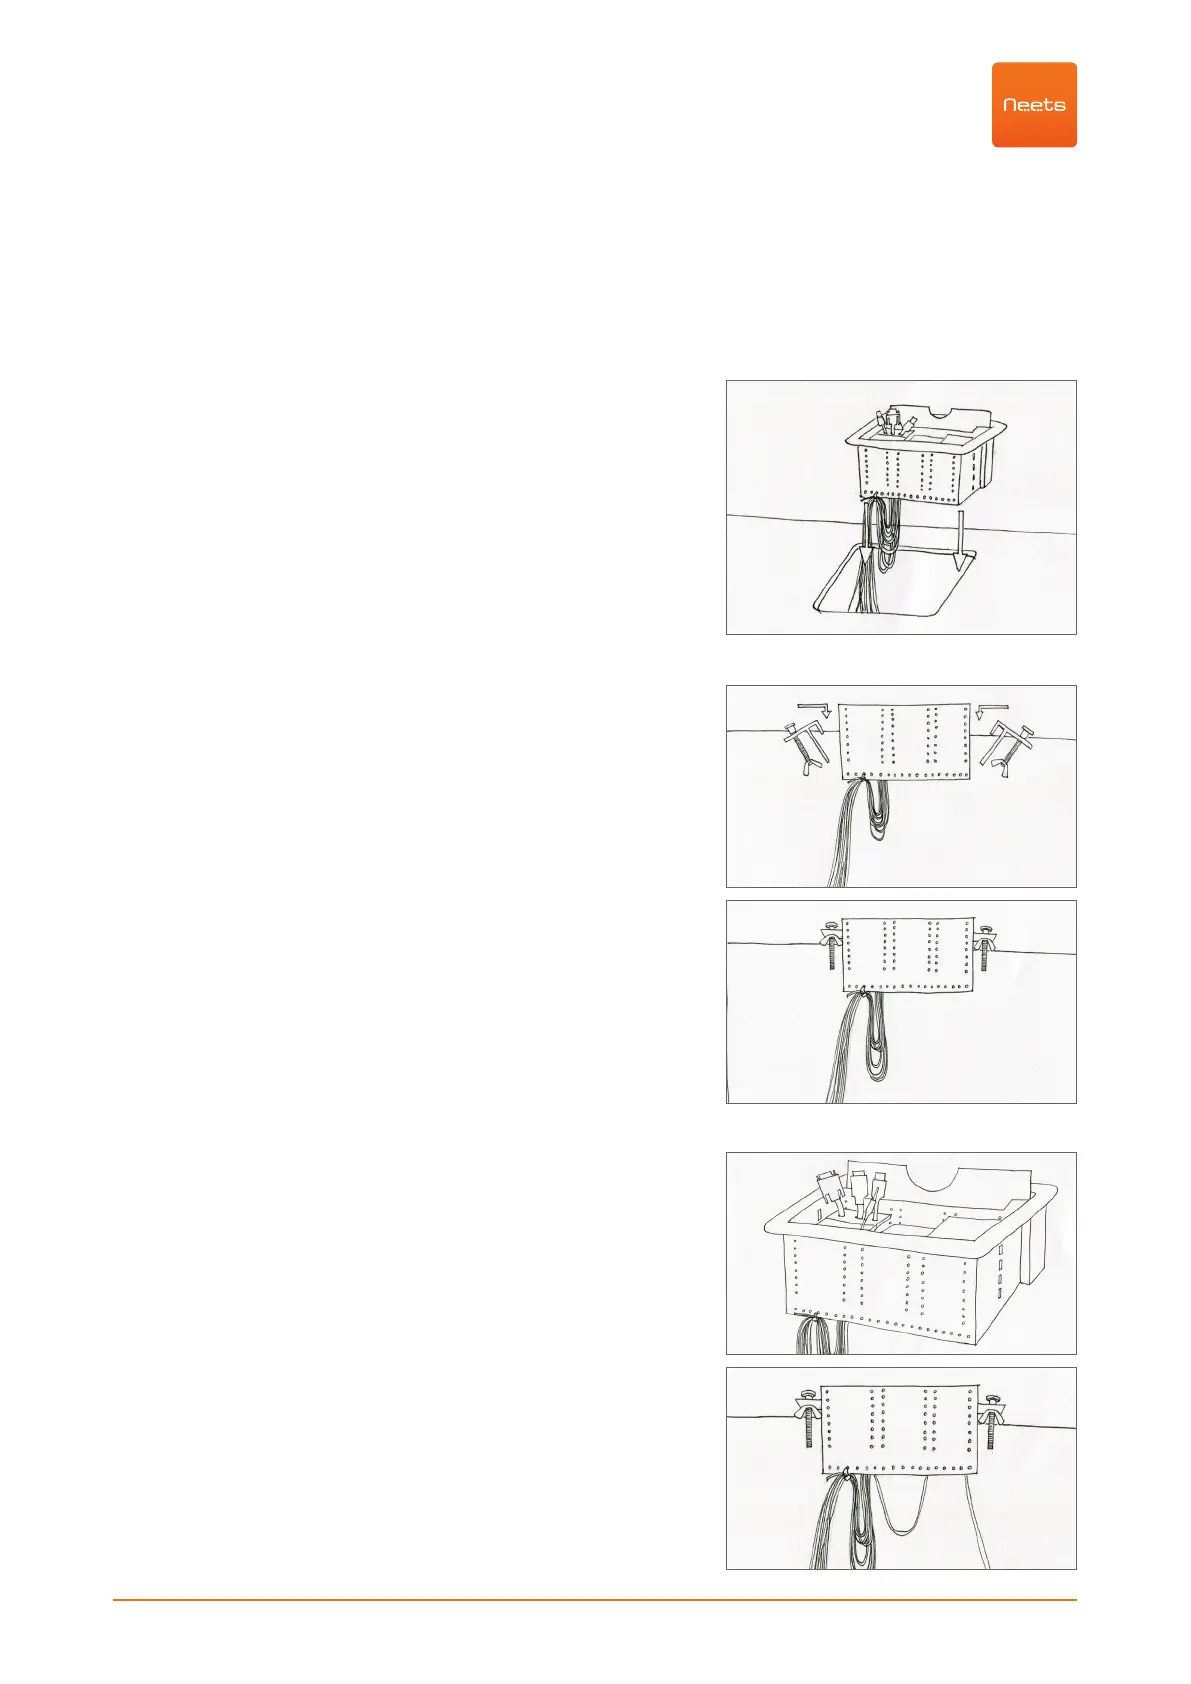
Will it be easier to connect cables to the Neets EasyConnect before mounting it into the tabletop?
YES - then make some or all cable connections before mounting EasyConnect do step 6 and 7 first and then con-
tinue with step 4. NO - then continue with step 4.
Step 4: Insert the unit
Carefully slide the EasyConnect unit into the opening in the
mounting surface.
Step 5: Secure the unit
Working underneath the table surface, place the
mounting brackets into the slots on each side of the unit. Verify
proper alignment before tightening the mounting screws. Turn
screws until the top nut
contacts the mounting surface. Tighten firmly.
NOTICE: maximum thickness of table plate 60 mm
Step 6: Complete cable terminations and connec-
tions
Complete any terminations and connections not done in step 3
above. You can tighten the cables with strips to the lower part of
the EasyConnect.