Page 11
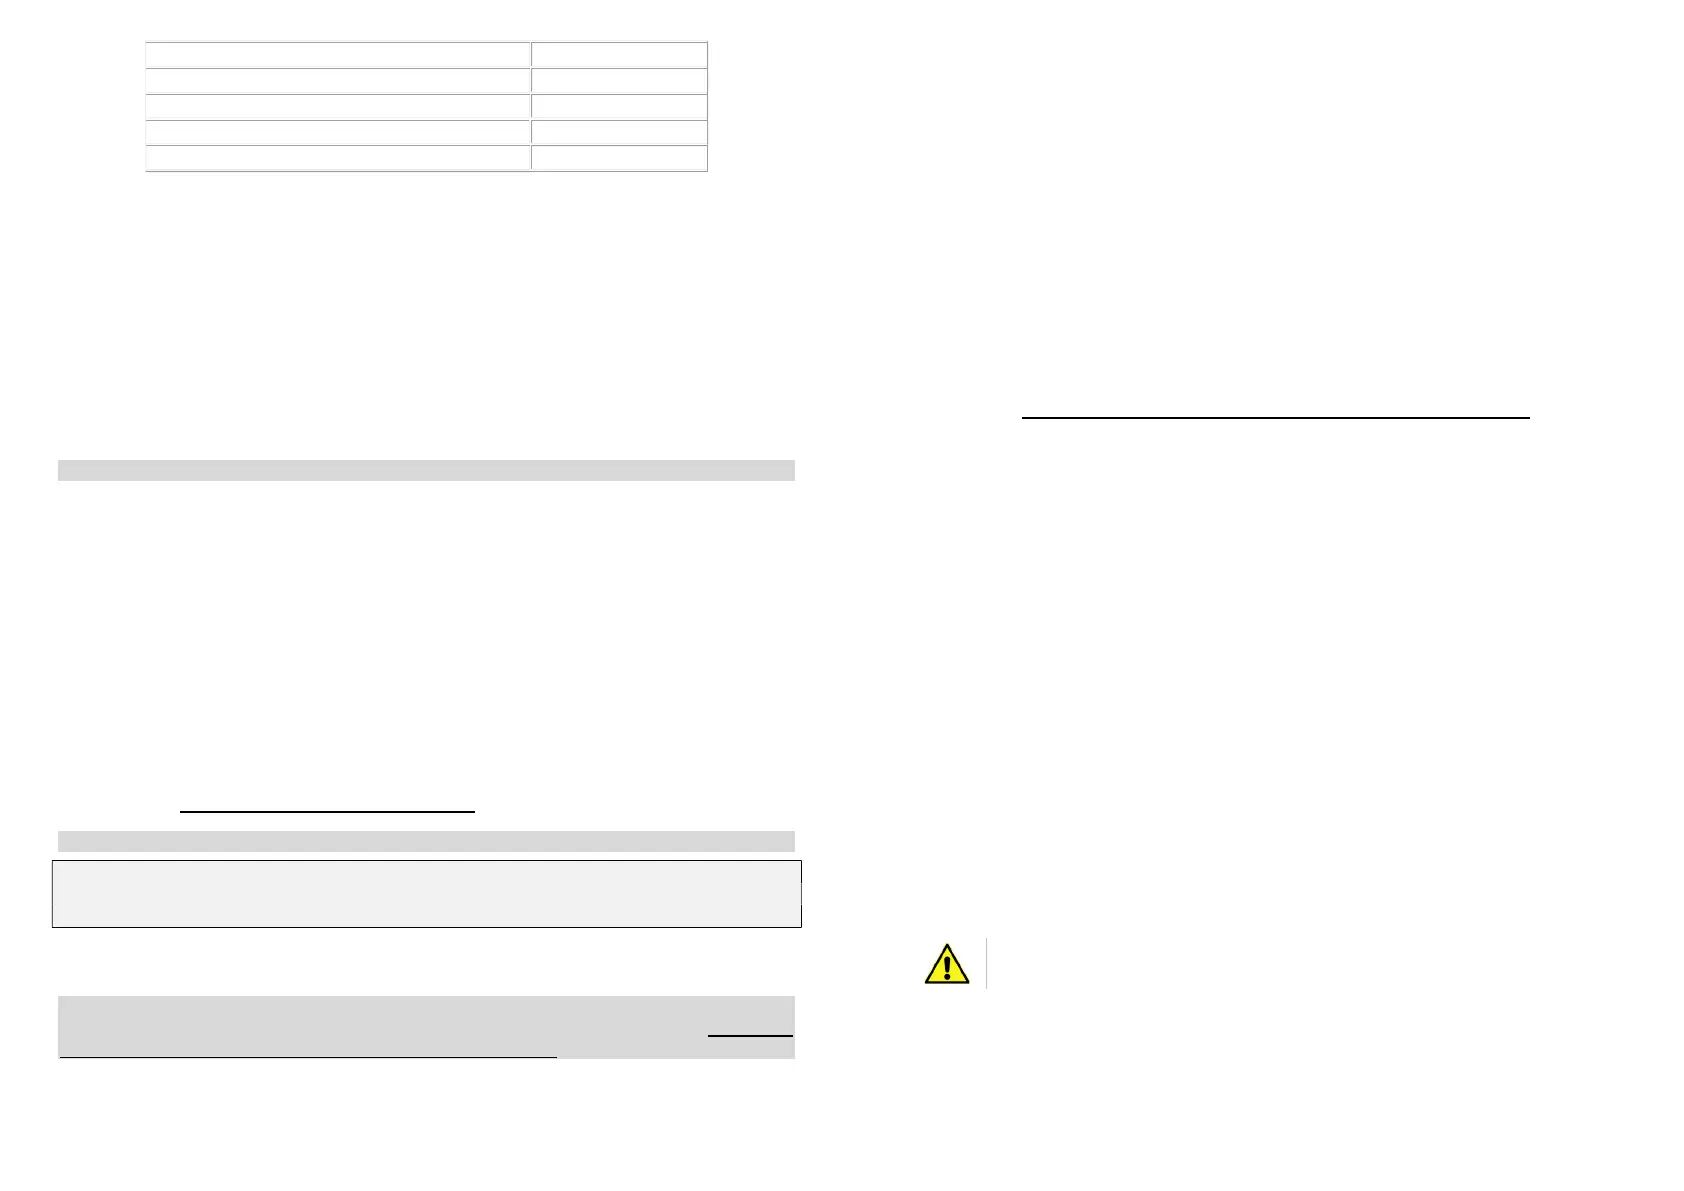
Direct sunlight 50 Klux
Daylight with clear sky 10 ÷ 20 Klux
Daylight with cloudy sky 1 ÷ 5 Klux
Office interior 200 ÷ 800 lux
Sunset (beginning) 10 lux
The station manages the opening or closing of the window when the threshold set by
parameter P004 is exceeded and operates in the direction set by P008.
6.3.6. Sensor priority – Parameter P006
By means of parameter P006, higher priority can be assigned to one of the sensors in
case events occur simultaneously.
6.3.7. Motor reset time – Parameter P102
After intervention of the sensors (rain, wind, temperature, sun) and the reset time set by
parameter P102 has passed, the window returns to the previous scenario.
Caution. If you do not want to use this function, leave the parameter P102 = 0
With P102 = 0, when a sensor intervenes the window goes to the position instructed by
the sensor and remains there.
6.3.8. Other parameters – Parameters P101 – Add – dEL – rESE
- The parameter P101 is used to set the work time of the motor on the window.
- The parameter “Add” of the menu is used to save one or more channels of the PIK
radio remote control in the station.
- The parameter “dEL” of the menu is used to delete one or more channels of the PIK
radio remote control saved previously.
- The parameter “rESE” of the menu is used to restore the factory-set values
(Default).
6.4. Saving a PIK radio remote control
This paragraph concerns only the KH1R station equipped with PIK radio remote control.
THE CONTROL UNITS LEAVE THE FACTORY WITH THE REMOTE CONTROL ALREADY INSERTED IN
THE MEMORY; CARRY OUT THE MEMORIZATION PROCEDURE ONLY IF YOU WANT TO ASSOCIATE
OTHERS.
The remote electronic control or, more simply, radio remote control, is the standard-
supplied device for controlling the KH1R station.
For more details on the characteristics and operation of the PIK radio remote control,
consult the instructions manual provided with the radio remote control itself; not all the
functions of the radio remote control are listed in this manual.
The KH1R station can accept up to 6 PIK radio remote controls. The KH1R functions only
with the PIK radio remote control with NEKOS proprietary code (rolling code).
Page 12
Save procedure:
a. Equip yourself with the radio remote control, checking beforehand that it is working,
has charged batteries and is in good condition.
b. Select the “Add” item in the menu.
c. Select the desired channel on the PIK radio remote control (see the instructions
provided with the radio remote control).
d. Press the “OK” button of the control unit. The message “Push” will appear on the
display.
e. Press any one of the ▲ arrow, ▼ arrow or STOP buttons on the remote control for
about 1 second.
f. The “OK” message will appear on the display indicating that the save process was
successful.
g. End of procedure.
Repeat the procedure for any other radio remote controls or channels.
6.5. Saving a radio remote control without access to the board
Saving a new radio remote control remotely, i.e. without access to the electronic board of
the station, can occur only if the user already has a previously saved radio remote control.
Obtain the instructions manual of the PIK radio remote control for consultation.
The programming is achieved by carrying out the following procedure:
Equip yourself with the PIK radio remote control to be saved and set it on any channel
(see the instructions of the radio remote control).
Equip yourself with the already saved and operational radio remote control, press the
following buttons in sequence: F1, F2 and then STOP.
Within 5 seconds on the radio remote control to be saved, press one of the ▲ arrow,
STOP or
▼ arrow buttons twice.
Now the second radio remote control is operational.
7. OVERALL DIMENSIONS
The container box is made of impact-resistant ABS engineering plastic, RAL7035 grey
colored, having a cover with gasket and IP65 degree of protection.
The feed-through holes for the cables, both those for the electric power supply and those
coming from the sensors, as well as those going to the motors to be controlled, are not
present on the box. The holes must be made by the installer as needed.
During the drilling of the holes, be very careful so as not to damage the
electronic board.
 Loading...