Do you have a question about the Nescafe PIXIE and is the answer not in the manual?
Read all safety warnings. Avoid electrical shock by keeping the appliance and cord dry and away from water.
Supervise children, keep appliance out of reach, and never insert hands into machine openings.
Place on stable surface, clean properly, use recommended accessories, and avoid hot surfaces.
Manage cords to prevent hazards. Dispose of the appliance responsibly at collection points.
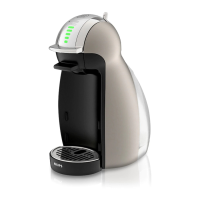
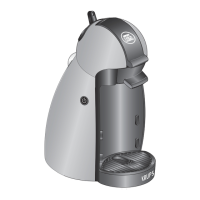
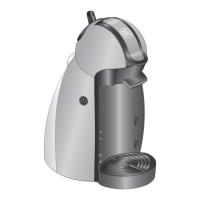
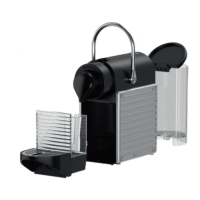
Identify all parts of the coffee machine using the provided diagram and labels.
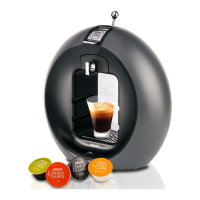
Check the included items: coffee machine, capsule set, welcome folder, and user manual.
Follow the initial setup steps including removing protective films and connecting the machine to power.
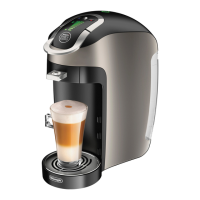
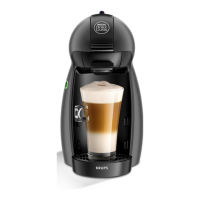
Prepare coffee by filling water tank, powering on, inserting capsule, and placing cup.
Carry the water tank by its lid for convenience and safety.
Rinse the water tank, switch on the machine, and wait for it to heat up.
Press coffee buttons to brew, adjust cup support, and press again to stop or top up.
Remove the cup, lift and close the lever to eject the used capsule into the container.
Machine automatically powers off after 9 minutes of non-use to save energy.
Extend automatic power off to 30 minutes by pressing specific buttons.
Red backlight indicates an empty water tank; refill and empty used capsule container.
Program desired coffee volumes for Espresso and Lungo buttons.
Empty the system before periods of non-use, frost protection, or repair.
Reset the machine to factory default settings by pressing specific buttons.
Clean the coffee outlet with a damp cloth; avoid harsh cleaners and dishwashers.
Remove capsule, empty drip tray and container, prepare descaling solution.
Fill water tank with descaling liquid and run solution through the machine.
Refill water tank with clean water and rinse the machine to remove descaling solution.
Press buttons simultaneously to exit descaling mode and prepare the machine for use.
Read descaling package safety precautions and avoid contact with eyes, skin, and surfaces.
Switch machine on, wait for ready light, press coffee buttons, then Lungo to empty.
Table indicates descaling frequency based on water hardness for optimal performance.
Solutions for common problems like no light, no coffee, or irregular flashing lights.
Technical details including voltage, wattage, pressure, and dimensions.
Information on how to contact the Nespresso Club for support and advice.
Commitment to high-quality coffee, environmental practices, and recycling.
Details on the one-year limited warranty covering defects in materials and workmanship.
| Brand | Nescafe |
|---|---|
| Model | PIXIE |
| Category | Coffee Maker |
| Language | English |