2
Complete initial cluster setup:
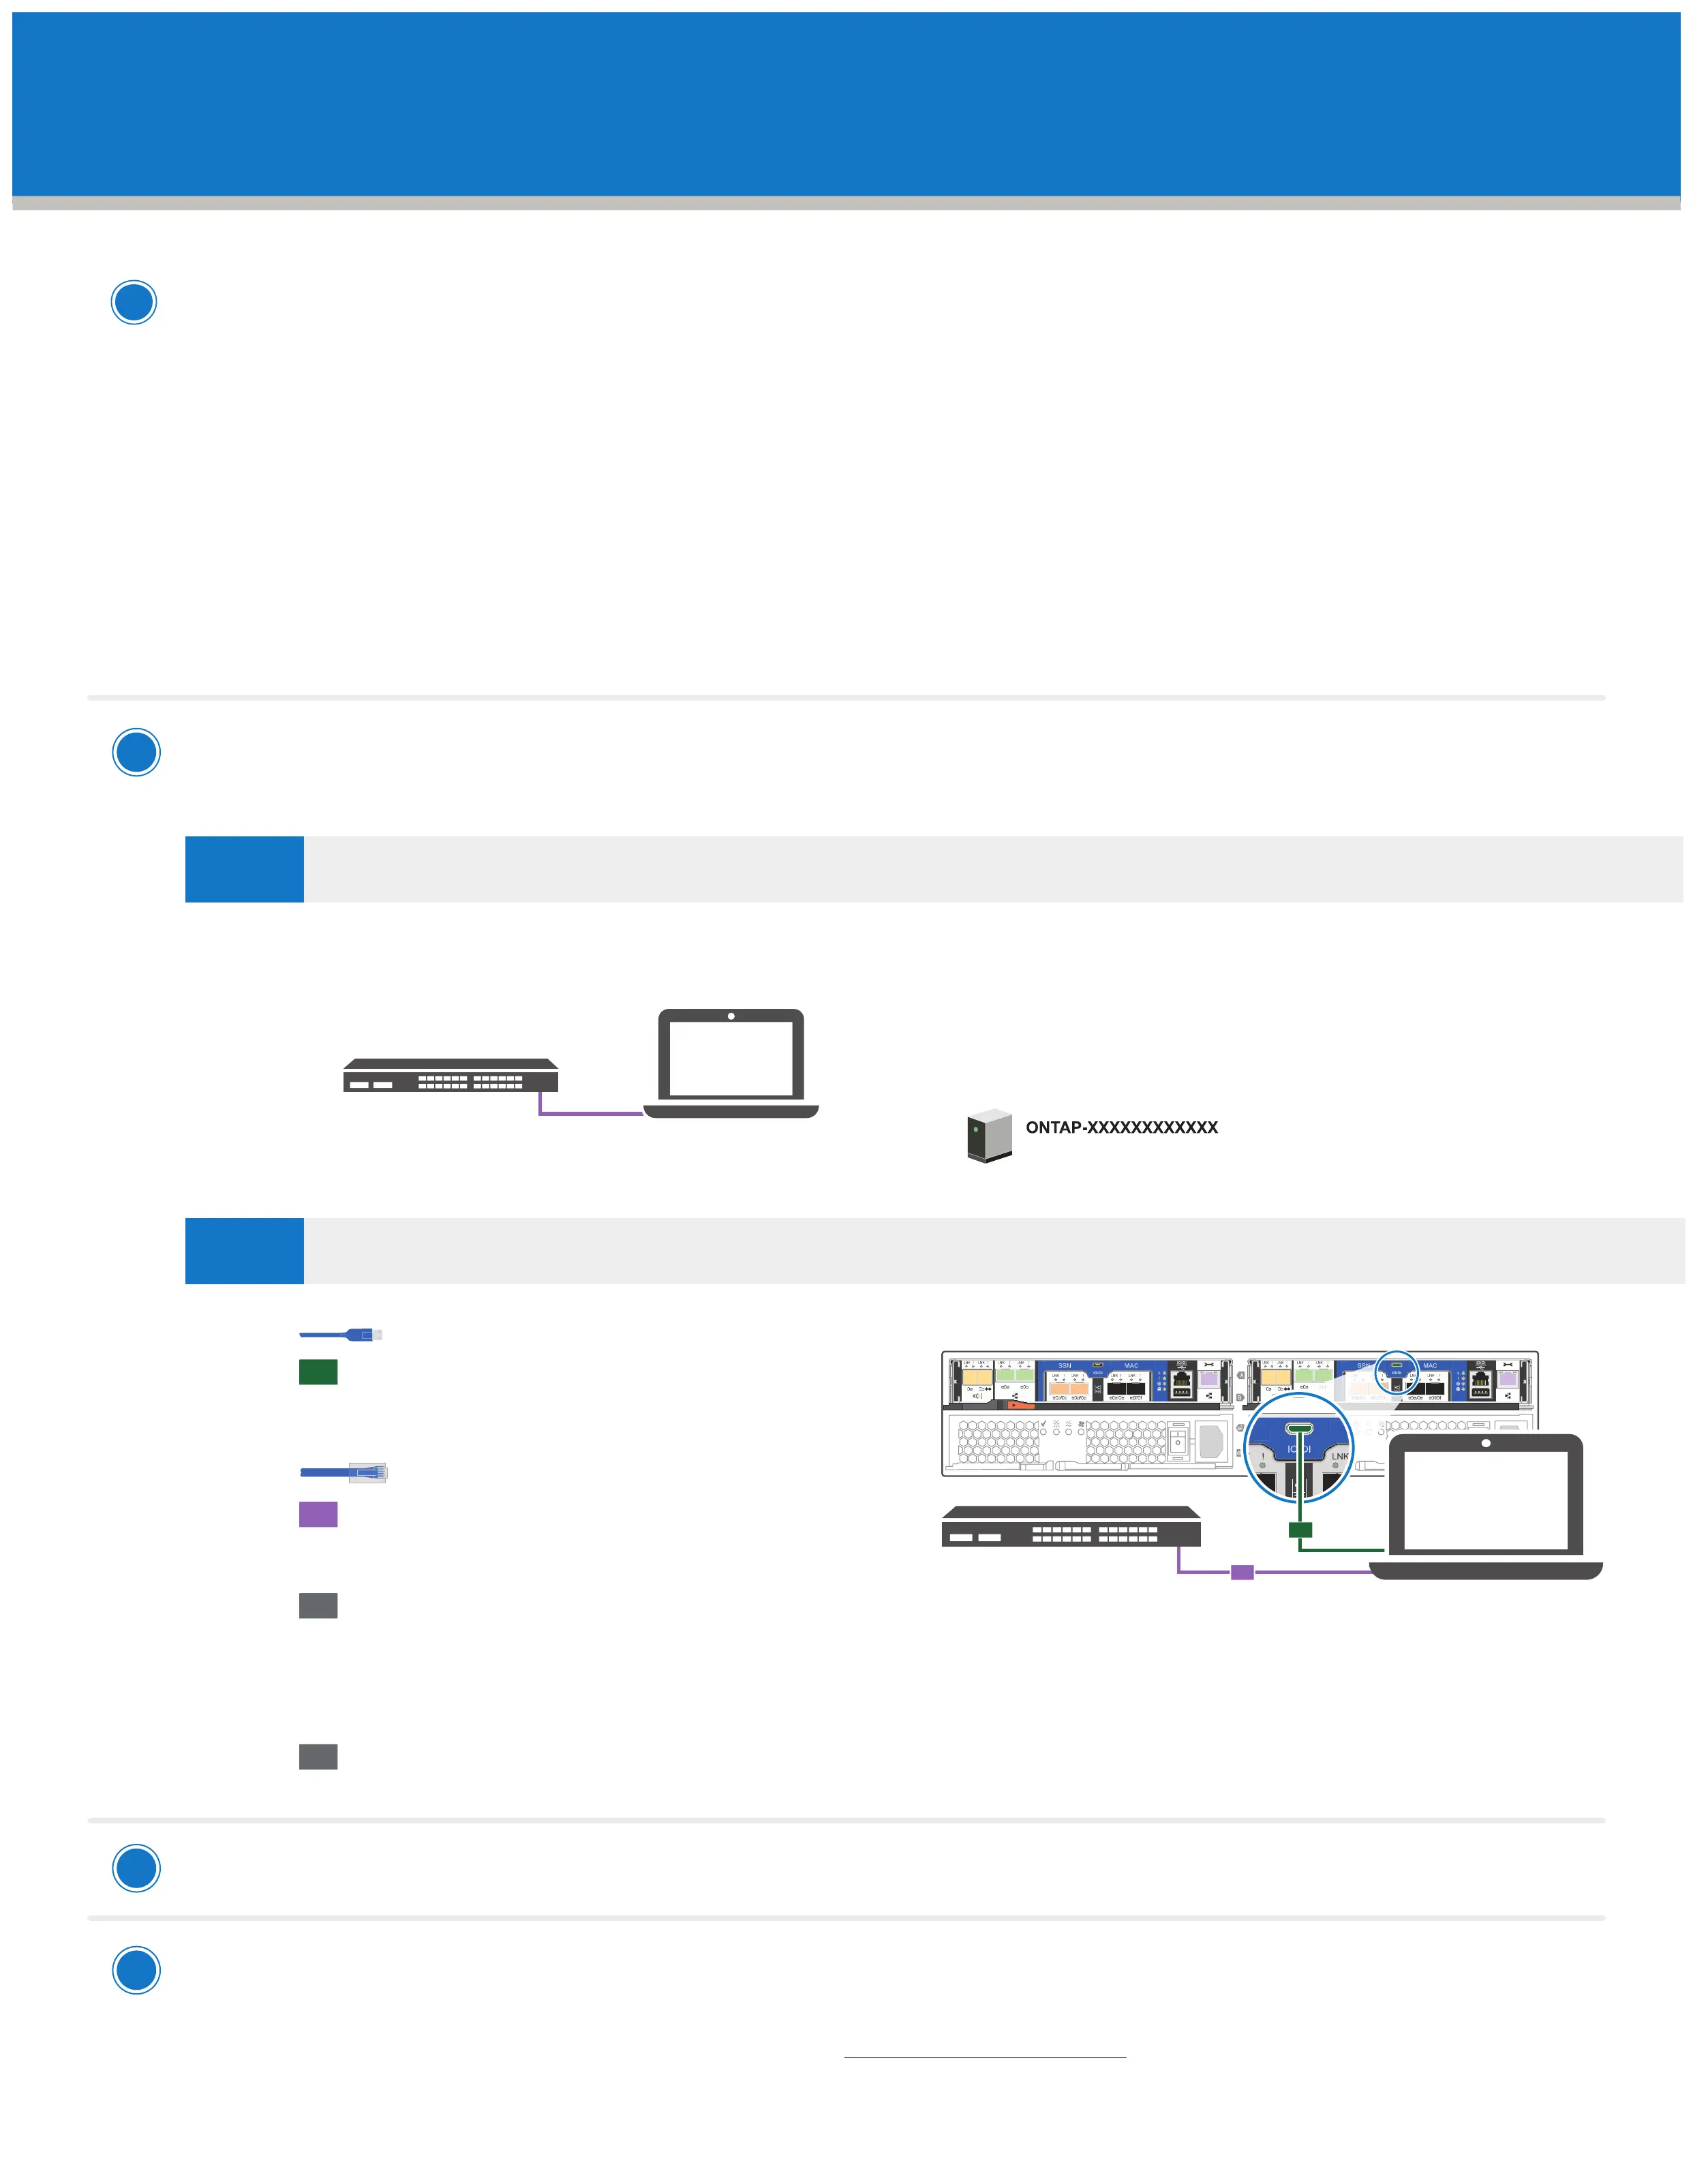
1. Make sure that your laptop has network discovery enabled. See your laptop’s help for more information.
2. Connect your laptop to the Management switch.
3. Go to network devices and double-click either ONTAP icon.
Note: Accept any certificates displayed on your screen.
If your laptop has network discovery enabled:
OPTION
A
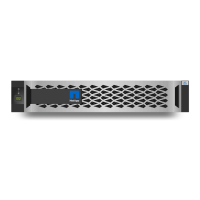
If your laptop does not have network discovery enabled:
OPTION
B
Ensure the controller modules are completely cabled and then turn the power supplies.
Management subnet
Laptop
3
Use System Manager Guided Setup to configure your cluster
4
Completing setup
1. Verify the health of your system by running Config Advisor.
2. After you have completed the initial configuration, go to the NetApp ONTAP Resources page for information
about configuring additional features in ONTAP.
Set the console port on the laptop to 115,200 baud
with N-8-1, connect to the micro-USB port on the
controller with the console cable.
Connect the laptop to the Management
switch and give the laptop a TCP/IP
address on the management switch
Assign an initial node management IP address to one
of the nodes. If you have DHCP configured on your management network, record the IP address assigned
to the new controllers. Otherwise use Cluster Setup wizard to assign the node management IP address.
a. Open a console session using PuTTY, a terminal server, or the equivalent for your environment.
b. Enter the management IP address when prompted by the script.
Open a browser and enter management IP address. (https://xxx.xxx.xxx.xxx)
micro USB console cable
Ethernet cable
2
3
4
1
If your system has one or more external drive shelves,
set the shelf IDs:
1. Power on the drive shelf, and then remove the end cap on the left of the shelf.
2. Press and hold the orange button until the first digit blinks, and then press the button to advance
the first digit (0-9) to the desired number. The first digit continues to blink.
3. Press and hold the button until the second digit blinks, and then press the button to advance
the second digit (0-9) to the desired number. The first digit stops blinking, and the second digit continues to blink.
4. Press and hold the button until the second digit stops blinking, and then replace the end cap on the shelf.
5. Wait about 10 seconds for both digits to start blinking again and for the LED to illuminate,
and then power-cycle the drive shelf to make the shelf ID take eect.
6. Repeat these steps for any remaining drive shelves.
1
Complete system setup and configuration | Stage 4
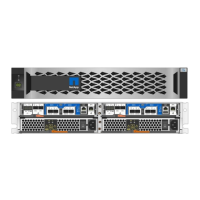
FAS2700 or AFF A220 system
Laptop
Management subnet
2
1