Configuration State is configured and that the nodes are in an enabled and normal state
(
metrocluster node show).
Steps
1. If AutoSupport is enabled, suppress automatic case creation by invoking an AutoSupport message:
system node autosupport invoke -node * -type all -message
MAINT=number_of_hours_downh
The following AutoSupport message suppresses automatic case creation for two hours:
cluster1:*> system node autosupport invoke -node * -type all -message
MAINT=2h
2.
Disable automatic giveback from the console of the healthy controller:
storage failover modify
–node local -auto-giveback false
3. Take the impaired controller to the LOADER prompt:
If the impaired controller is
displaying…
Then…
The LOADER prompt Go to Remove controller module.
Waiting for giveback…
Press Ctrl-C, and then respond y when prompted.
System prompt or password
prompt (enter system password)
Take over or halt the impaired controller from the healthy
controller:
storage failover takeover -ofnode
impaired_node_name
When the impaired controller shows Waiting for giveback…, press
Ctrl-C, and then respond
y.
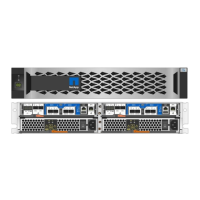
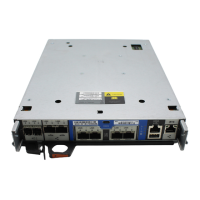
Step 2: Replace the NVRAM module
To replace the NVRAM module, locate it in slot 6 in the chassis and follow the specific
sequence of steps.
1. If you are not already grounded, properly ground yourself.
2. Remove the target NVRAM module from the chassis:
a. Depress the lettered and numbered cam button.
The cam button moves away from the chassis.
b. Rotate the cam latch down until it is in a horizontal position.
The NVRAM module disengages from the chassis and moves out a few inches.
c. Remove the NVRAM module from the chassis by pulling on the pull tabs on the sides of the module
face.
Animation—Replace the NVRAM module
1132
 Loading...