Step 3: Run diagnostics
After you have replaced a component in your system, you should run diagnostic tests on that component.
Your system must be at the LOADER prompt to start diagnostics.
All commands in the diagnostic procedures are issued from the controller where the component is being
replaced.
1.
If the controller to be serviced is not at the LOADER prompt, reboot the controller:
system node halt
-node node_name
After you issue the command, you should wait until the system stops at the LOADER prompt.
2. At the LOADER prompt, access the special drivers specifically designed for system-level diagnostics to
function properly:
boot_diags
3. Select Scan System from the displayed menu to enable running the diagnostics tests.
4. Select Test Memory from the displayed menu.
5. Proceed based on the result of the preceding step:
◦ If the test failed, correct the failure, and then rerun the test.
◦ If the test reported no failures, select Reboot from the menu to reboot the system.
During the boot process, you might see the following prompts:
▪ A prompt warning of a system ID mismatch and asking to override the system ID.
▪ A prompt warning that when entering Maintenance mode in an HA configuration you must ensure
that the healthy controller remains down.
You can safely respond
y to these prompts.
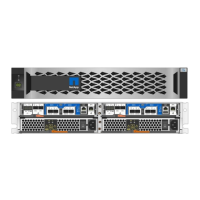
Recable the system and reassign disks - AFF A700s
To complete the replacement procedure and restore your system to full operation, you
must recable the storage, restore the NetApp Storage Encryption configuration (if
necessary), and install licenses for the new controller. You must complete a series of
tasks before restoring your system to full operation.
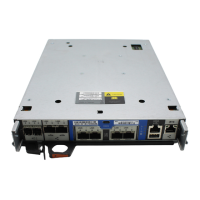
Step 1: Recable the system
After running diagnostics, you must recable the controller module’s storage and network connections.
Steps
1. Recable the system.
2. Verify that the cabling is correct by using
Active IQ Config Advisor.
a. Download and install Config Advisor.
b. Enter the information for the target system, and then click Collect Data.
c. Click the Cabling tab, and then examine the output. Make sure that all disk shelves are displayed and
all disks appear in the output, correcting any cabling issues you find.
d. Check other cabling by clicking the appropriate tab, and then examining the output from Config Advisor.
883