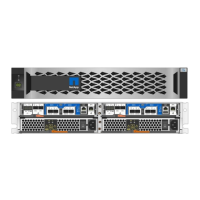
Step 4: Install the controller modules
After you install the controller modules into the new chassis, you need to boot it to a state where you can run
the diagnostic test.
For HA pairs with two controller modules in the same chassis, the sequence in which you install the controller
module is especially important because it attempts to reboot as soon as you completely seat it in the chassis.
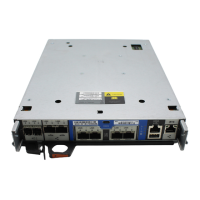
1. Align the end of the controller module with the opening in the chassis, and then gently push the controller
module halfway into the system.
Do not completely insert the controller module in the chassis until instructed to do so.
2. Recable the console to the controller module, and then reconnect the management port.
3. Plug the power cables into the power supplies and reinstall the power cable retainers.
4. Complete the reinstallation of the controller module:
a. Firmly push the controller module into the chassis until it meets the midplane and is fully seated.
The locking latches rise when the controller module is fully seated.
Do not use excessive force when sliding the controller module into the chassis to avoid
damaging the connectors.
The controller module begins to boot as soon as it is fully seated in the chassis. Be prepared to
interrupt the boot process.
b. Rotate the locking latches upward, tilting them so that they clear the locking pins, and then lower them
into the locked position.
c. If you have not already done so, reinstall the cable management device.
d.
Interrupt the normal boot process by pressing
Ctrl-C.
5. Repeat the preceding steps to install the second controller into the new chassis.
Complete the restoration and replacement process - AFF A800
You must verify the HA state of the chassis, run diagnostics, and return the failed part to
NetApp, as described in the RMA instructions shipped with the kit.
Step 1: Verify and set the HA state of the chassis
You must verify the HA state of the chassis, and, if necessary, update the state to match
your system configuration.
1. In Maintenance mode, from either controller module, display the HA state of the local controller module and
chassis:
ha-config show
The HA state should be the same for all components.
2. If the displayed system state for the chassis does not match your system configuration:
a.
Set the HA state for the chassis:
ha-config modify chassis HA-state
971
 Loading...