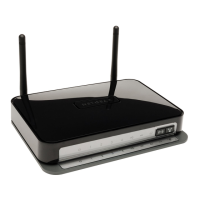
Configuration of Netgear DGN1000 Wireless Router
T1-1/TK/049
If you are having problems with the configuration of your
Wireless router you should consult the documentation
that came with your router, contact the manufacturer or
request a Broadband Made Easy engineer from our
Sales department on 624624.
If you continue to have problems with your setup, this procedure can be used as a manual
setup to guide you with the installation of your router.
• Plug a filter into every telephone socket that is in use in your property by unplugging
the Telephone/Sky/Oil watchman, plugging the filter in and re-connecting the
equipment through the filter.
• Plug the router into a phone socket using the grey cable, making sure that the router
also goes through a filter.
• Every piece of equipment plugged into the phone sockets all around the property
need to have filters on them.
• Plug the power supply (Black) and the ADSL Line (Grey) Cord in to the respective
sockets on the rear of the router. Connect the Ethernet cable (Yellow) into one of the
yellow fittings on the back of the router and the other end into the PC/Laptop.
• Open your Internet Browser and in the address bar remove anything that is in there
and type the following
o 192.168.0.1 then press the Enter, Return or go button.
• You will then be presented with a login box (as shown below), by default the
username is admin and the password is password
Version 1
03/12/10