Windows Click the Internet Access icon, which is usually found on the bottom right side of your screen.
Mac Select WiFi > Network.
Mobile devices Tap Settings > WiFi.
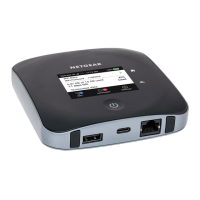
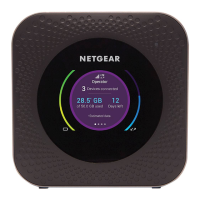
b. To view the WiFi name and password, press and release the Power button to toggle through Nighthawk M1 router LCD displays.
c. Select the WiFi name displayed on your Nighthawk M1 screen.
d. Enter the WiFi password exactly as shown on the Nighthawk M1 screen.
NOTE: Your password is case-sensitive. We strongly recommend that you change the default admin password.
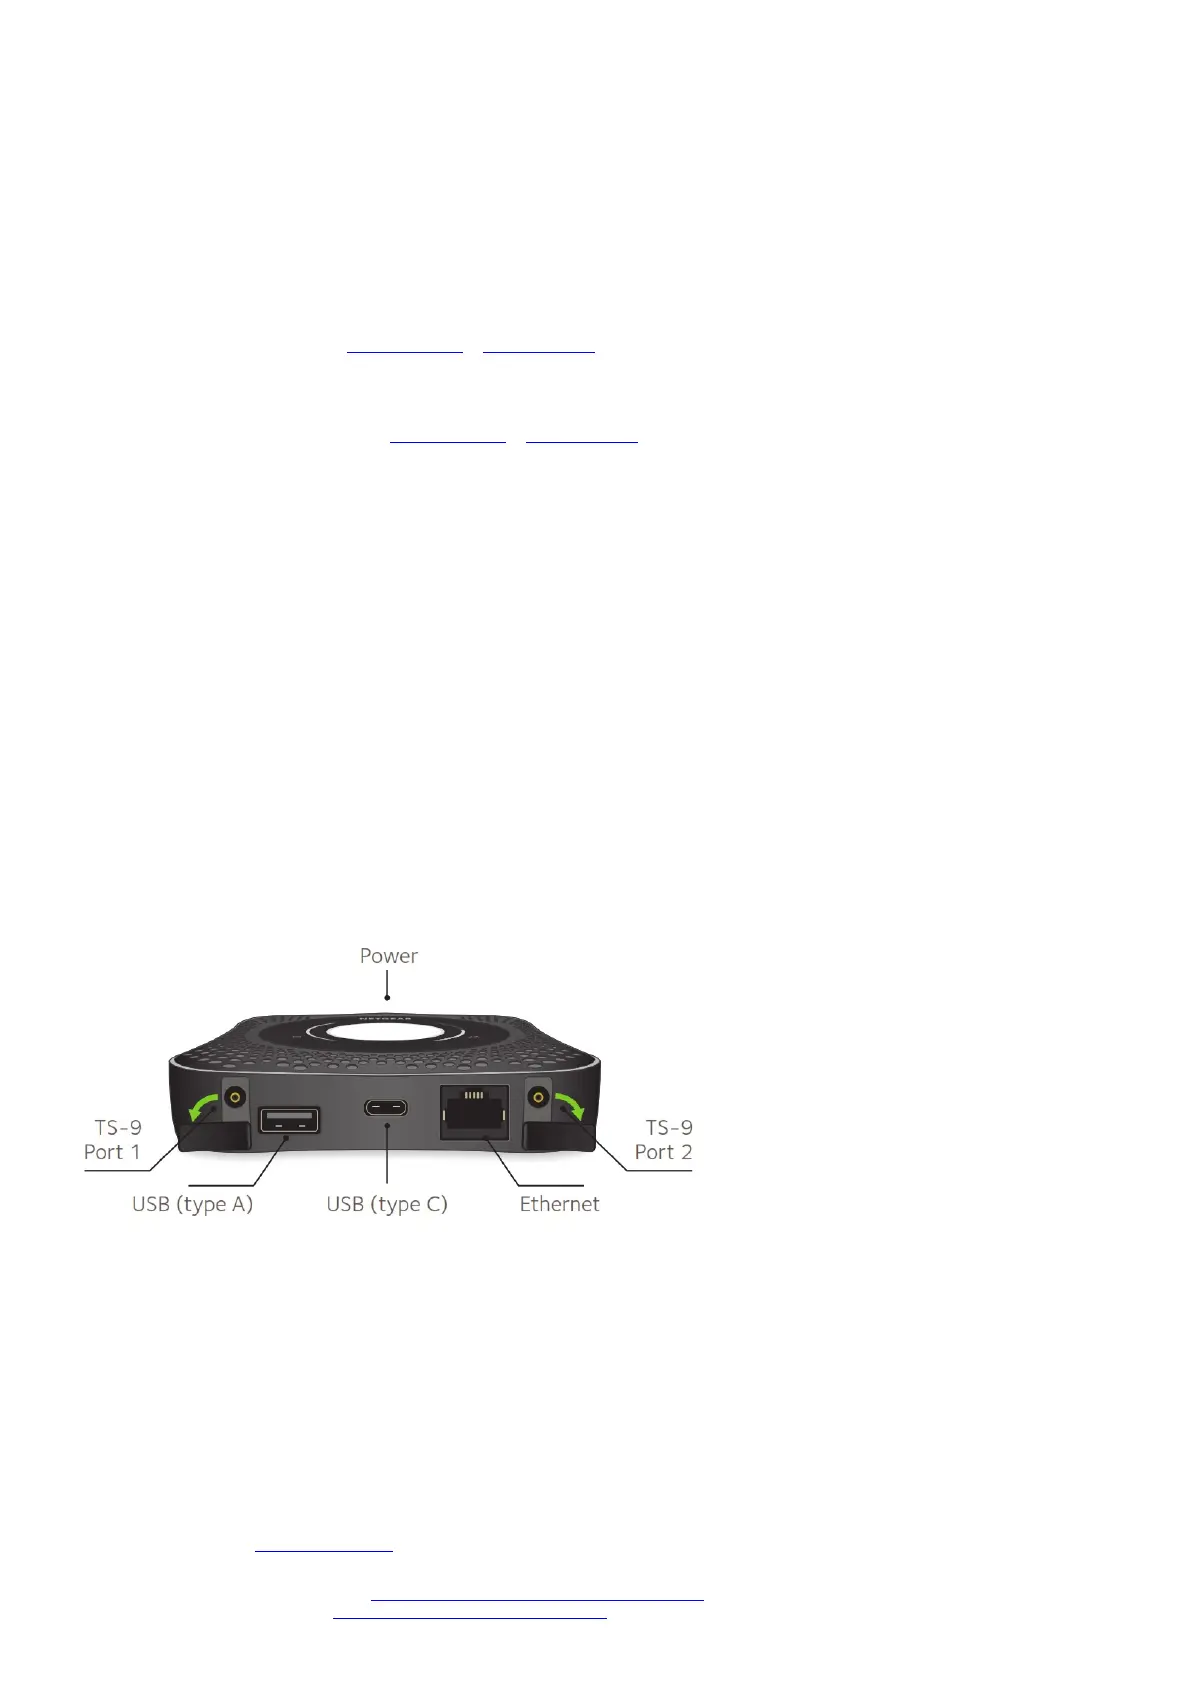
e. To use the router as an internet gateway, connect an Ethernet device to the Nighthawk M1 router Ethernet port.
5. Set up the device.
a. Use the NETGEAR Mobile app or visit http://m1login.net or http://192.168.1.1 from a device that is connected to the Nighthawk M1 router.
b. Follow the on screen instructions.
Advanced Configuration and Features
→ To log in to the Nighthawk M1 router home page:
1. Launch a web browser from a device that is connected to the Nighthawk M1 router.
2. In the address field of the web browser, enter http://m1login.net or http://192.168.1.1.
3. In the Sign In field, enter the default password and click the Sign In button. See the modem label for the default password. While the password that you enter is unique
to your device and is secure, we recommend that you change it to a password that you want to use.
Upload Media Files to the Nighthawk M1 Router
You can upload media files to either a micro SD card or a USB drive connected to the Nighthawk M1 router. Micro SD cards and USB drives are sold separately.
→ To enable media and Ethernet support, you must first select the Charge Only option (Settings > Router Setup > Use USB port for).
To upload media files to the Nighthawk M1 router with a computer:
1. Log in to the Nighthawk M1 router home page.
2. Click the MyMedia tab.
3. Drag and drop your files onto the page.
Use the Nighthawk M1 Router to Charge Other Devices
If the battery power is low on your smartphone or other devices, you can give it a boost by connecting it to the M1’s USB port A connector. Jump boost begins
automatically once the devices are connected.
LED Status
Slow blue blink The Nighthawk M1 router is ready.
Fast blue blink The Nighthawk M1 router is transferring data.
Slow amber blink The Nighthawk M1 router is not ready.
Power Button
Turn on the router. Press and hold the Power button for three seconds.
Turn off the router. Press and hold the Power button for five seconds.
Wake the router. Press and quickly release the Power button.
Switch between screens. Press and quickly release the Power button.
Support
For additional information, visit netgear.com/support to access the full user manual and to download firmware updates.
Compliance
For the current EU Declaration of Conformity, visit http://kb.netgear.com/app/answers/detail/a_id/11621.
For regulatory compliance information, visit: http://www.netgear.com/about/regulatory/.
 Loading...