Getting started using your Newer Technology miniStack v3:
Remove the Newer Technology miniStack v3 from it’s packaging
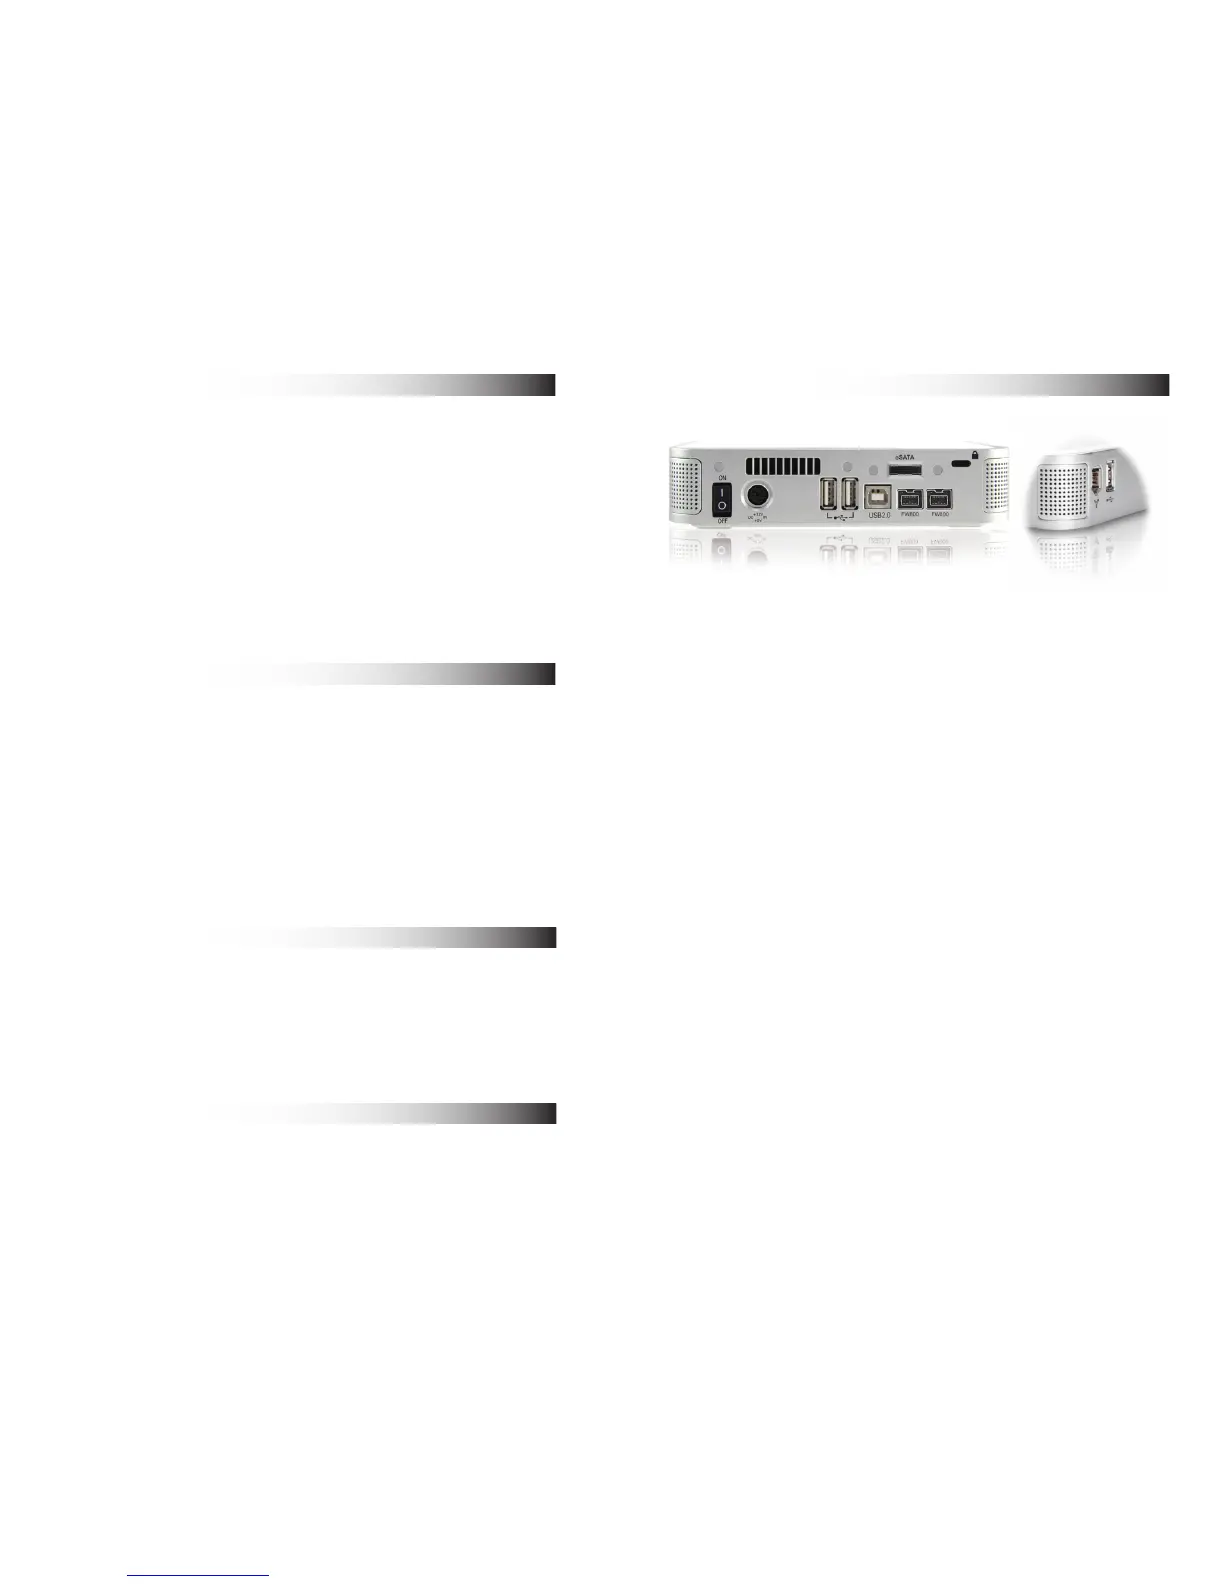
and examine the back and side of the enclosure. You will see the
following ports:
On/O Switch - Used to turn the miniStack v3 on. As long as the
power switch is in the ON position, the miniStack will power on
and o with your computer - no need to shut the enclosure o at
the end of the day!
Power Receptacle - Used to power the miniStack.
USB Ports - Add USB devices to your miniStack v3 here.
USB Uplink Port - Connect your computer to the miniStack v3
here.
FireWire 400 & 800 Ports- Connect one FireWire 800 port to
your computer using the included cable, and have an extra
FireWire 800 port and an extra FireWire 400 port to add
peripherals with!
eSATA Port- The utmost in speed. If you’re trying to make your
miniStack v3 the fastest it can be, attach an eSATA cable (not
included) to this port.
Fan Exhaust Port - Warm air is vented here from your miniStack
v3.
Security Slot - Secure your miniStack v3 to your desk using a
Kensington MicroSaver Security Cable (not included).
3
System Setup:
Your miniStack v3 external drive enclosure and expansion hub is
simple to connect to your computer.
Here are a few tips to get the most out of your new external storage
and expansion device:
• Place your miniStack v3 enclosure underneath or on top of your
computer.
• Do not place anything behind your miniStack v3 that would block
airow.
• Treat your miniStack v3 just like you treat your computer - keep it dry,
cool, and out of direct sunlight.
• Always check any peripheral cable that you are going to use with
your miniStack enclosure for damage before hooking them up.
Hard Disk Mode:
The miniStack v3 has 4 dierent types of interface for you to hook
it up to your computer with. From the ultra-compatible USB 2.0 (1.1
backwards compatible even!), to the higher bandwidth FireWire 400 &
800 (1394a & b), and even ultra-fast eSATA.
The miniStack v3 will automatically connect using the fastest possible
interface when you have multiple cables plugged into your computer.
The miniStack v3 will connect via eSATA, FireWire 800, FireWire 400,
and USB 2.0, in that order.
Newer Technology recommends the FireWire 800
or eSATA connection for maximum speed.
Hub Connection:
To use either the USB 2.0 or FireWire 1394 Hub feature, you must
interconnect the cables provided between your computer and the
miniStack. Connect the FireWire cable between the computer and
enclosure using any of the FireWire ports on the miniStack, and a
FireWire connection on your computer. The USB 2.0 connection
between the machines is the same, except use the USB 2.0 Uplink port
on the miniStack and any of the ports on the computer.
Fan Settings:
The miniStack v3 has a cooling fan that will monitor thermal tempera-
tures inside the drive enclosure and only turn on when needed. There
are no adjustments to change the speed of the fan.
6
 Loading...

