Using a Hard Drive Docked in Voyager Q
Macintosh
If the drive has been previously formatted or has data on it, an icon for the drive will
show on the Desktop, and you may use it like you would any other external drive.
If you are using a new drive that has not previously been formatted, an alert box
should appear, giving you the option to initialize the drive.
Clicking the “Initialize…” button will take you to Disk Utility. If you click one
of the other buttons, and later change your mind, you can nd Disk Utility in
Applications>Utilities>Disk Utility.
In Disk Utility, you may erase the drive by selecting it from the list of drives on
the left side of the window, then clicking on the “Erase” tab on the right.
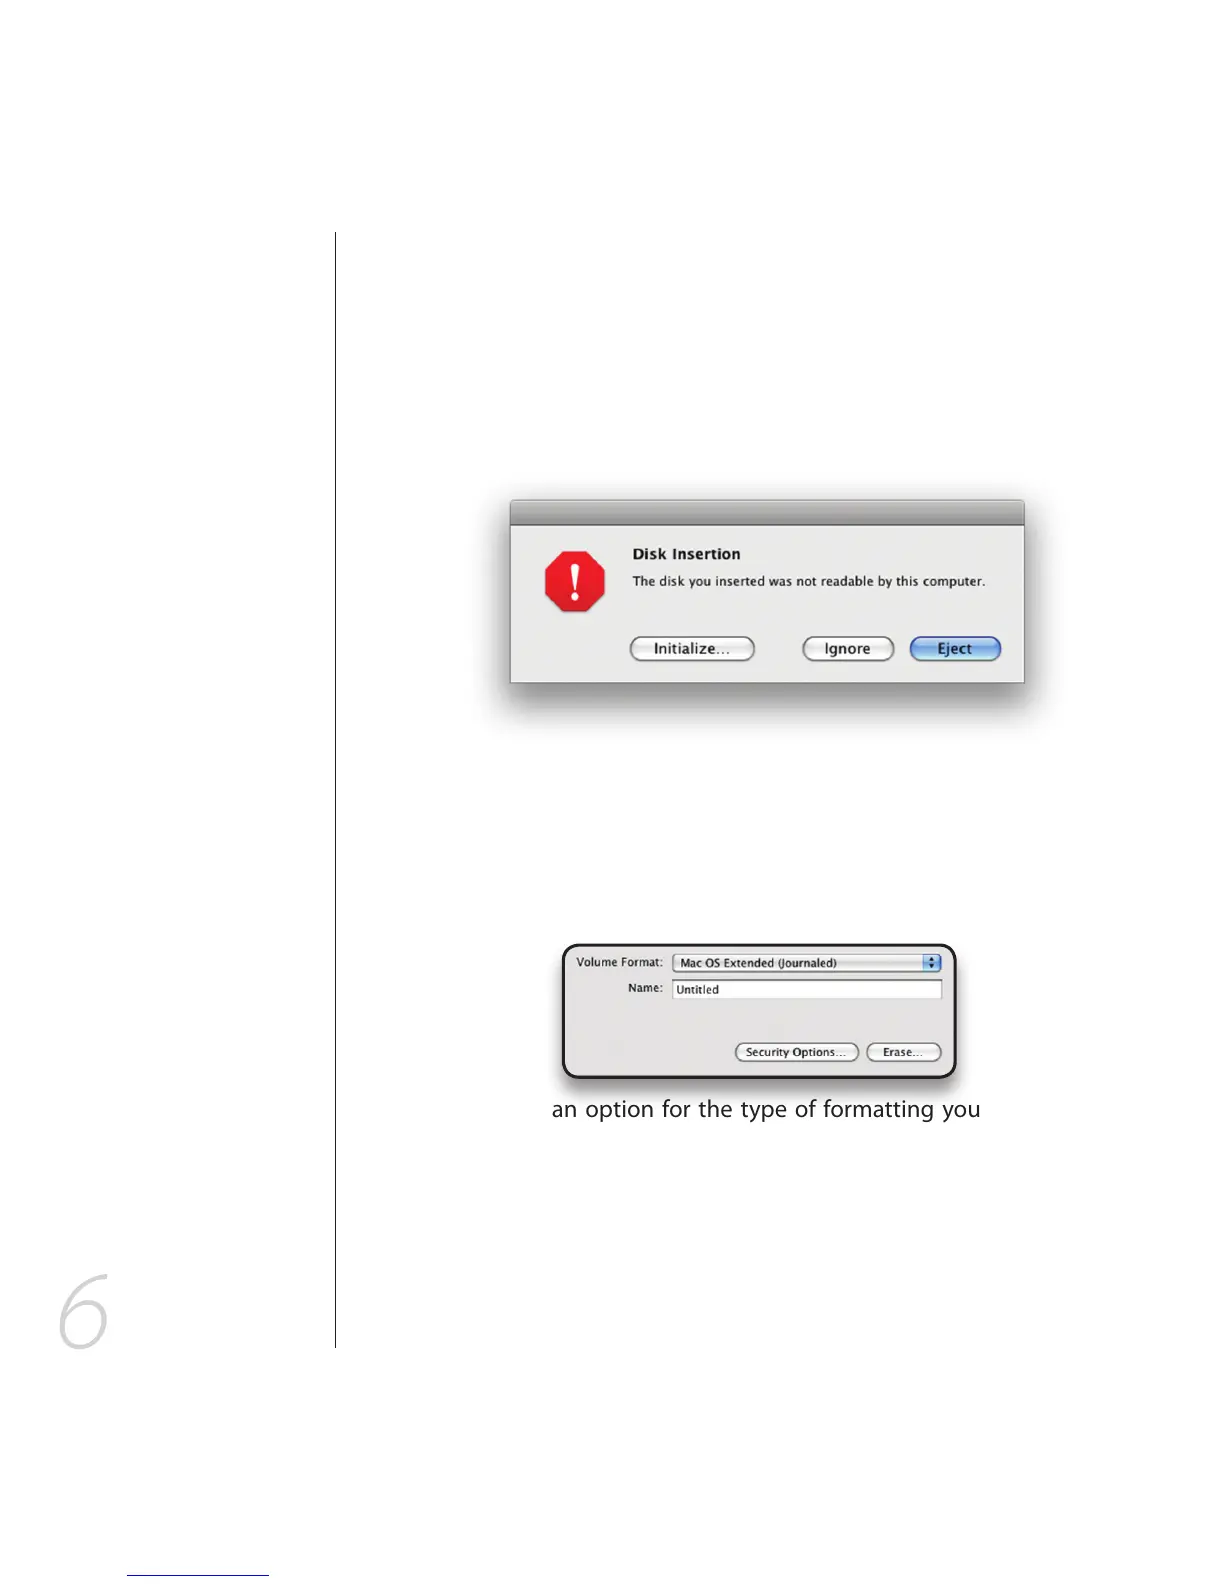
You will be given an option for the type of formatting you want. The default
“Mac OS Extended (Journaled)” option will work acceptably for most instances.
The “Name” eld is where you can enter the drive’s new name.
Once you have selected a volume format and a name, click the “Erase…” button.
You will be asked if you are sure you want to erase all data on the drive. If you
are sure, click the “Erase” button on the dialog box. After a moment, your drive’s
icon will appear on the Desktop, and you will be able to use it like any other
external drive.
 Loading...