Do you have a question about the NewStar FPMA-D800 and is the answer not in the manual?
Covers manufacturer responsibility, general safety, and handling risks like human factors or acts of God.
Details personnel, wall structure, location suitability, and ventilation needs for safe mounting.
Includes screw tightening, post-removal wall state, and product warranty information.
Lists all included parts (A-K, M-A, M-B) with quantities, screw types, and load capacity.
Instructions for attaching protective pads to the mount components.
Guidance on assembling the base unit of the monitor mount.
Procedure for attaching the VESA plate to the monitor.
Instructions for mounting the monitor onto the assembled base.
Guidance on routing and securing cables using the provided clip.
Instructions on how to tilt the screen to the desired angle.
How to adjust the mount to your desired viewing position.
| Model | FPMA-D800 |
|---|---|
| Category | Racks & Stands |
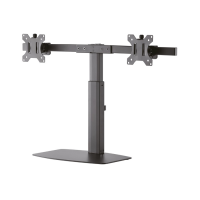
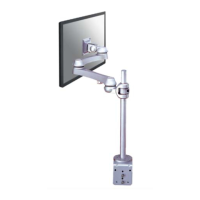
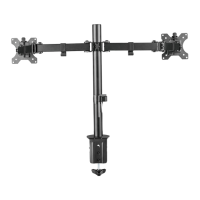
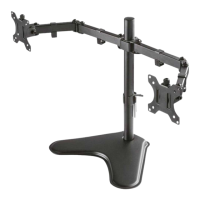
| Type | Desk Mount |
| Number of screens supported | 1 |
| Swivel angle | 180° |
| Rotation angle | 360° |
| Colour | Black |
| Height Adjustment | Yes |
| VESA Compatibility | 75x75 mm, 100x100 mm |
| Adjustment | Height, Swivel, Tilt |
| Mounting | Desk clamp |
| Material | Steel |