Everything Else - More information about your new dash cam
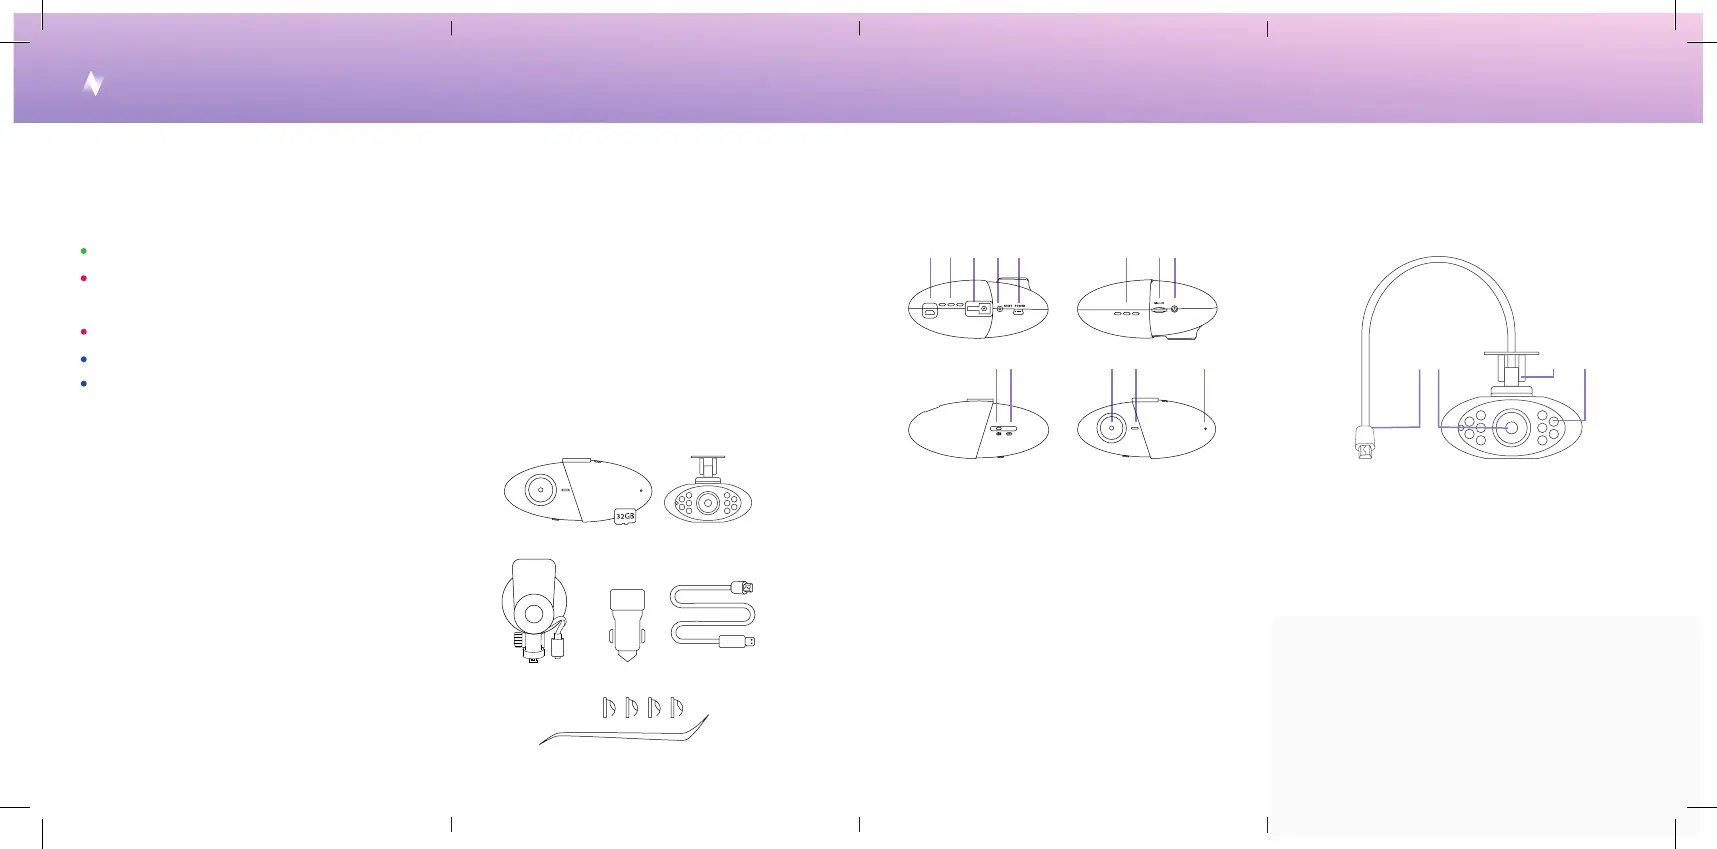
Road dash cam components Interior dash cam components
1. Add-on camera po
2. Heat dissipation holes
3. Mount slot
4. Reset buon
5. Power po
6. Heat dissipation holes
7. Micro SD card slot
8. Power buon
9. Power indicator light
10. WiFi indicator light
11. Camera lens
12. Speaker
13. Microphone
6.
7. 8.1. 2. 3. 4. 5.
11. 12. 13.10.9.
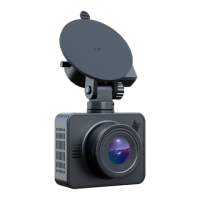
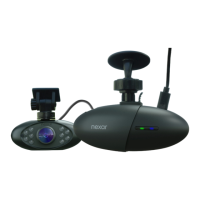
1. Road dash cam with microSD card
2. Interior dash cam
3. GPS Mount for road dash cam
4. USB charger
5. USB power cable
6. Installation tool & cable clips
In the box
Safety tips and care
The dash cams turn on/o automatically
whenever you sta/stop your car.
The dash cams function between -4° to 158°
F (-20° to 70° C).
Improper baery changing may lead to
explosion of the devices.
When cleaning, avoid irritating chemical
solvents, use a damp paper towel or soft
cloth. Keep away from re.
If your dash cams aren't working, don’t try
to repair them yourself. Please contact us
at: suppo@getnexar.com or visit our Help
Center: getnexar.com/faq
Light indicators -
Road dash cam
Steady green light = on & active
Steady red light = faulty camera,
please reach out to suppo
Blinking red light = upgrade in progress
Blinking blue light = waiting to be paired to app
Steady blue light = dash cam & app are paired
1. Cable
2. Camera lens
5.
6.
1.
3.
2.
4.
Good to know
the infrared lights of the interior-facing
camera are automatically triggered at night
and are invisible to the human eye
1. 2. 3. 4.
3. Windshield mount
4. Infrared lights
 Loading...