After 'cloning' the transmitter, you can also set T_1 and T_2 DMX range and radio channel, so
the TX BACKUP will be ready for use.
If you want to clone another unit, repeat from step 1.
Each clone will keep the full setting (DMX range and radio channel), so when needed, just select
the clone and it will be working immediatly
After a few seconds a result of the operation is given; if like in
(Fig.63) on both units,
pairing suc-
ceeded;
else the message of (Fig.64) appears.
With a Wi-DPen receiver (this way you can clone a TX even AFTER it is dead...):
Remove any DMX cable from Wi-DMX set as TX BACKUP
Connect Wi-DPen to DMX-IN plug of Wi-DMX
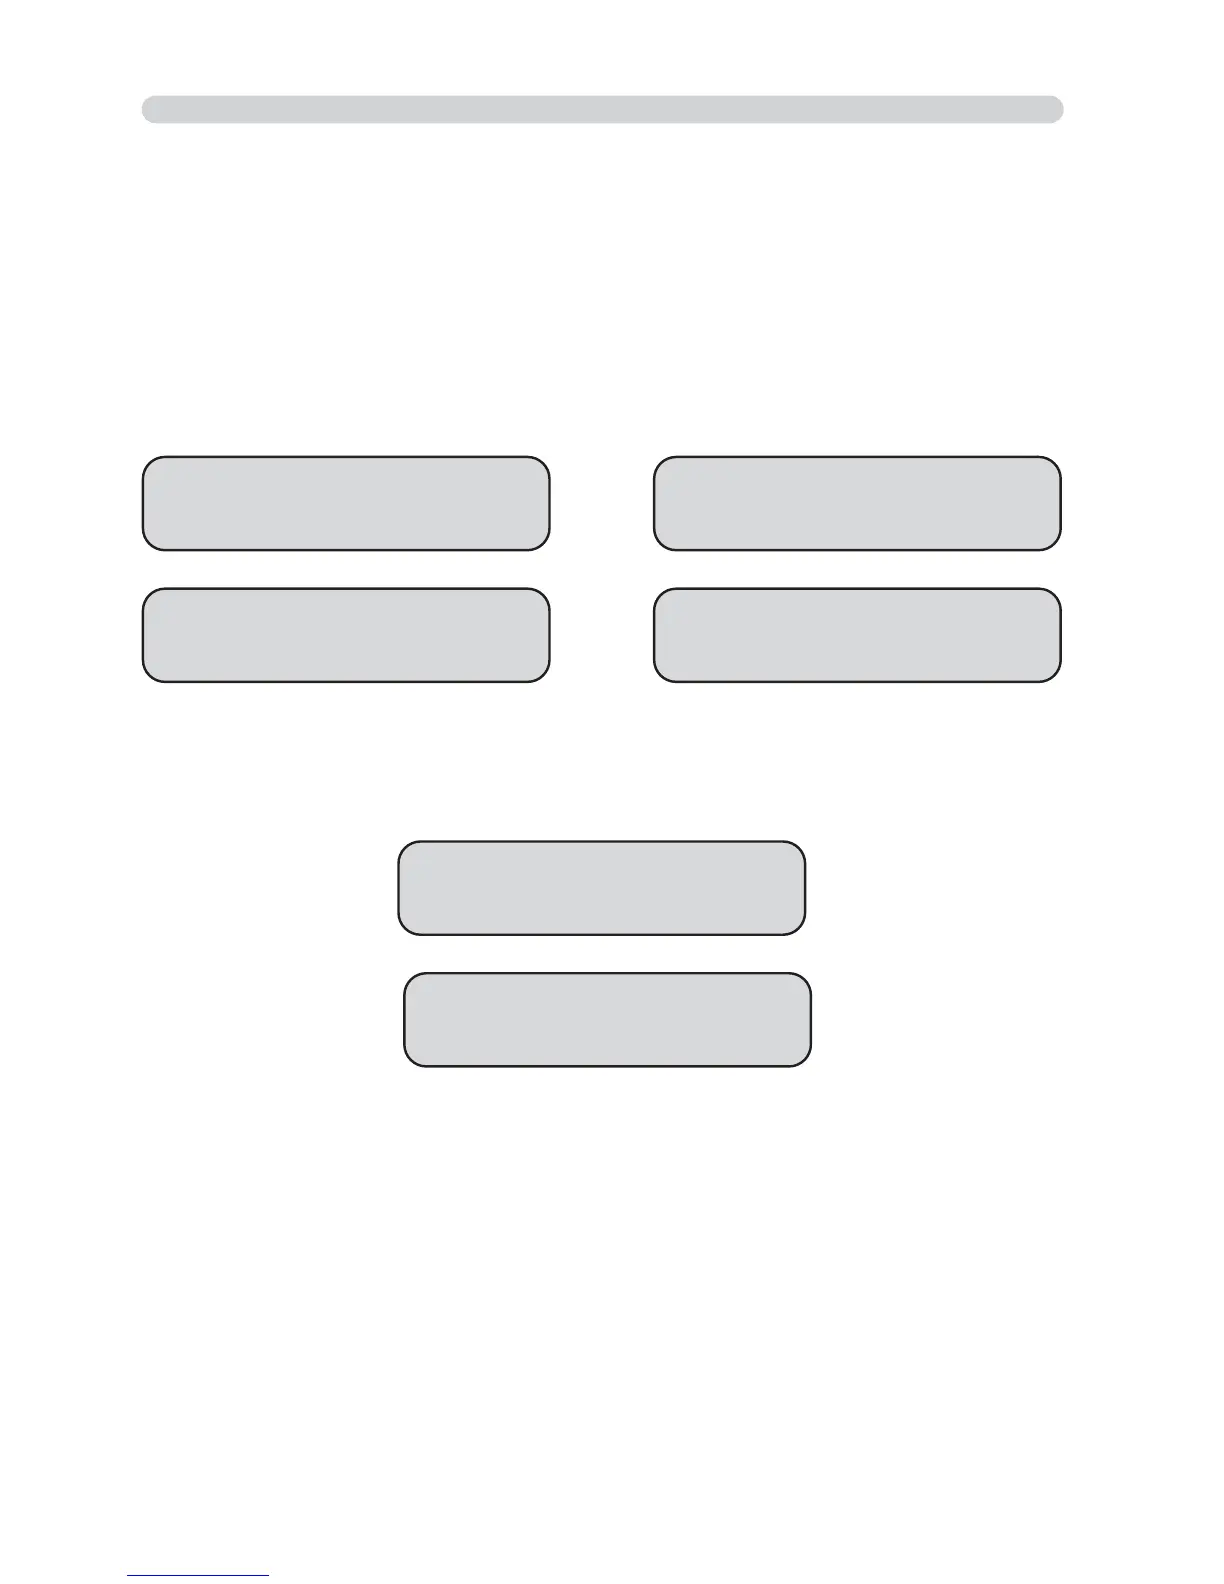
On Wi-DMX TX BACKUP, using MODE key
(fig.56)
, find 'CLONE PAIRING' on display, then press
SET for more than 2 seconds, PAIRING: READING... appears
(fig.61)
After a few seconds PAIRING: OK should appear on display
(fig.63)
PAIR RECEIVER
PAIRing
:
wait...
Fig. 62
clone pairing
PAIRing
:
reading
Fig. 61
PAIRing
:
<ok!>
PAIRing
:
failed!
Fig. 64
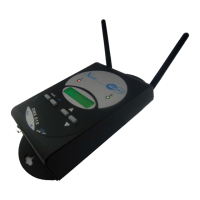
Wi DMX TX BACKUP Wi DMX TRANSMITTER
Fig. 59 Fig. 60
Fig. 63