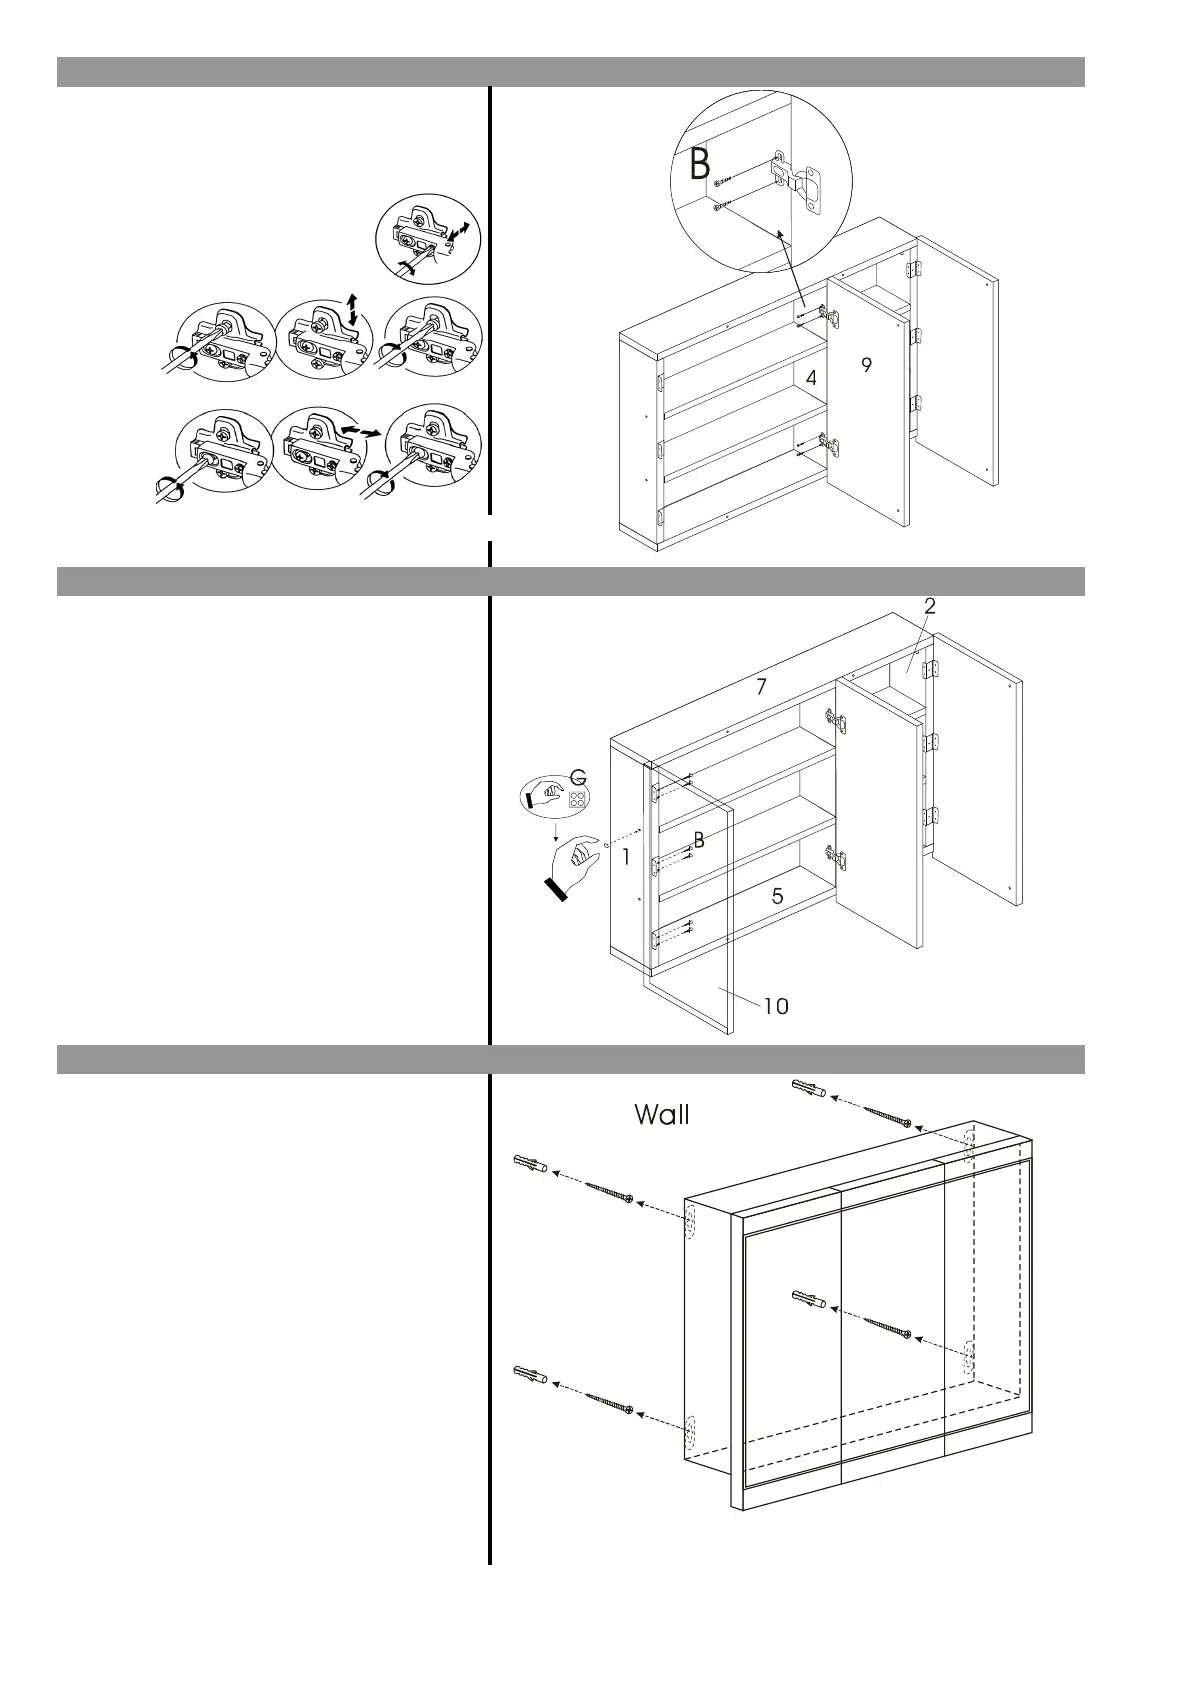
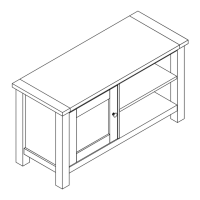
2. Adjust the door properly as below illustration.
LATERAL
VERTICAL
FRONT TO
BACK
2. Use a spirit level to check that the marks are level.
WARNING:
Always ensure intended wall area to be drilled is free from
hidden electrical wires, water and gas pipes. Wall fixings
are not included, please ensure wall fixings are suitable
for your wall type. If in doubt consult a qualified
tradesperson.
4. Lift the cabinet into position ensuring that the fixing
clips attached to the cabinet are firmly hooked over the
screw threads. Check the mirror periodically to see that
no fitting has loosened and needs attention.
Next Retail Ltd, Desford Road, Leicester, LE19 4AT
1. Attach panel 9 to panel 4 with 4 x screws (B) by using a
screwdriver to tighten.
3. Drill four holes and insert an appropriate wall plug into
each. Insert the screws and tighten, leaving the screw
head exposed by about 1/4 inch(6mm)
1. Attach panel 10 to panel 1 with 6 x screws (B) by using
a screwdriver to tighten.
2. Use 14 x stickers (G) to cover the visible camlock and
screw holes.
1. Use the template provided to mark on the wall the
position of the fixings.
NOTE: Place the template over the back of the cabinet to
ensure the holes line up with the hooks before drilling into
your wall.