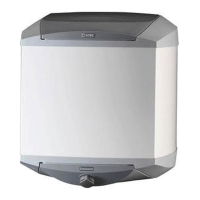
NOTE
For suspended installation, these
spacers must be glued onto the water
heater to keep it parallel with the wall.
PIPE INSTALLATION
Pipe installation must be carried out in accordance with
current norms and directives.
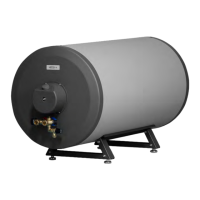
The water heater is supplied with compression ring
couplings for copper or plastic pipes. Internal support
bushes must be fitted when a plastic or annealed copper
pipe is used.
All necessary valve equipment: the shut-off/non-return
valve, the safety/drain valve and the mixer valve are in-
stalled on delivery.
When the water heater is installed without a mixer valve,
the thermostat setting must be such that the tap water
temperature does not exceed 65 °C. Should a higher
temperature be required, follow the relevant directions
for the application.
An overflow pipe must be routed from the safety valve
to a suitable drain. The dimension of the overflow pipe
must be the same as the safety valve's (Ø15 mm), the
pipe must be routed to prevent water pockets, and be
frost-proof and well supported.
If uncertain, contact a plumber alternatively see applic-
able standards.
For more information see nibe.eu.
NOTE
Ensure that incoming water is clean. When
using a private well, it may be necessary to
supplement with an extra water filter.
Filling
The water heater must be filled with water before the
mains supply is switched on. Filling takes place as fol-
lows:
• Check that the vent screw (QM5) is tightened.
• Check that the safety/drainage valve (FL1) is closed.
• Open the shut off valve by turning the knob (QM35)
anti-clockwise .
• Bleed the water heater by opening a hot water tap in
the system. This can be closed when only water
comes out of the tap. The water heater is now filled
and the power can be switched on.
Setting the mixer valve
Increase/decrease the tap water temperature by turning
the mixer valve knob (FQ1) anti-clockwise/clockwise.
Setting range approx. 50 – 65 °C.
ELECTRICAL INSTALLATION
NOTE
Electrical installation and service must be car-
ried out under the supervision of a qualified
electrician, and in accordance with applicable
electrical safety regulations.
If the power cable is damaged it must
be replaced by the manufacturer, its
authorised service agent or another
qualified person, in order to prevent
a hazard.
The water heater is supplied with a power cable with
earthed plug for 1 phase installation (1 kW). 1 phase in-
stallation provides the best service life for the immersion
heater.
The lowest point of the power cable should be below
the power socket when you connect the water heater
to the socket. This prevents any drops of water from
being led into the socket.
If 3 kW is required, the water heater must
be connected as a permanent installation
(2x400V). For permanent installation, the
water heater is preceded by an isolator
(preferably with a signal lamp) with at least
3 mm breaker gap. The existing power cable
can be used if the plug is cut off.
NIBE Eminent | GB14
 Loading...