Program settings
1.
Hold the back button in RMU 40 for 7 seconds to
access the menu "service settings".
2.
Enter the menu and select which climate system
RMU 40 should be connected to.
3.
Start the heat pump, enter menu "system settings"
(5.2) and activate RMU 40 for the climate system that
you want to control with the room unit.
4.
If you wish the heat pump to use the room temper-
ature sensor to control the temperature, set it in
menu "room sensor settings" (1.9.4). If an external
room temperature sensor (BT50) is installed it will be
used. Otherwise the room temperature sensor in
RMU 40 is used.
NOTE
The software in F1145/F1245/F370/F470/F750
must be version 1199 or higher to work with
RMU 40.
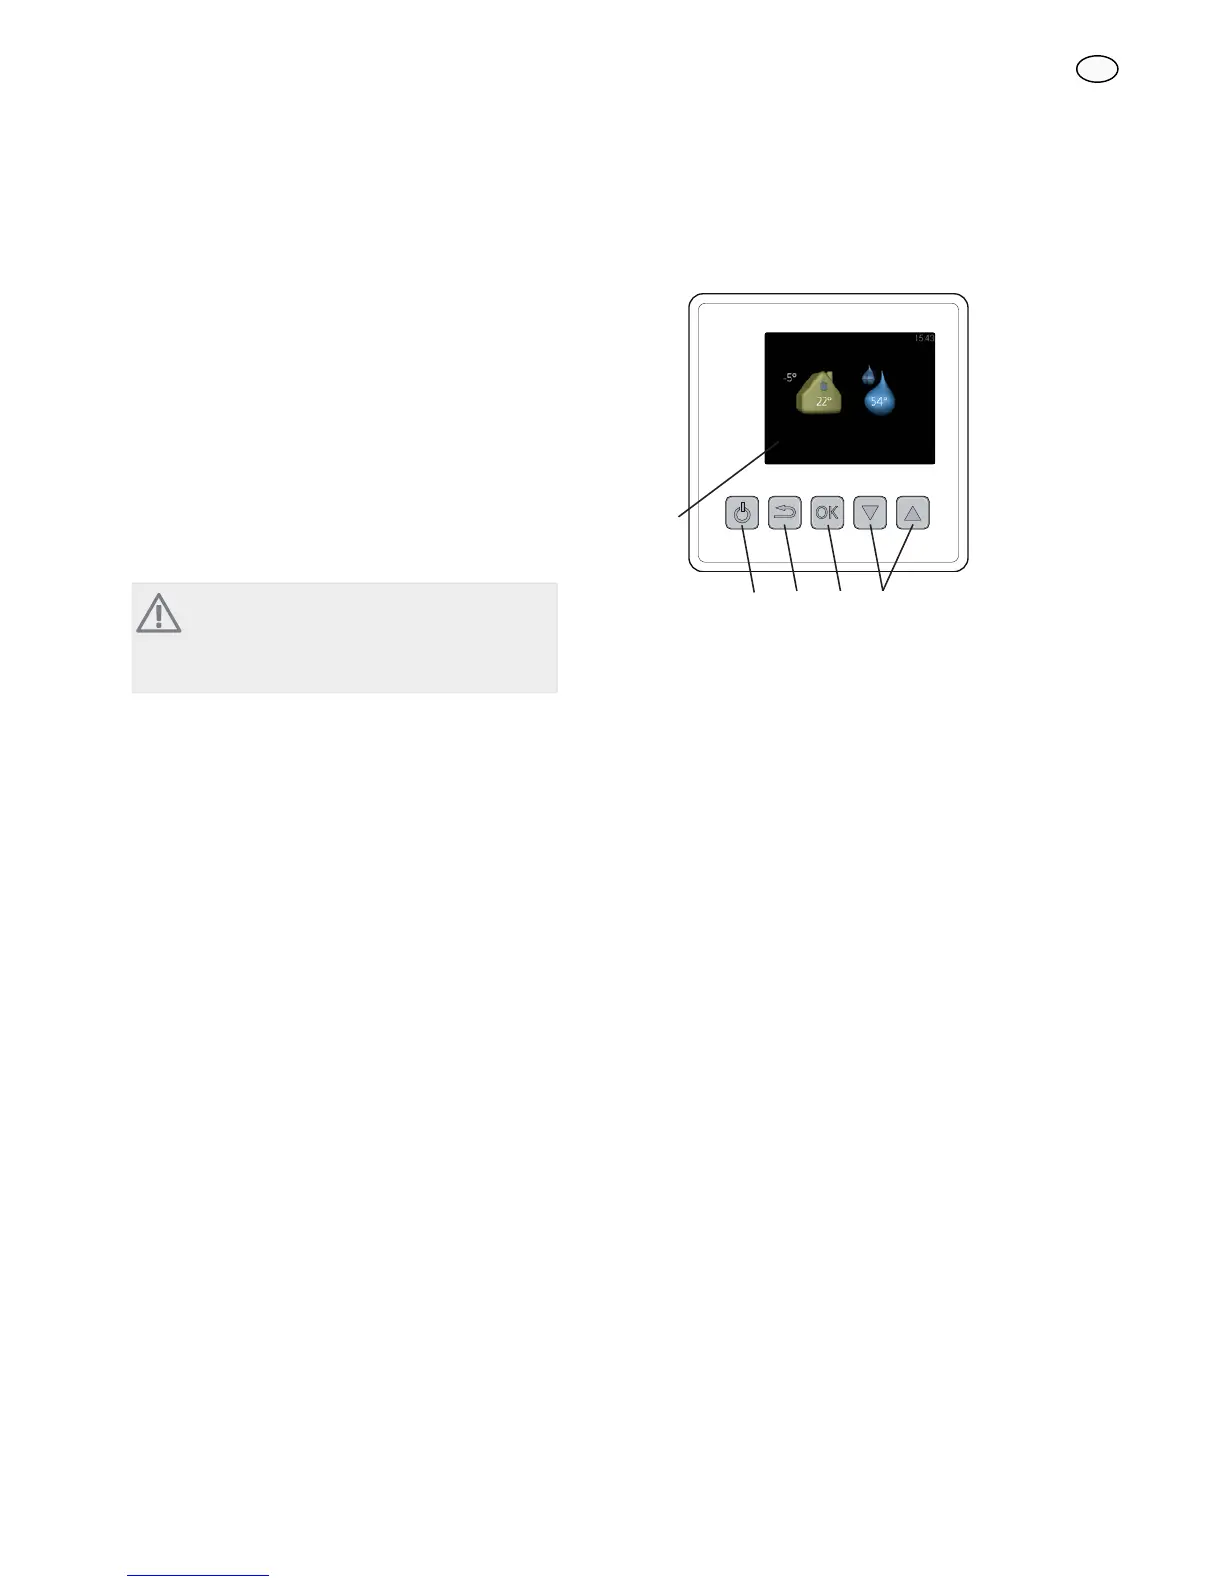
Control - Introduction
Room unit
$
% & ' (
Display
Instructions, settings and operational information
are shown on the display.
A
Stand-by button
RMU 40 can be switched to stand-by mode using
the stand by button. Heat pump operation is not
affected by pressing the button.
B
Back button
The back button is used to:
႑
go back to the previous menu.
႑
change a setting that has not been confir-
med.
C
OK button
The OK button is used to:
႑
confirm selections of sub menus/options/set
values.
D
Up and down buttons
With the up and down buttons you can:
႑
scroll in menus and between options.
႑
increase and decrease the values.
E
GB