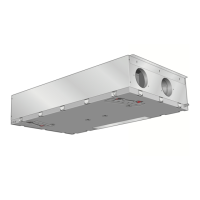
Assembly
ERS 20 is installed in the roof using the enclosed roof
brackets. Noise from the fans can be transmitted to the
brackets.
• Install ERS 20 on an outside wall, ideally in a room where
noise does not matter, in order to eliminate noise problems.
If this is not possible, avoid placing it against a wall adjoin-
ing a bedroom or other room where noise may be a prob-
lem.
• Wherever the unit is located, walls to sound sensitive
rooms should be fitted with sound insulation.
• Condensation water comes from the HRV unit. A condens-
ation outlet with a water seal must be installed and routed
to an internal drain.
• The HRV unit’s installation area always has to have a
temperature of at least 10 °C and max. 35 °C.
INSTALLATION AREA
Leave a free space of 1000 mm in front of the product.
Because servicing is carried out from below, a free space of
1,600 mm is recommended below the unit.
NOTE
Ensure that there is sufficient space (300 mm) for
connecting ventilation ducts.
Mounting
When installing on a wooden roof, a vibration damper is re-
commended to prevent vibration being transferred.
1. Install the two enclosed roof mountings in the roof.
2. Move ERS 20 into position.
3. Secure ERS 20 with screws.
27Chapter 12 | Delivery and handlingNIBE ERS 20-300
F

 Loading...