8382
Non-TTL Auto Flash Mode
Chapter
3
5
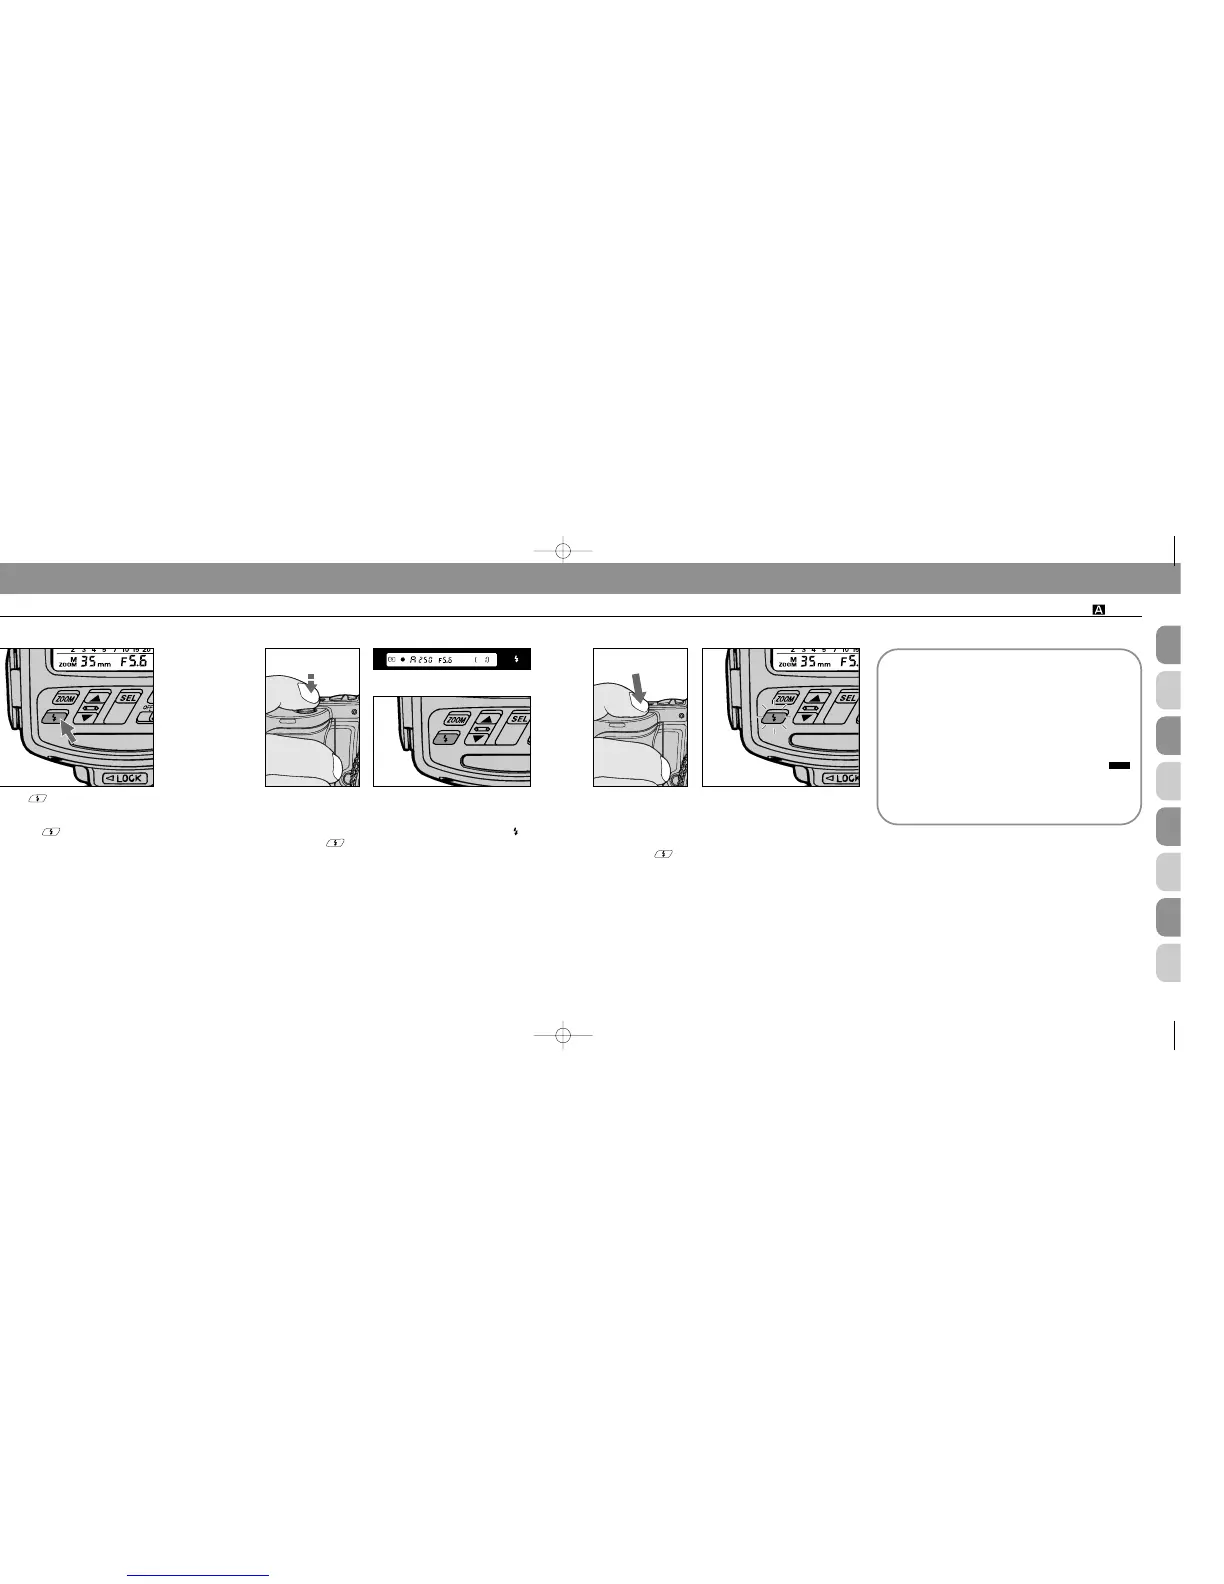
Push button for a test firing (see page 110) when
you are not sure whether subject is within the flash
shooting range.
If ready-light blinks for a few seconds after test firing,
flash has fired at its maximum output but light might not
have been sufficient. Select a wider aperture or move closer
to subject.
6
Look into the camera viewfinder, compose and lightly
the press shutter release button to confirm that subject
is in focus.
Check that ready-light is on in the camera’s viewfinder or
on the SB-25 .
7
Fully depress shutter release button to fire flash.
8
Recheck ready-light to see if it is blinking.
If ready-light blinks for a few seconds after shooting,
flash has fired at maximum output but the light may have
been insufficient.
Reconfirm shooting distance and, if necessary, move closer
to subject or select a wider aperture to compensate under-
exposure.
F90-Series/N90’s viewfinder
Exposure compensation
Exposure compensation in Non-TTL Auto Flash mode
is achieved by purposely setting a different aperture
value on the camera (actually on the lens in most
cases) than on the SB-25.
Use an aperture 1/3 to one stop smaller for an
entirely dark background (low reflectance). For back-
grounds that include a highly reflective object, use an
aperture 1/3 to one stop larger.
Note that shooting distance range indication
corresponds to the aperture value set on the SB-25 —
not on the camera.
In general, you may want to take a series of pictures
using exposure bracketing.
SB-25_En 03.1.14 8:18 PM Page 82