Chapter 3 Assembling
40
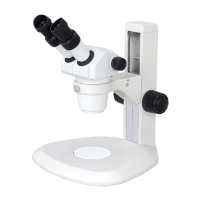
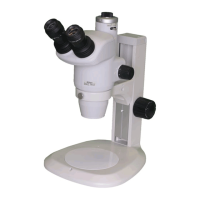
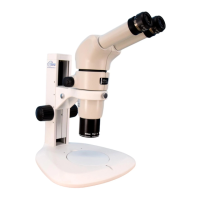
Detaching the objective
Loosen the objective fixing screw. Hold and rotate the objective clockwise (as viewed from the top) and align the
mark (white dot) on top of the objective with the objective fixing screw position. Mating of the dovetail can be
released at this position. Loosen the objective fixing screw and pull the objective down to detach it. The objective
can be easily detached by pushing it up while rotating.
11
Connect a control box.
Connecting to the P2-CTLB Control Box
The figure below shows the connectors on the rear side of the control box and the connection destinations:
Rear of the P2-CTLB
Use a power cord specified in Chapter 5, “1 Performance Properties” to connect to the 24 V AC adapter.
WARNING Before connecting the power cord
To prevent electric shock, be sure to turn off the power switch (press it to the “” position) at the front of the control box
before connecting the power cord to the adapter.
Connecting to the P2-CTLA Control Box
The figure below shows the connectors on the rear side of the control box and the connection destinations:
Rear of the P2-CTLA
Use a power cord specified in Chapter 5, “1 Performance Properties” to connect to the 24 V AC adapter.
USB
(Connect to the USB port of a personal
computer or the DS-L4.)
LEDDIA
(Connect to the LED light control
terminal of the P2-DBL LED Diascopic
Illumination Base using the cable
supplied with the control box.)
STAND
(Connect to the P2-MFU Motorized
Focus Unit or the P2-RLY Relay Box.)
DC24V IN
(Connect to the 24 V AC adapter.)
HGFIE
(Connect to the RS232C port of
the C-HGFIE HG Precentered
Fiber Illuminator.)
REMOTE
(Connect to the P2-RC Remote
Controller.)
FOOT
(Connect to the CTRL connector
of the AZ-FSW Foot Switch using
the cable supplied with the foot
switch.)
USB
(Connect to the USB port of a personal
computer or the DS-L4.)
RELAY
(Connect to the P2-RLY Relay Box o
P2-RLYC Relay Cable.)
DC24V IN
(Connect to the 24 V AC adapter.)
HGFIE
(Connect to the RS232C port of
the C-HGFIE HG Precentered
Fiber Illuminator.)
LEDDIA
(Connect to the LED light control
terminal of the P2-DBL LED
Diascopic Illumination Base or
P-DSL32 LED Diascopic Illumination
Stand. Use the cable supplied with
the control box.)
 Loading...