THE E-BIKE
This is an ASSISTED BIKE CYCLE. This means that, even if equipped with an electric motor, in order to operate, the
user must pedal as on a normal bicycle. The electric motor is an aid to pedaling, making it less tiring and increasing
its speed. The bicycle can also be used without the assistance of the engine.
The maximum speed that can be reached with the pedal-assisted bicycle is 25 Km / h.
To activate the pedal assistance let the engine start using the switch on the battery and then press the ON / OFF
button on the display; the indicator lights on the handlebar display will turn on to indicate that the battery is charged
and the bike is ready for use. As you use your bicycle and the battery loses charge, the lights will go out one by one.
By starting to pedal, the control unit is activated and allows the motor to help the pedal stroke.
The Shimano 7-speed gearbox supplied allows you to further adjust the pedaling ratio according to your needs.
Pedaling assistance stops in the event of braking or if you stop pedaling (for example, downhill). To reactivate it,
simply resume pedaling. During braking please do not pedal.
The Km range indicated (about 40 km) is to be understood with the normal use of a bicycle with city flat urban route.
In case of steep climbs and / or transport of heavy objects, autonomy could significantly decrease.
Since, as already specified, a bicycle is not expected to add an accelerator. Any decision by the user to
introduce it will immediately invalidate the bicycle warranty and terminate the bicycle's nature.
CAUTION
WHEN YOU RIDE AN ELECTRIC BIKE WITH ASSISTED PEDAL YOUR SPEED IS SENSITIVELY HIGHER THAN THAT
OF A "NORMAL BICYCLE". PAY MORE ATTENTION AND CONSIDER ADEQUATE BRAKING SPACES.
THE BICYCLE
Preparing the bicycle
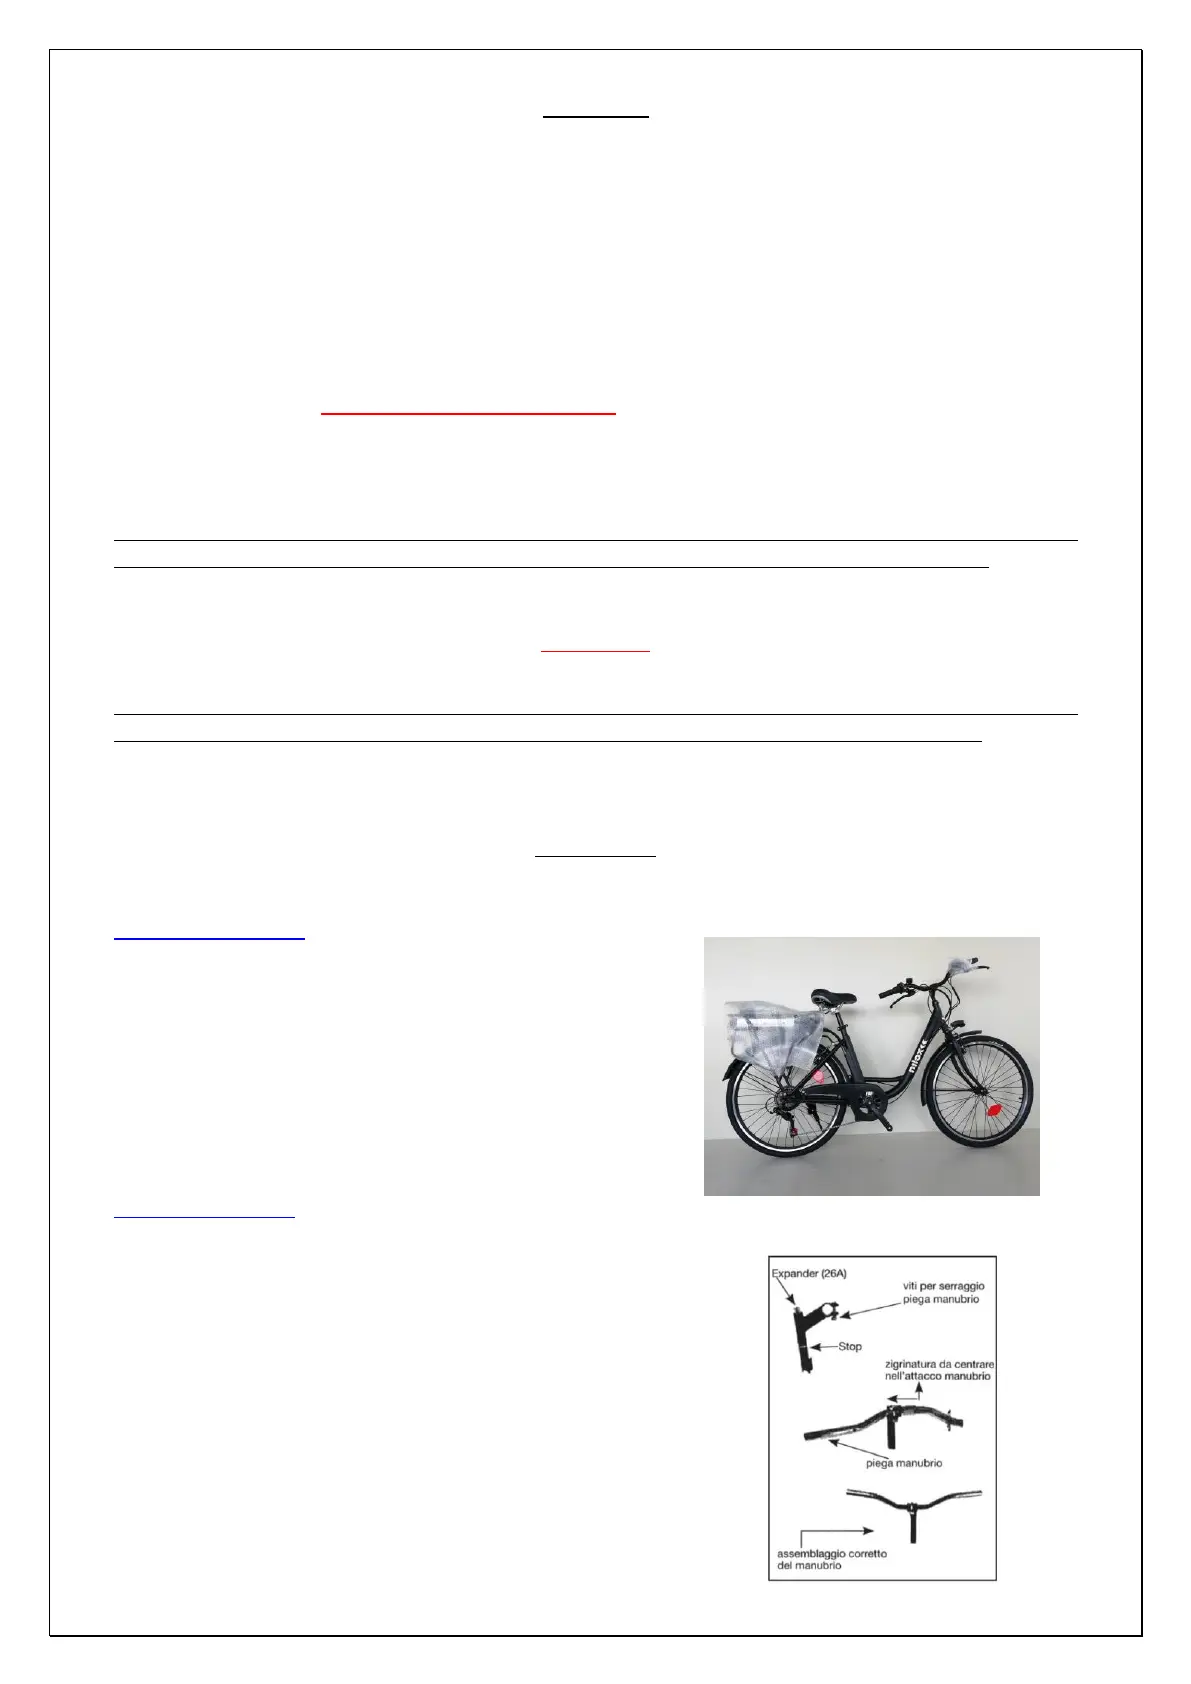
The bicycle is supplied open with the saddle mounted
and the handlebar turned (Pic. 4).
You need to assemble the pedals.
The battery is not connected. To insert and connect it correctly yes
Refer to the paragraph "positioning" on page. 13
First remove the protections and straighten
and adjust the handlebar
Adjust the handlbar
To adjust the handlebar, use the supplied hex key: unlock the expander
located in the handlebar column. Put the handlebar at the desired height
and direction. Lock the column by screwing the expander back. The STOP
line on the steering column must not be visible (Pic. 5)
If necessary, you can also adjust the angle of the handlebar bend; the
bend is inserted into the stem and taking care to center the knurling in
the center of the stem, adjust to the desired angle. Fix the fold by
tightening the screws and the tightening bolts (Pic. 6).
 Loading...