8 9
TOLL FREE: 1-800-798 -7398
WARNING: DO NOT try to place the
blade onto the power head and then
into the Master Prep
®
Professional
Pitcher.
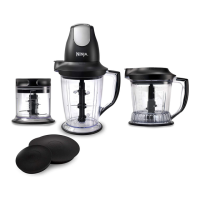
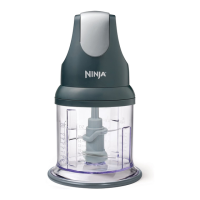
Using the Master Prep
®
Professional Pitchers
3
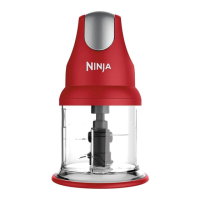
CAUTION: Blades are sharp! Use
extreme caution when handling the
blades. Always hold them by the shaft.
IMPORTANT: Never run the appliance
empty.
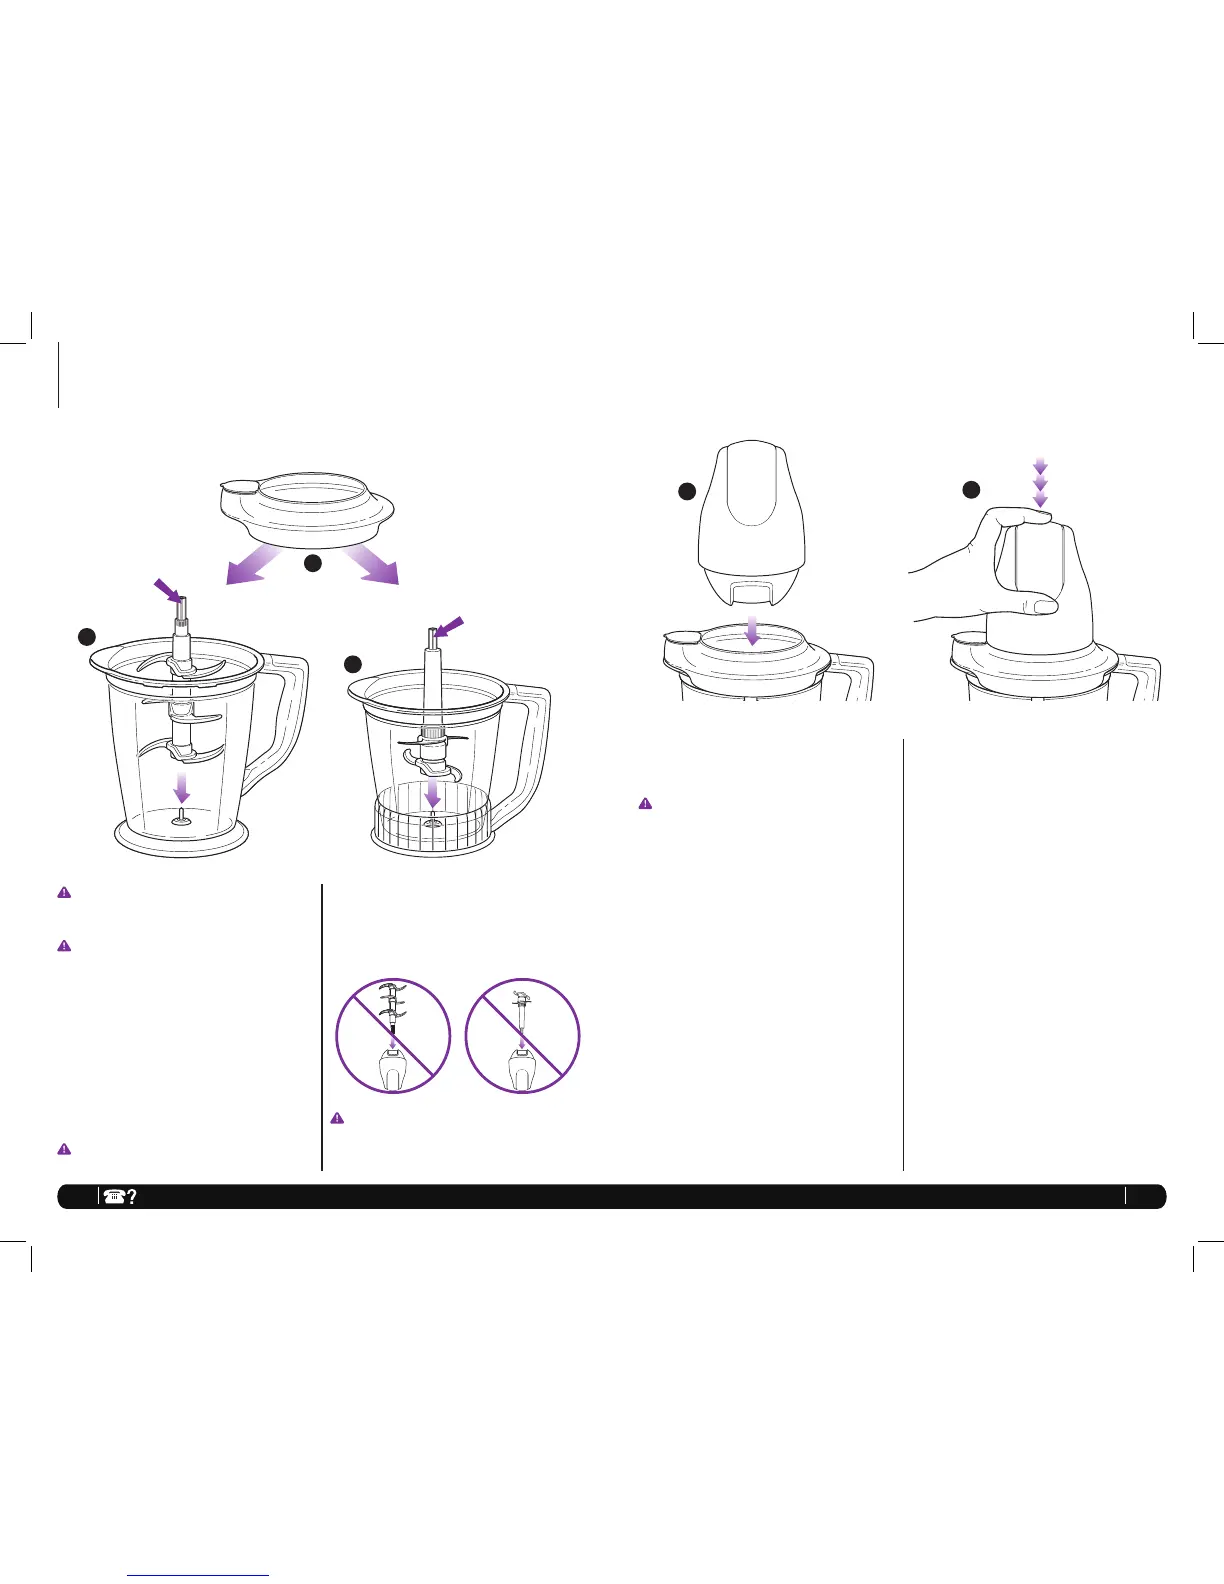
1 Place the Master Prep
®
Professional
Pitcher on a clean, dry, level surface.
2 Holding the blade by the shaft, place it
onto the spindle pin inside the Master
Prep
®
Professional Pitcher.
• Use the Ninja
®
6-Blade in the 48 oz.
Pitcher. (fig. 1)
• Use the Ninja
®
4-Blade in the 40 oz.
Pitcher. (fig. 2)
IMPORTANT: Place blade inside the
container carefully as blades are sharp.
4
5
1
2
Shaft
3 Add the ingredients to be processed
into the Master Prep
®
Professional
Pitcher.
IMPORTANT: Never add ingredients
into the Master Prep
®
Professional
Pitcher before placing the blades in
first.
4 Place the pitcher splash guard onto the
top of the Master Prep
®
Professional
Pitcher. (fig. 3)
5 Place the power head on top of the
pitcher splash guard making sure that
it is securely in place. (fig. 4) DO NOT
attempt to operate the appliance
without the safety splash guard in
place.
6 To start the appliance, plug the power
cord into the electrical outlet, securely
hold power head while operating
and press on the on/off pulse button
located on the top of the power head.
(fig. 5)
7 Hold the Master Prep
®
Professional
Pitcher firmly while depressing the
on/off pulse button to ensure the unit
stays in place.
NOTE: DO NOT operate the appliance
continuously for more than 15 seconds
at a time.
8 To stop the appliance, remove your
fingers from the on/off pulse button.
9 In order to obtain a better quality of
chopping, operate the appliance by
using the “pulse” method.
10 Make sure that the blades have
stopped completely before removing
the power head.
11 If the ingredients stick to the side of
the Master Prep
®
Professional Pitcher,
stop the appliance, remove the power
head and the splash guard. Use a
spatula to dislodge the pieces and then
replace the splash guard and the power
head. Continue processing.
12 Depending on the consistency of the
contents, use the pouring spout to
empty liquid contents.
13 For thicker consistencies, first remove
splash guard and blade (by its shaft),
then empty contents of the Master
Prep
®
Professional Pitcher.
Shaft
www.ninjakitchen.com
QB1005_30_IB_ENG_110303_2.indd 8-9 11-03-03 2:53 PM

 Loading...