43
4. The mulmeter will measure the value and show the
result on the display.
When measuring resistances that are greater than 1 MΩ,
it can take a few seconds to display the measurement
result. Wait unl the displayed result has stabilised.
When measuring low resistances in the 2000 Ω range (2
kΩ), the resistance in the measuring cables can result in
a distorted result.
To avoid a distorted result, hold the two measuring ps
together. Write down the result and subtract it from the
actual value measured.
7.11 Connuity measurement ( )
During a connuity test, a sound signal indicates when
two points are electrically connected to each other.
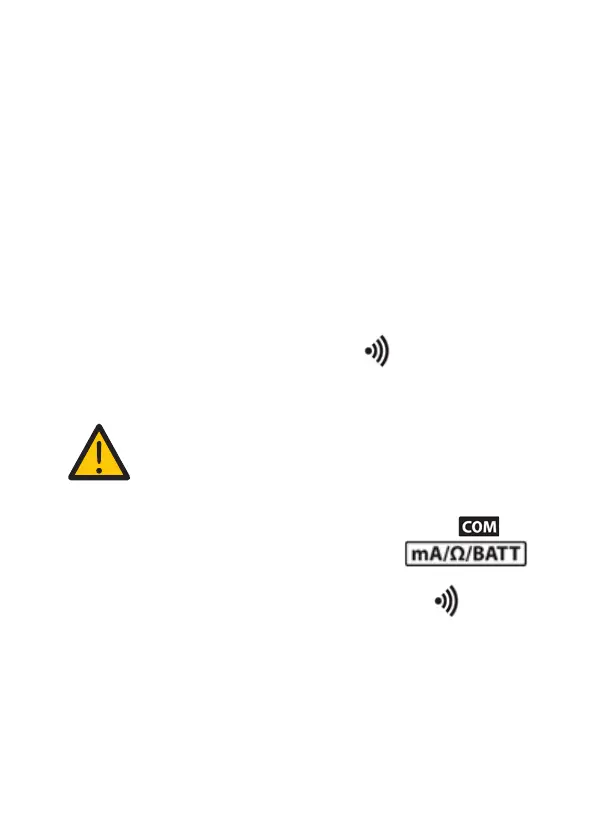
NOTICE! Risk of damage!
Make sure that all circuit parts, circuits and
components, as well as all other measuring
objects are completely dead and discharged.
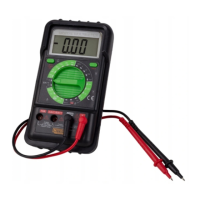
1. Connect the black measuring probe to the (5)
socket, connect the red one to the
input socket (6).
2. Use the measurement dial (2) to select ( ) .
3. Connect the measuring ps to the measured part.
4. The mulmeter will measure the value and show the
result on the display. If the measured value is lower
than 30 Ω, the mulmeter will emit a beep.