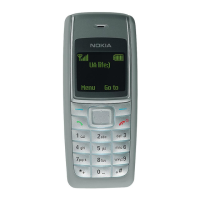
EasyManuals Logo

Nokia 1112 User Manual

Nokia 1112
60 pages
To Next Page IconTo Next Page
To Previous Page IconTo Previous Page
Page #16 background imageLoading...
Page #16 background image
Get started
3
Copyright © 2006 Nokia. All rights reserved.
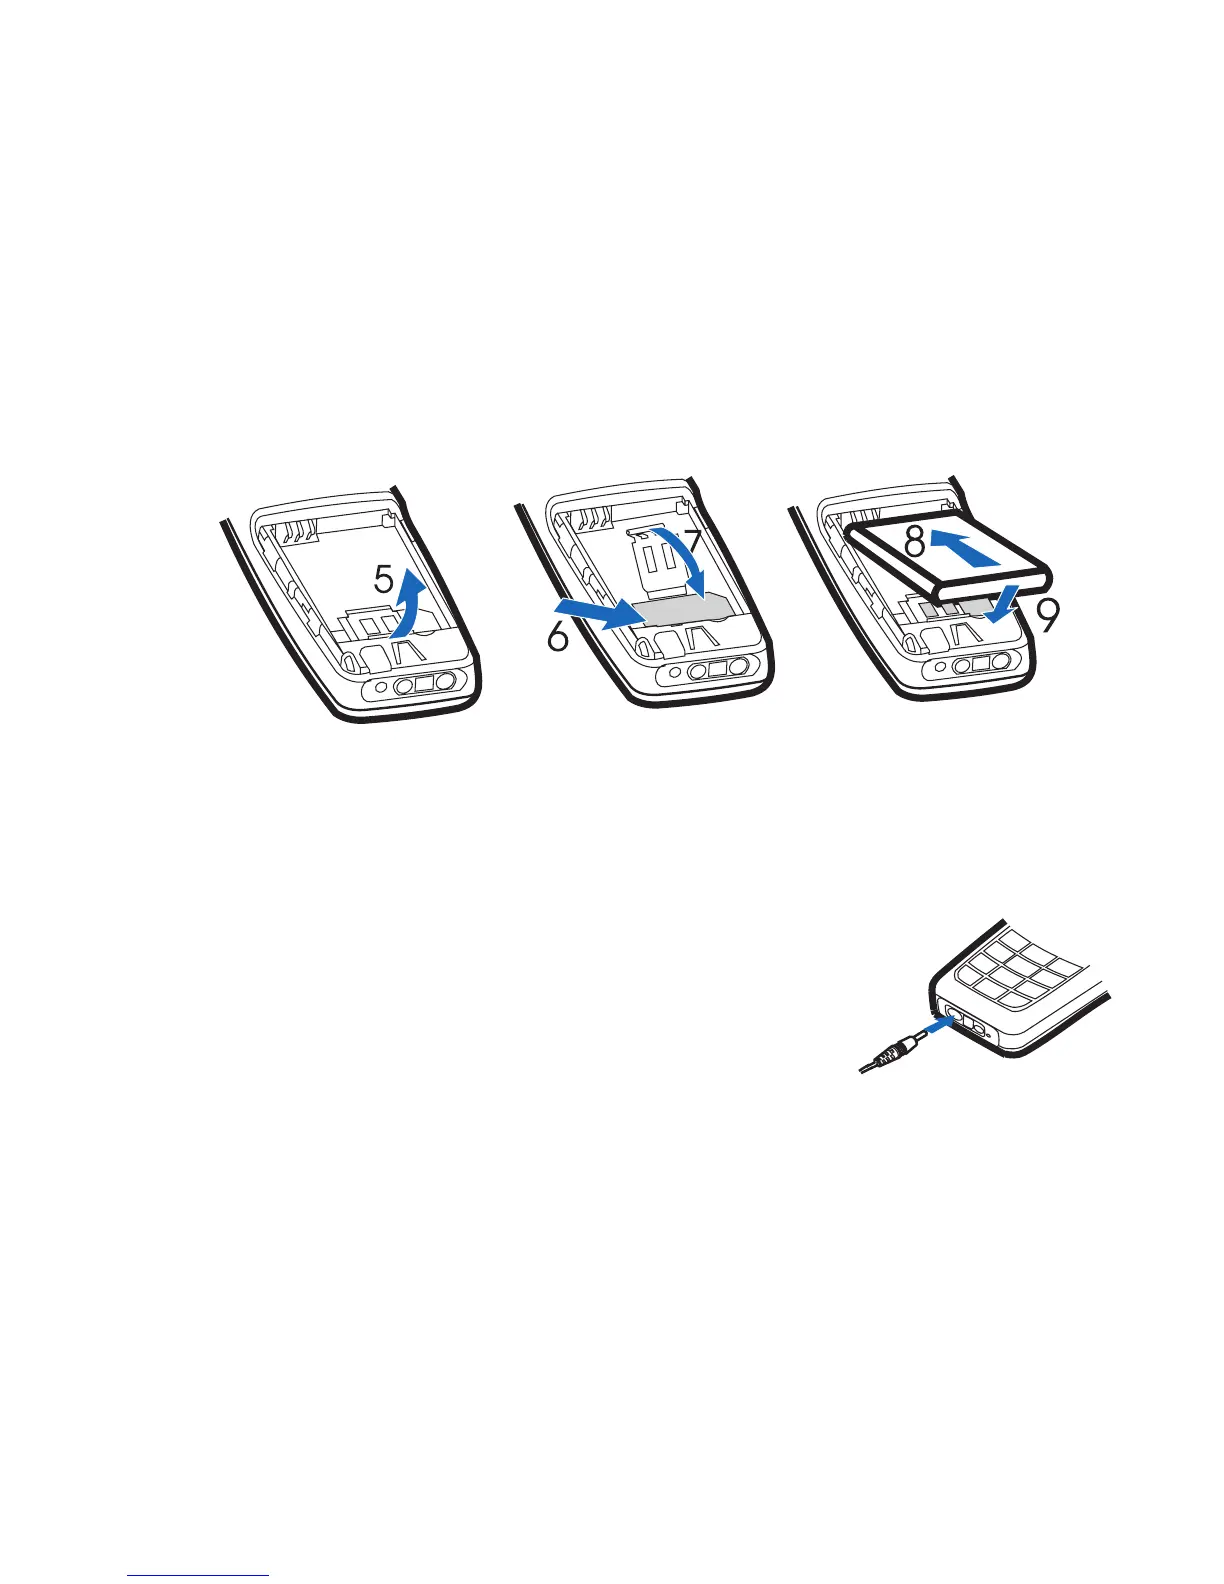
2. Carefully lift the SIM card holder from the finger grip of the
phone (5). Insert the SIM card, ensuring that the bevelled
corner is on the upper right side and that the golden contact
is facing downward (6). Close the SIM card holder (7), and
press it to lock it into place. Insert the battery (8, 9).
Charge the battery
1. Connect the charger to an ac wall
outlet.
2. Connect the plug from the charger to
the jack on the bottom of the phone.
The battery indicator bar starts
scrolling.
If Not charging is displayed, wait for a while, disconnect the
charger, plug it in again, and retry. If charging still fails,
contact your dealer.
9248047_1112_en_apac_v6.0.fm Page 3 Wednesday, December 20, 2006 10:15 AM

Other manuals for Nokia 1112

Questions and Answers:

Question and Answer IconNeed help?

Do you have a question about the Nokia 1112 and is the answer not in the manual?

Nokia 1112 Specifications

General IconGeneral
Display TypeMonochrome graphic
Resolution96 x 68 pixels
Battery TypeRemovable Li-Ion 700 mAh battery (BL-5CA)
Stand-byUp to 380 h
Talk timeUp to 5 h
Weight80 g
Network TechnologyGSM
2G bandsGSM 900 / 1800
GPRSNo
EDGENo
SIMMini-SIM
StatusDiscontinued
LoudspeakerYes
3.5mm jackNo
Phonebook200 entries
Call records10 dialed, 10 received, 10 missed calls
Internal4 MB
RadioNo
USBNo
MessagingSMS
GamesYes
JavaNo
Predictive text inputYes
RemindersYes
Speaking clockYes
Dimensions104 x 44 x 17 mm, 65 cc
Announced2006
RingtonesMonophonic
ColorsBlack, Blue, Grey, Red

Related product manuals