ENGLISH
7
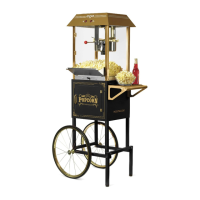
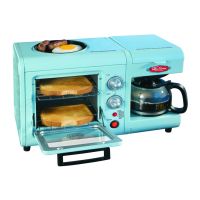
ASSEMBLY OF THE WHEELS
1. Slide one #11 Flat Washer onto #3 Axle Bolt and insert #3 Axle Bolt into Wheel (F).
2. Put on one #6 Flat Washer. Insert #3 Axle Bolt with Wheel (F) into Base Support (G).
3. Add a second #6 Flat Washer and #7 Nut Cap. Use Wrench (L) to tighten the #7 Nut Cap.
4. Repeat steps to attach second Wheel (F) onto the other side of the Base Support (G).
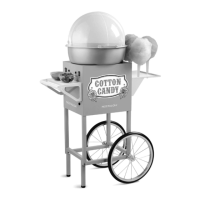
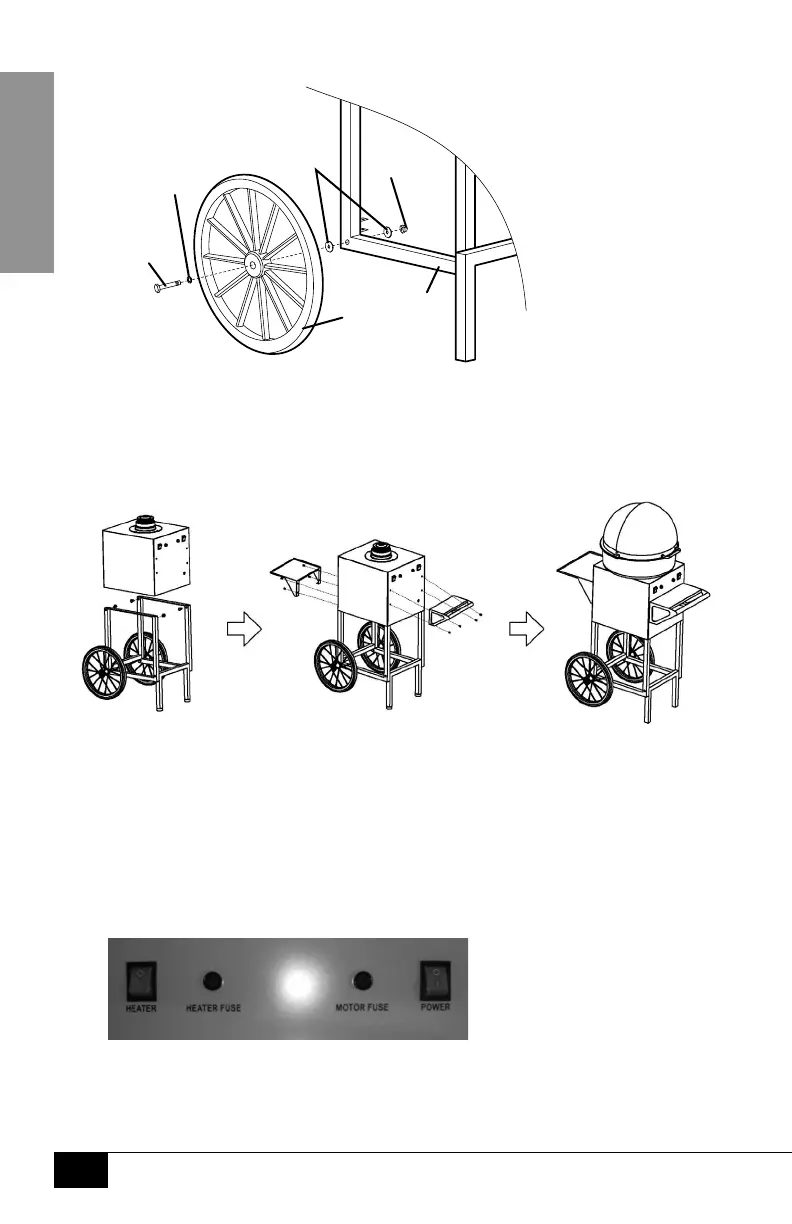
ASSEMBLY OF THE MAIN UNIT
1. Assemble Base Support (G) into the bottom of the Main
Unit (C) and secure with four #2 Bolts.
2. Push Handle (E) attaches onto the Main Unit (C) using four of the supplied #1 Screws
and four #5 Flat Washers. Attach Display Tray (D) to Main Unit (C) using four #1 Screws.
3. Attach Bowl (A) to Main Unit (C) by placing Bowl (A) over collar and
turning clockwise. Attach Dome to Bowl using three #10 Screws.
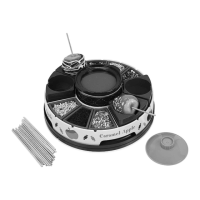
CHANGING THE FUSES
The Fuses are marked under each fuse compartment. Two
extra 10 Amp fuses are also included with this unit.
1. Using a at head screwdriver, push in, turning counter-clockwise.
2. Fuse is then accessible and can be changed. Once changed,
push in and turn clockwise to lock fuse into place.
(#7)
Nut
Cap
(#3)
Axle
Bolt
(#6)
Flat
Washers
(F)
Wheel
(G)
Base
Support
(#11)
Flat
Washer