Manual
5
____________________________________________________________________________________________________
356 South Abbott Avenue, Milpitas, CA 95035, USA • PHONE: +1-408-890-6840 • FAX: +1-408-262-6877
nuforce.com • EMAIL: salesteam@nuforce.com • Skype: nuforce-sales
• Turn on the power supply to P-9 by setting the rear-panel AC On/Off switch to On. The Control
Box’s front-panel LCM (liquid crystal display module) will light up briefly with the message
Nuforce Initialization. After the initialization process is completed, the display will go blank.
• Push and hold the Input Selection knob (left knob) for about one second, or press the remote’s
ON button to activate the P-9.
Always turn the P-9 on or off using either the Input Selection knob on the Control Box or the remote
control. Even when the P-9 is in the off position, its line-stage remains powered for thermal optimization.
Use the remote (1, 2, 3, 4, 5) or the Input Selection knob to select each input.
Turn the Control Box’s Volume knob clockwise to increase volume and counterclockwise to reduce
volume. You will notice that the Analog Box’s motorized Volume knob moves in the same direction. The
user can therefore adjust volume with the Analog Box’s Volume knob. The P-9’s unique design memorizes
volume levels whether it’s been set with the remote’s logic volume or physical Volume knobs.
To turn the P-9 off, depress and hold the Input Selection knob for about one second. The P-9 will turn itself
off while retaining the selected input and volume level. Note: The memory retention feature will not work
if the rear panel On/Off switch is used to turn the P-9 off.
Functions
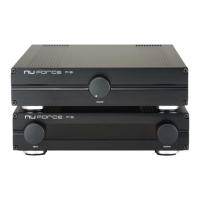
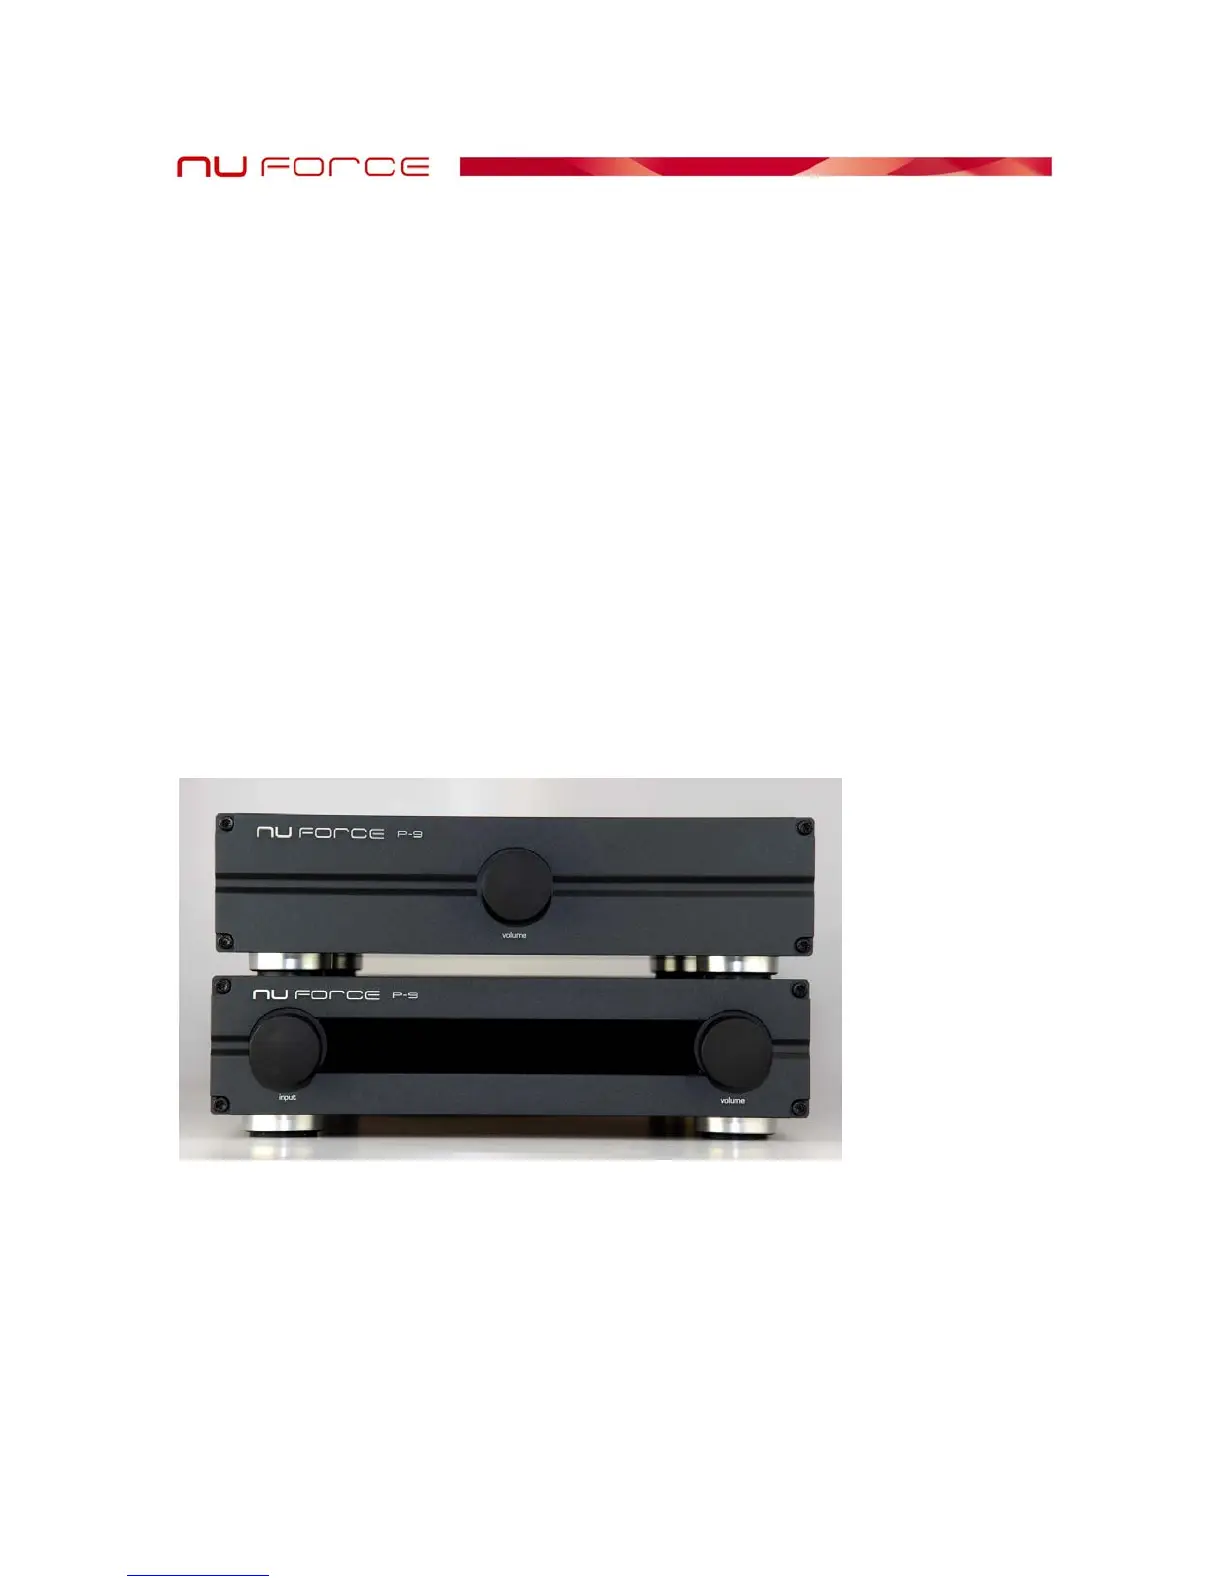
Figure 1 shows the Analog Box sitting on top of the Control Box.