Do you have a question about the NuForce Ref 9 V2 and is the answer not in the manual?
Unsolde r speaker cables and output capacitor filter. Use speaker cable as heat sink.
Unsold and remove input wires from RCA and XLR connectors.
Unplug Red/Black DC power cable. Remove other power wires for 9SE.
Remove PCB screws and heat sink screws. Clean heatsink and chassis. Keep old PCB as spare.
Solder 100 Ohm resistor between RCA negative and XLR signal ground on Ref9SE.
Install the new, slimmer V2 board. Connect green ground wire to a screw.
Plug heat sink holes with nylon covers. V2 heatsink is not attached to chassis base.
Install Zobel Filter under speaker terminal. Bend leads to touch solder tab. Do not solder yet.
Solder input wires (White, Red, Black) to V2 board and connectors as per color code.
Solder speaker cable and Zobel filter together. Keep speaker cable connected to prevent heat damage.
Connect black wire near V2's DC input to 5V terminal. Connect 5V ground to 52V ground.
Plug in the Red/Black DC power cable to the V2 socket. Cut relay wires on 9SE capacitor bank.
Check all connections. Test amplifier by playing music. Check red LEDs and 5V/Ground.
Be careful when closing cover due to heatsink contact for heat dissipation.
Add 50uF capacitor to SMPS power supply at IC3 Pin-4 and DZ2.
| Frequency Response | 10 Hz - 50 kHz |
|---|---|
| Signal-to-Noise Ratio | > 100 dB |
| Input Impedance | 47 kOhms |
| Gain | 26 dB |
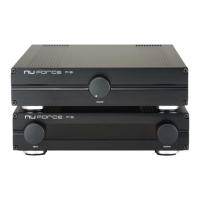
| Type | Class-D monoblock power amplifier |