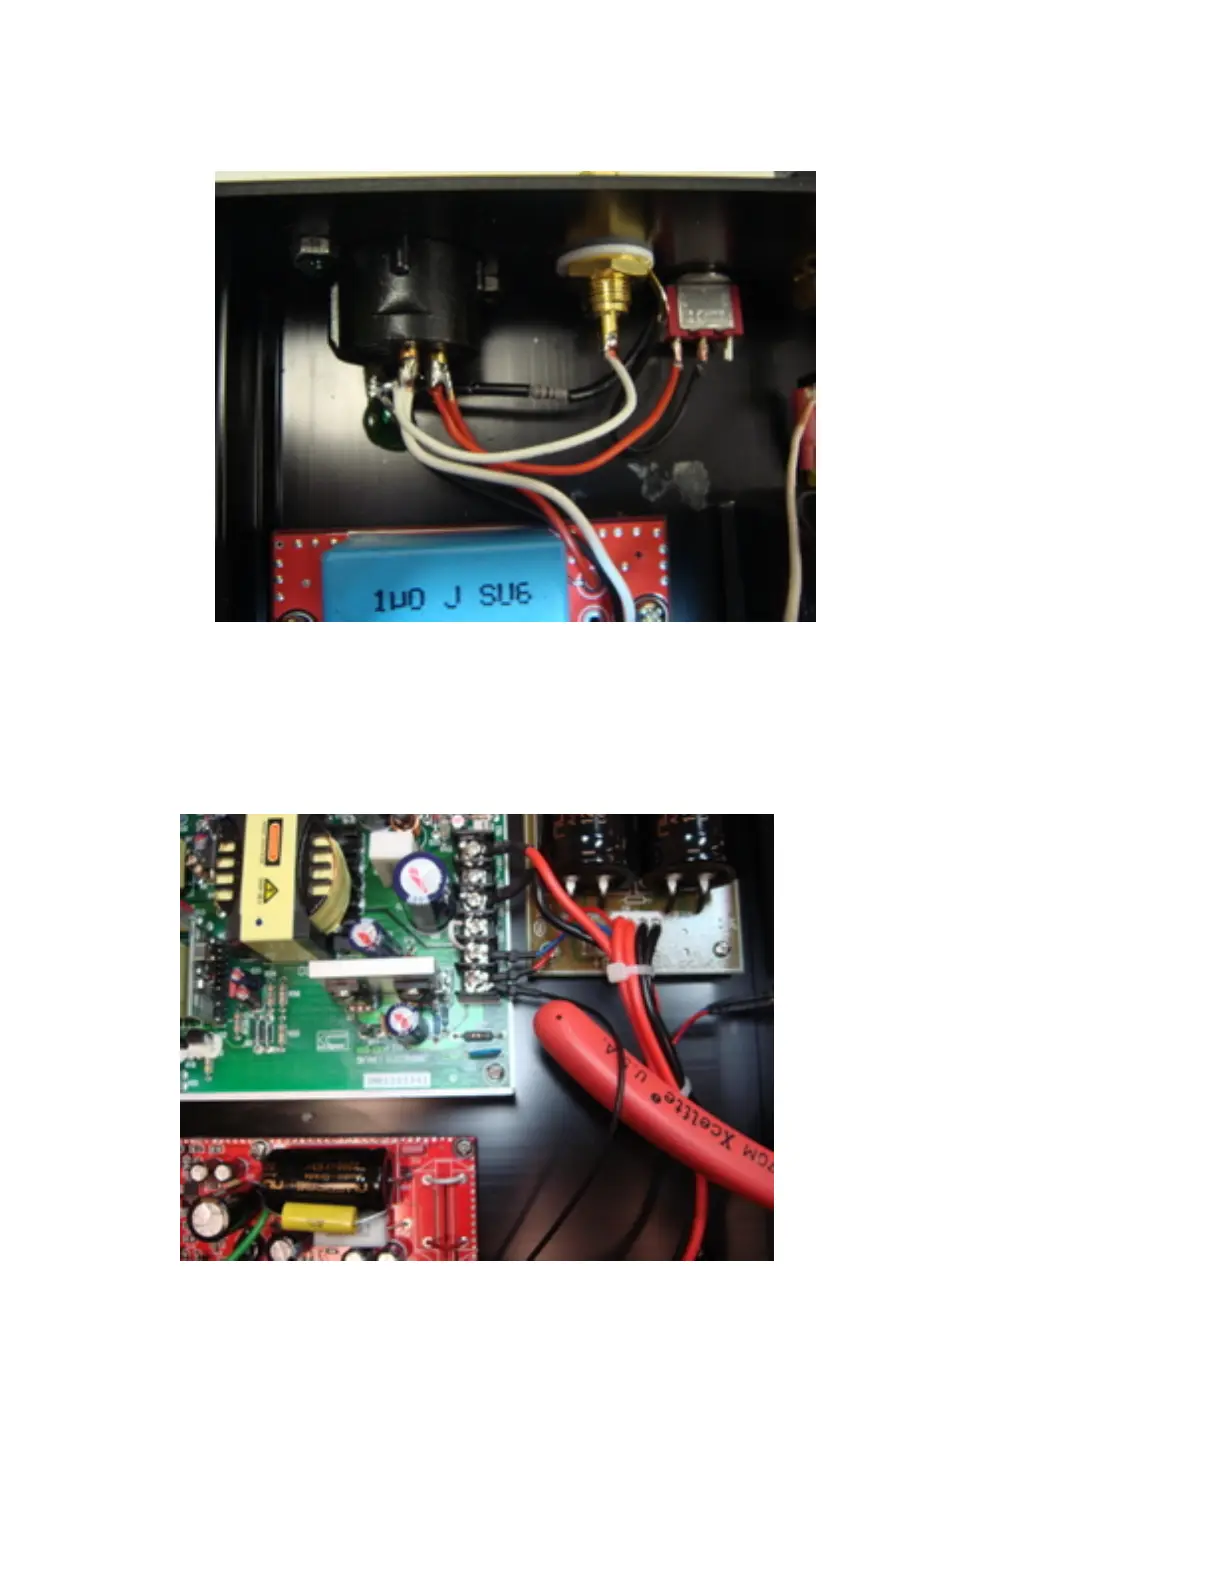
shorted to the chassis pin on the RCA.
10. Solder the speaker cable together with the Zobel filter in one soldering action.
Remember to keep the speaker cable connected while doing the soldering to prevent
heat damage to the Eichmann binding posts.
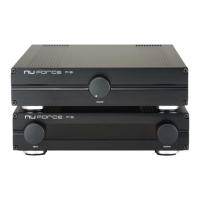
11. Locate a black wire near V2’s DC power input socket. The black wire should be
connected to the 5V terminal on the power supply. Use the provided short wire (2cm
short) to connect between the 5V ground to the 52V ground. Notice the short wire on
the DC supply terminal block. The 5Vdc is shared with the LED.
12. Plug in the Red/Black DC power cable into the V2 socket. For 9SE chassis, cut off
the 3 wires on the relay on the capacitor bank (relay is the white square component
between the capacitor and the black Nuforce DC/DC converter – no longer used.